
Something you may not know about me is, I’m terrible at doing my hair. I, for the life of me, can’t curl my hair with a curling iron. I know this may sound ridiculous but it’s true. It may be the fact that I don’t have the patience, or it my be that I’m just terrible. Am I the only adult woman with this problem? Please tell me no!
My sister on the other hand is great in this department. Lucky me (and poor her), since we lived together most of our lives, she always did my hair for me. So I never really had to learn… Even though she begged me to, haha. Now as an adult I can go get blow outs, or if I’m lucky again, have my friend Erica from 1011 Makeup help me out.
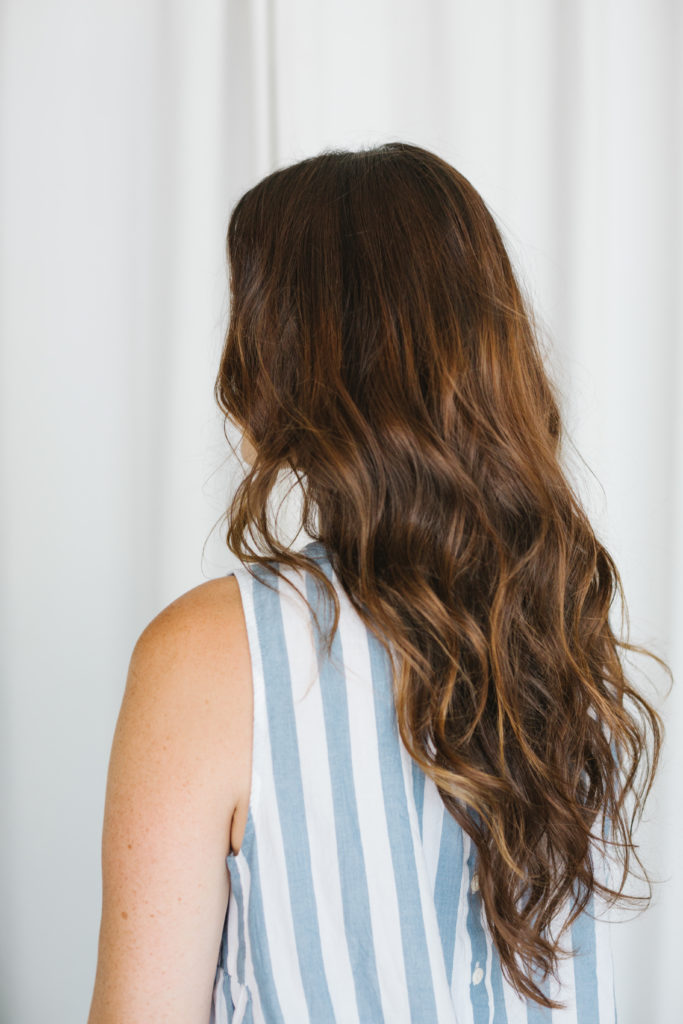
Well, I’m a grown up now and it’s time to learn, or at least try. So I asked Erica to share her tricks with me and teach me how to achieve the best beachy hair waves. Now, my hair is naturally wavy which is great. Most days I don’t have the time so I just let it air dry. But sometimes, to put it bluntly, it looks like crap. So… It’s about time I learn!
Here are 4 easy steps to getting the best beachy hair waves from the guru herself, Erica. PS, I did my own hair using these tips this past weekend… I’m not gonna say I fully mastered it yet but it looked pretty good!!! Baby steps!!
Photos by Alison Bernier
 STEP 1
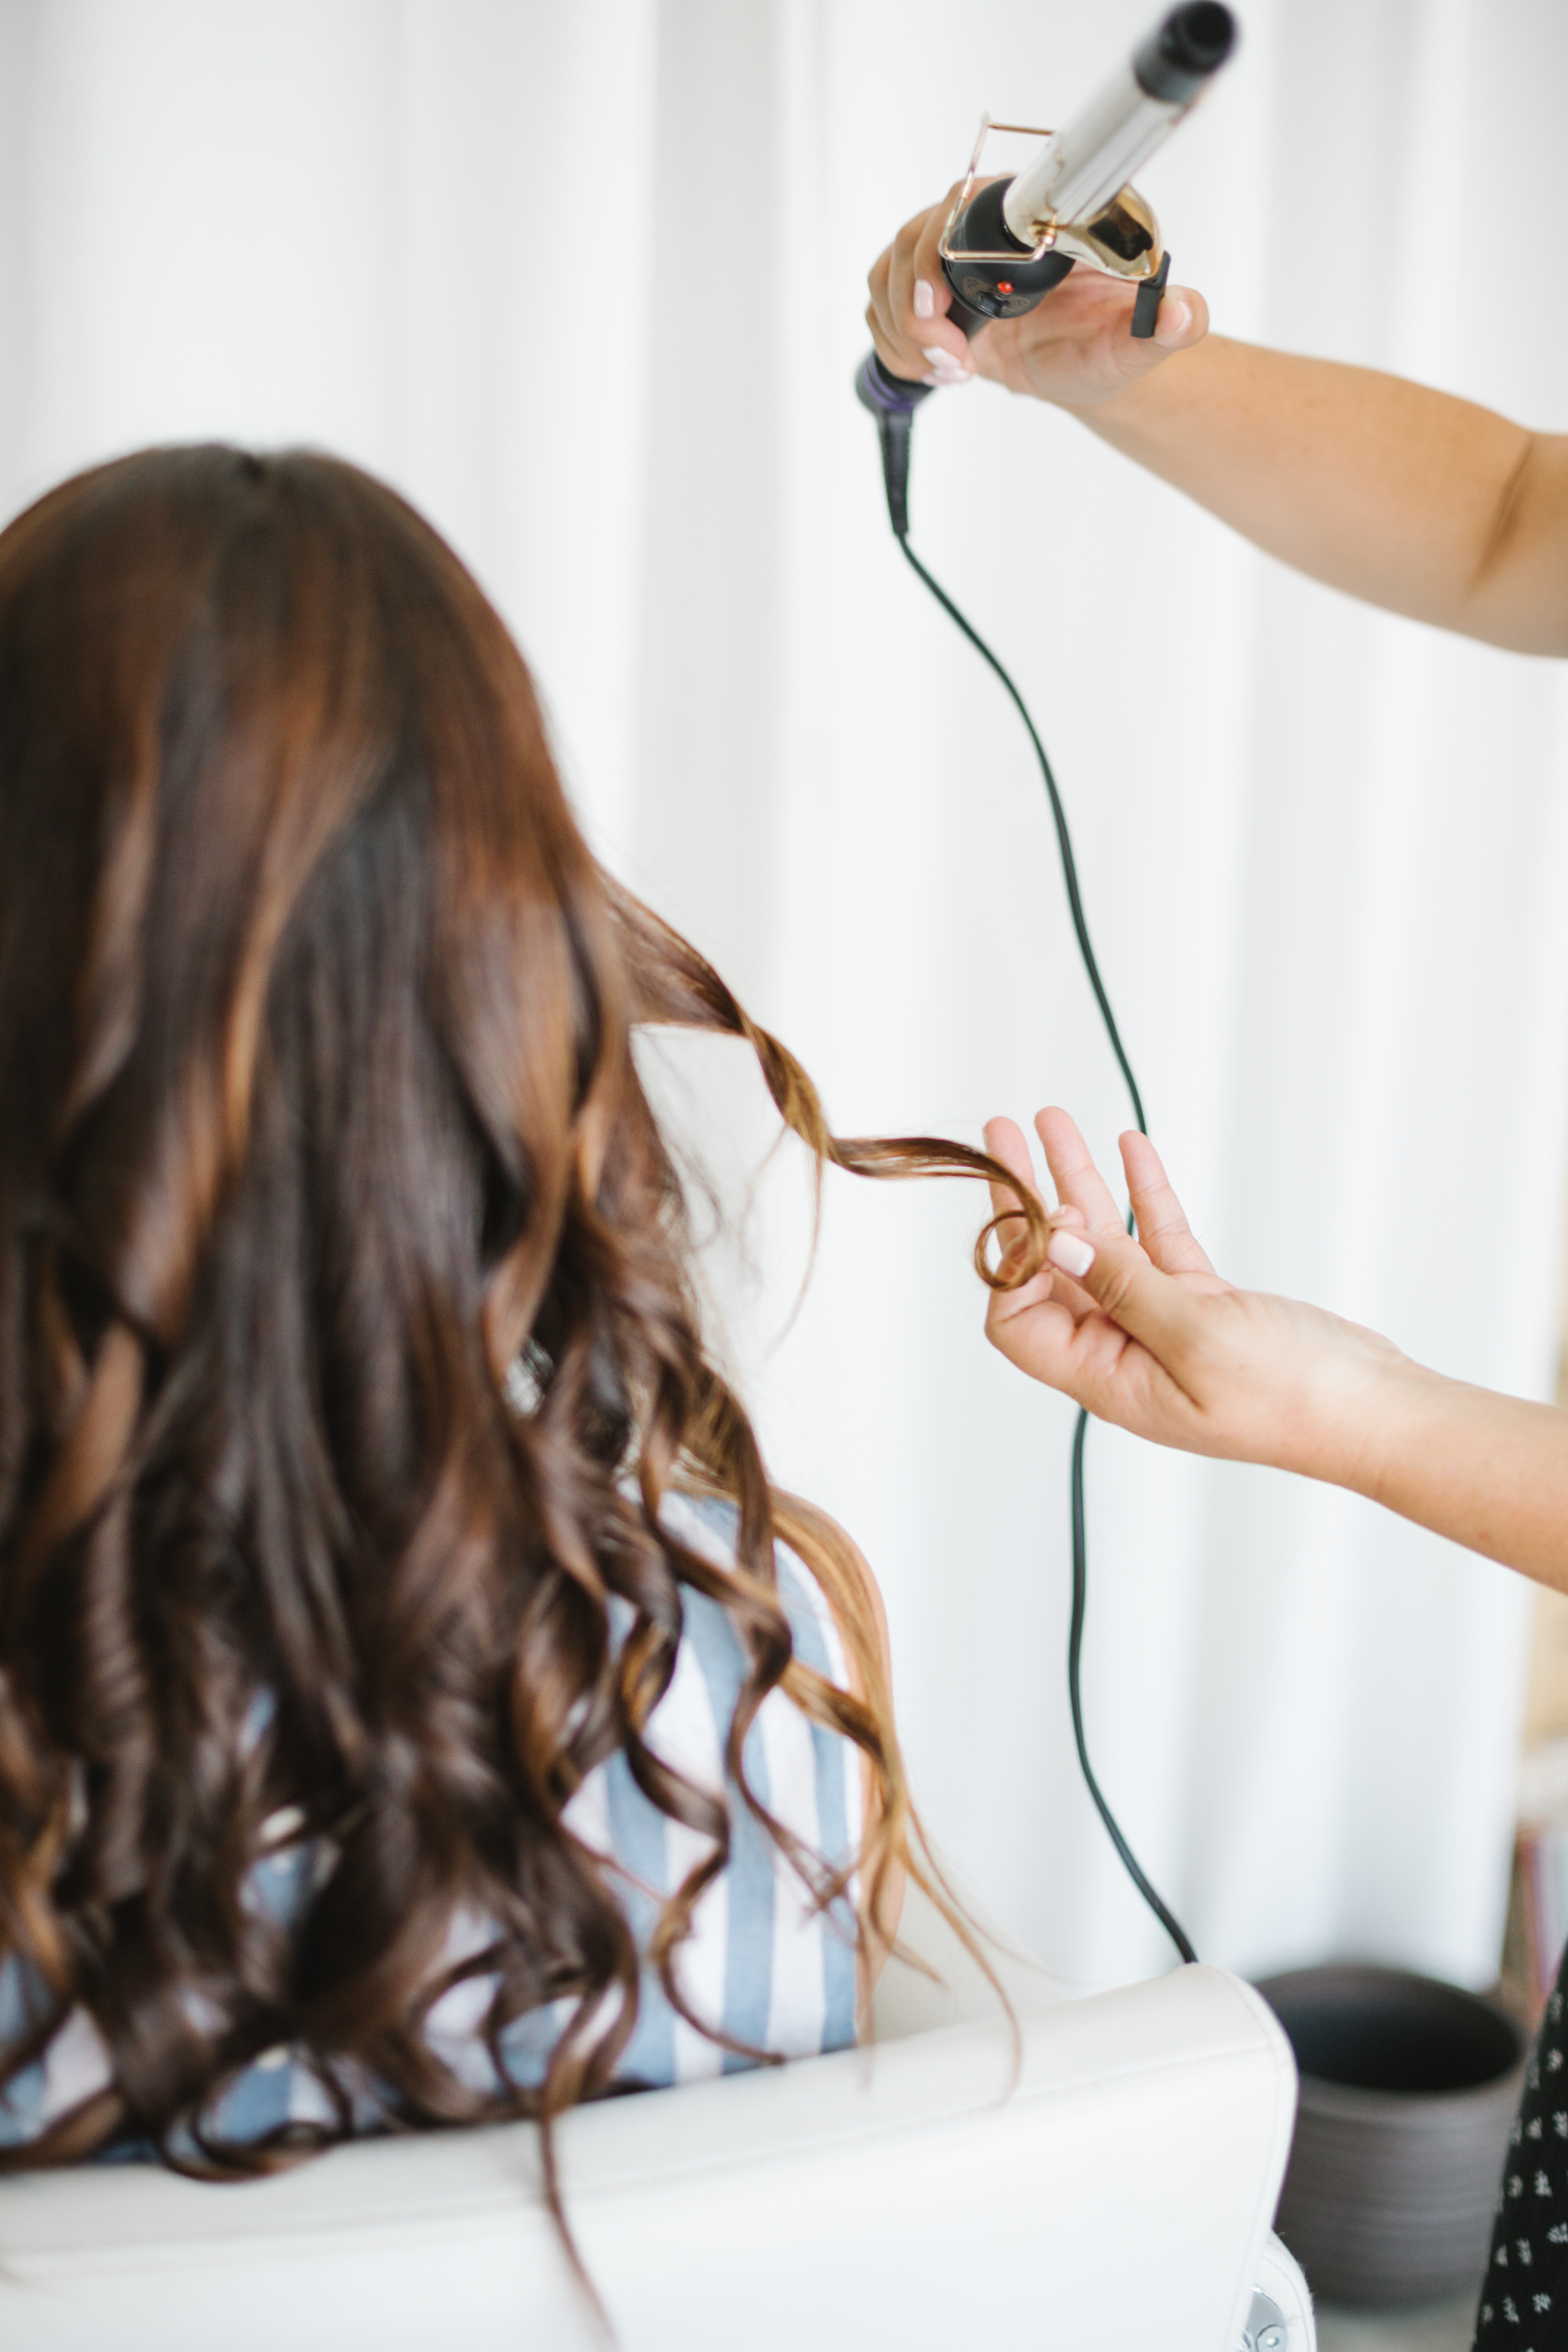
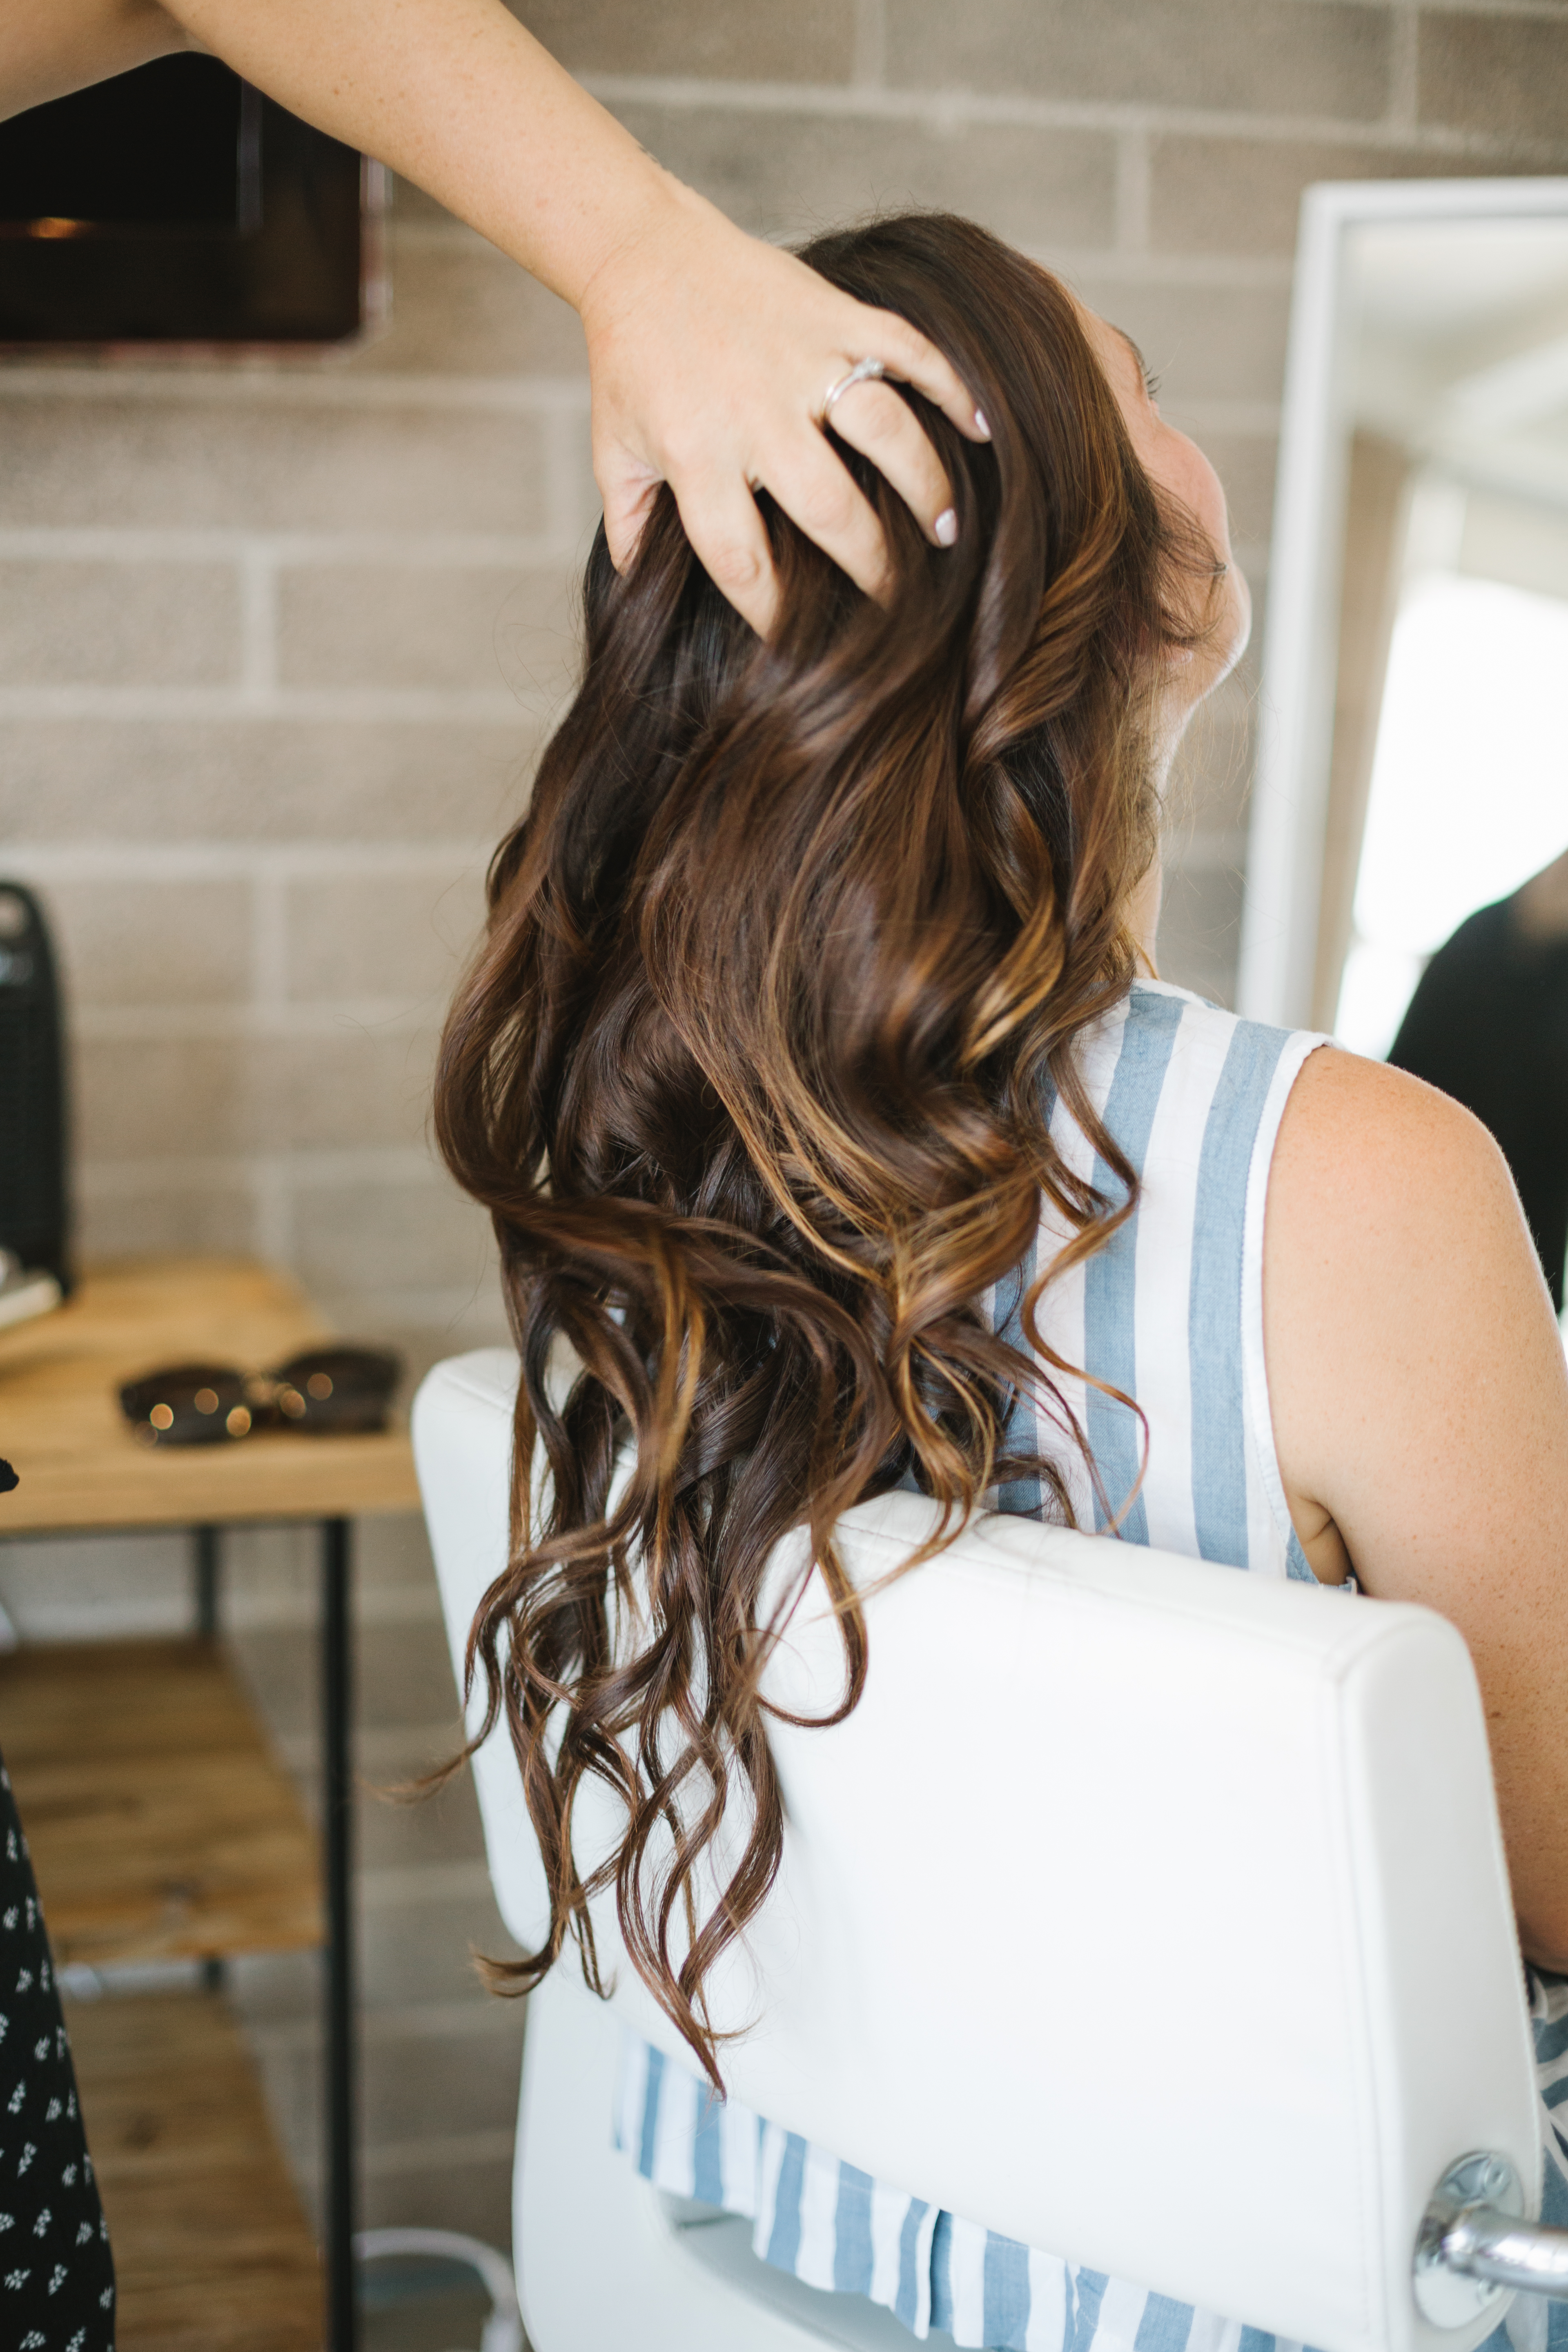
Spray a heat protectant on your hair prior to using any hot tools on your hair. You can section your hair however you would like, pining some hair up and away while you work from the nape of your neck up, or you can just pull hair from the back and work your way to the front.
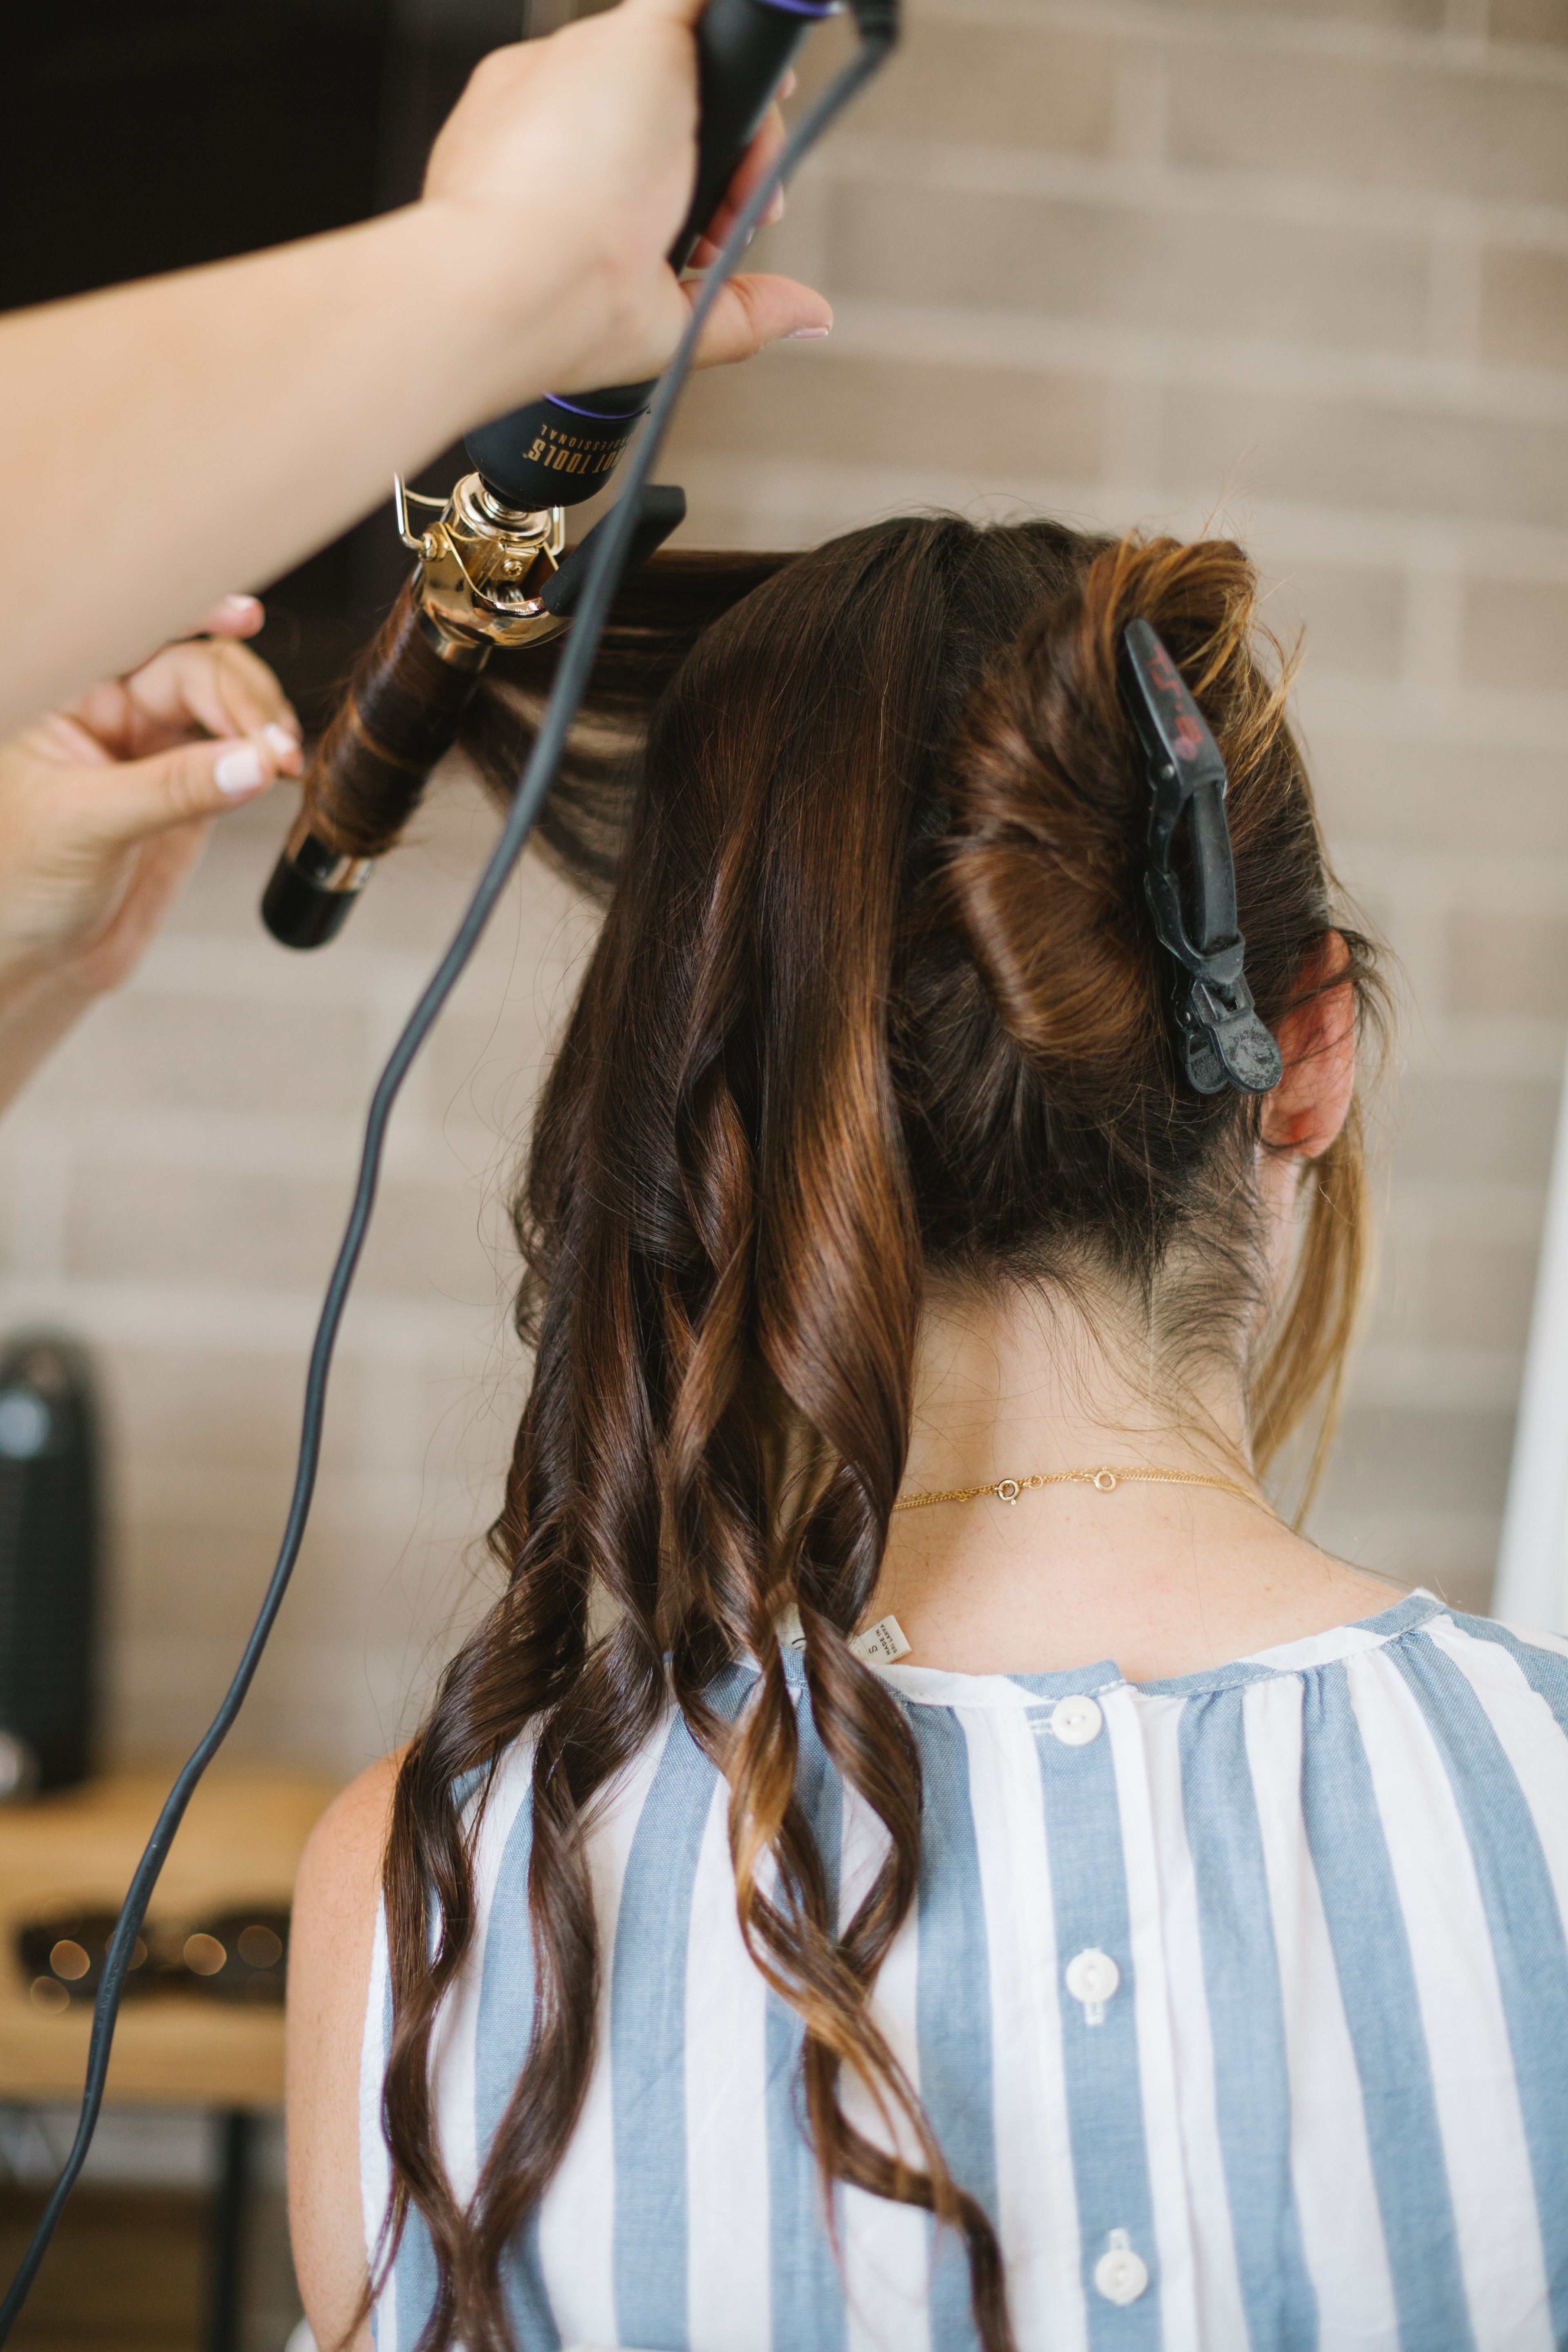 The size of the barrel you choose to use as your tool will depend on the desired size of the curl, or “looseness” of wave, you would like to achieve (bigger barrel, larger and looser the curl
 STEP 2
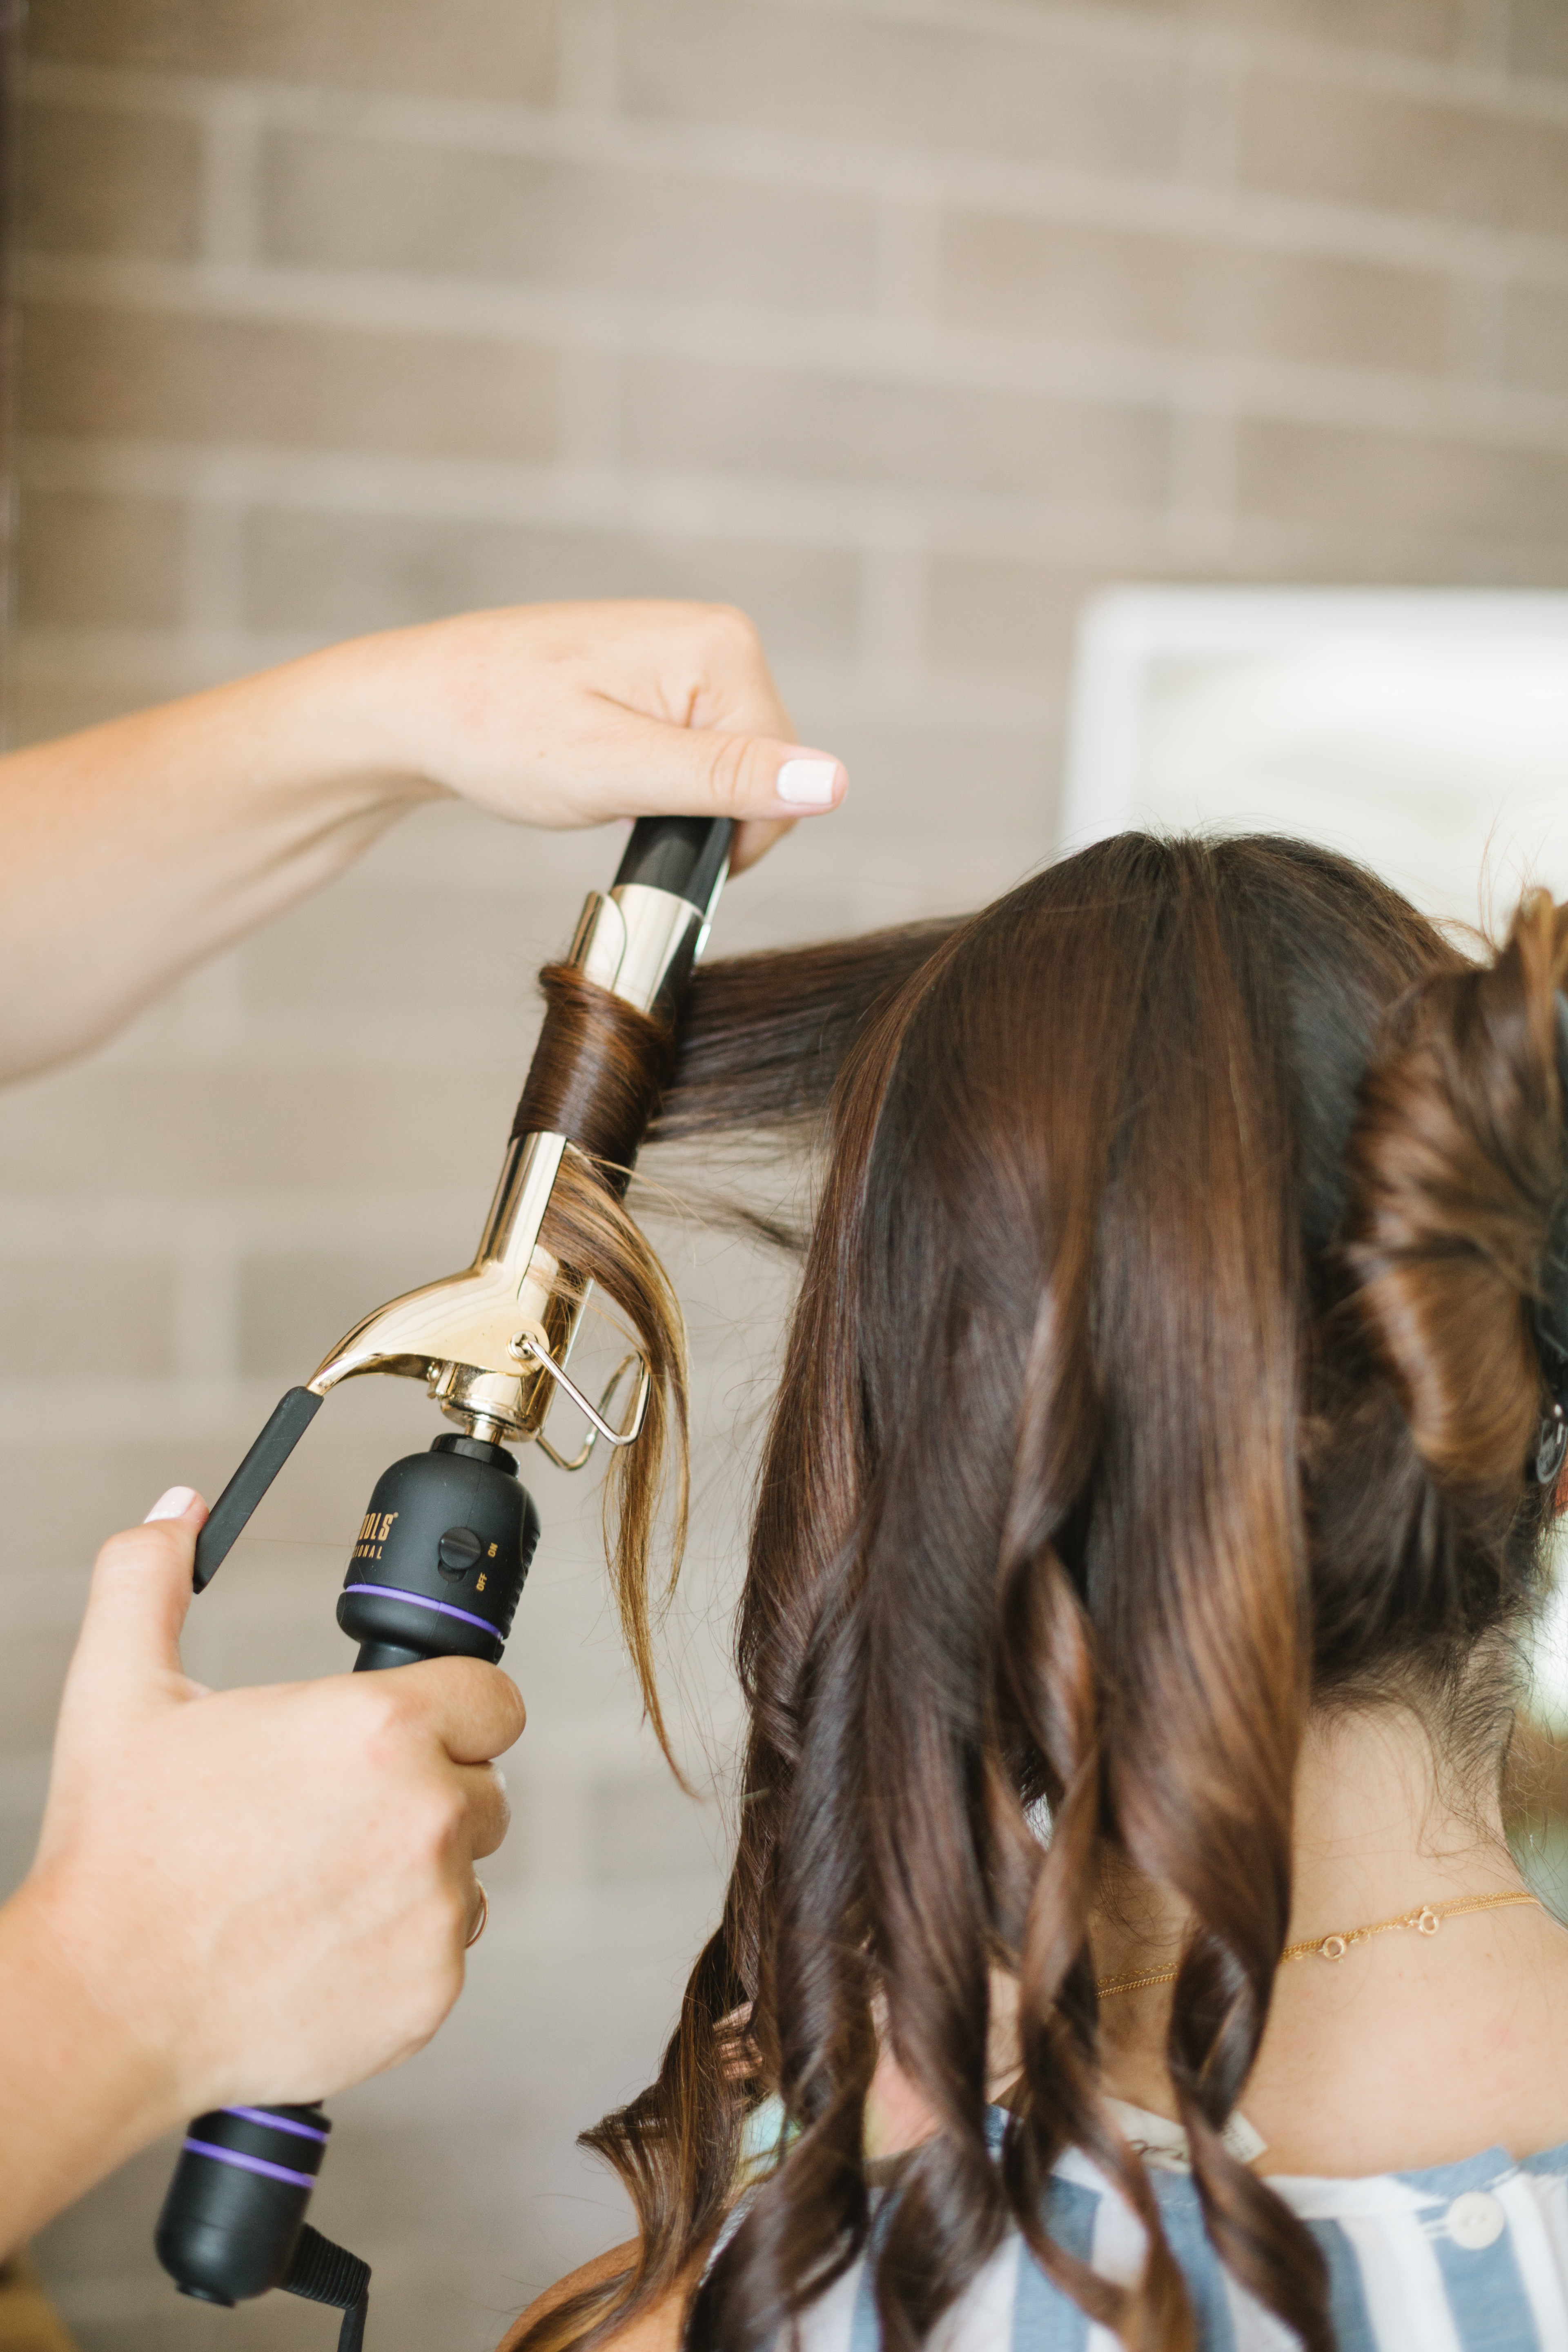
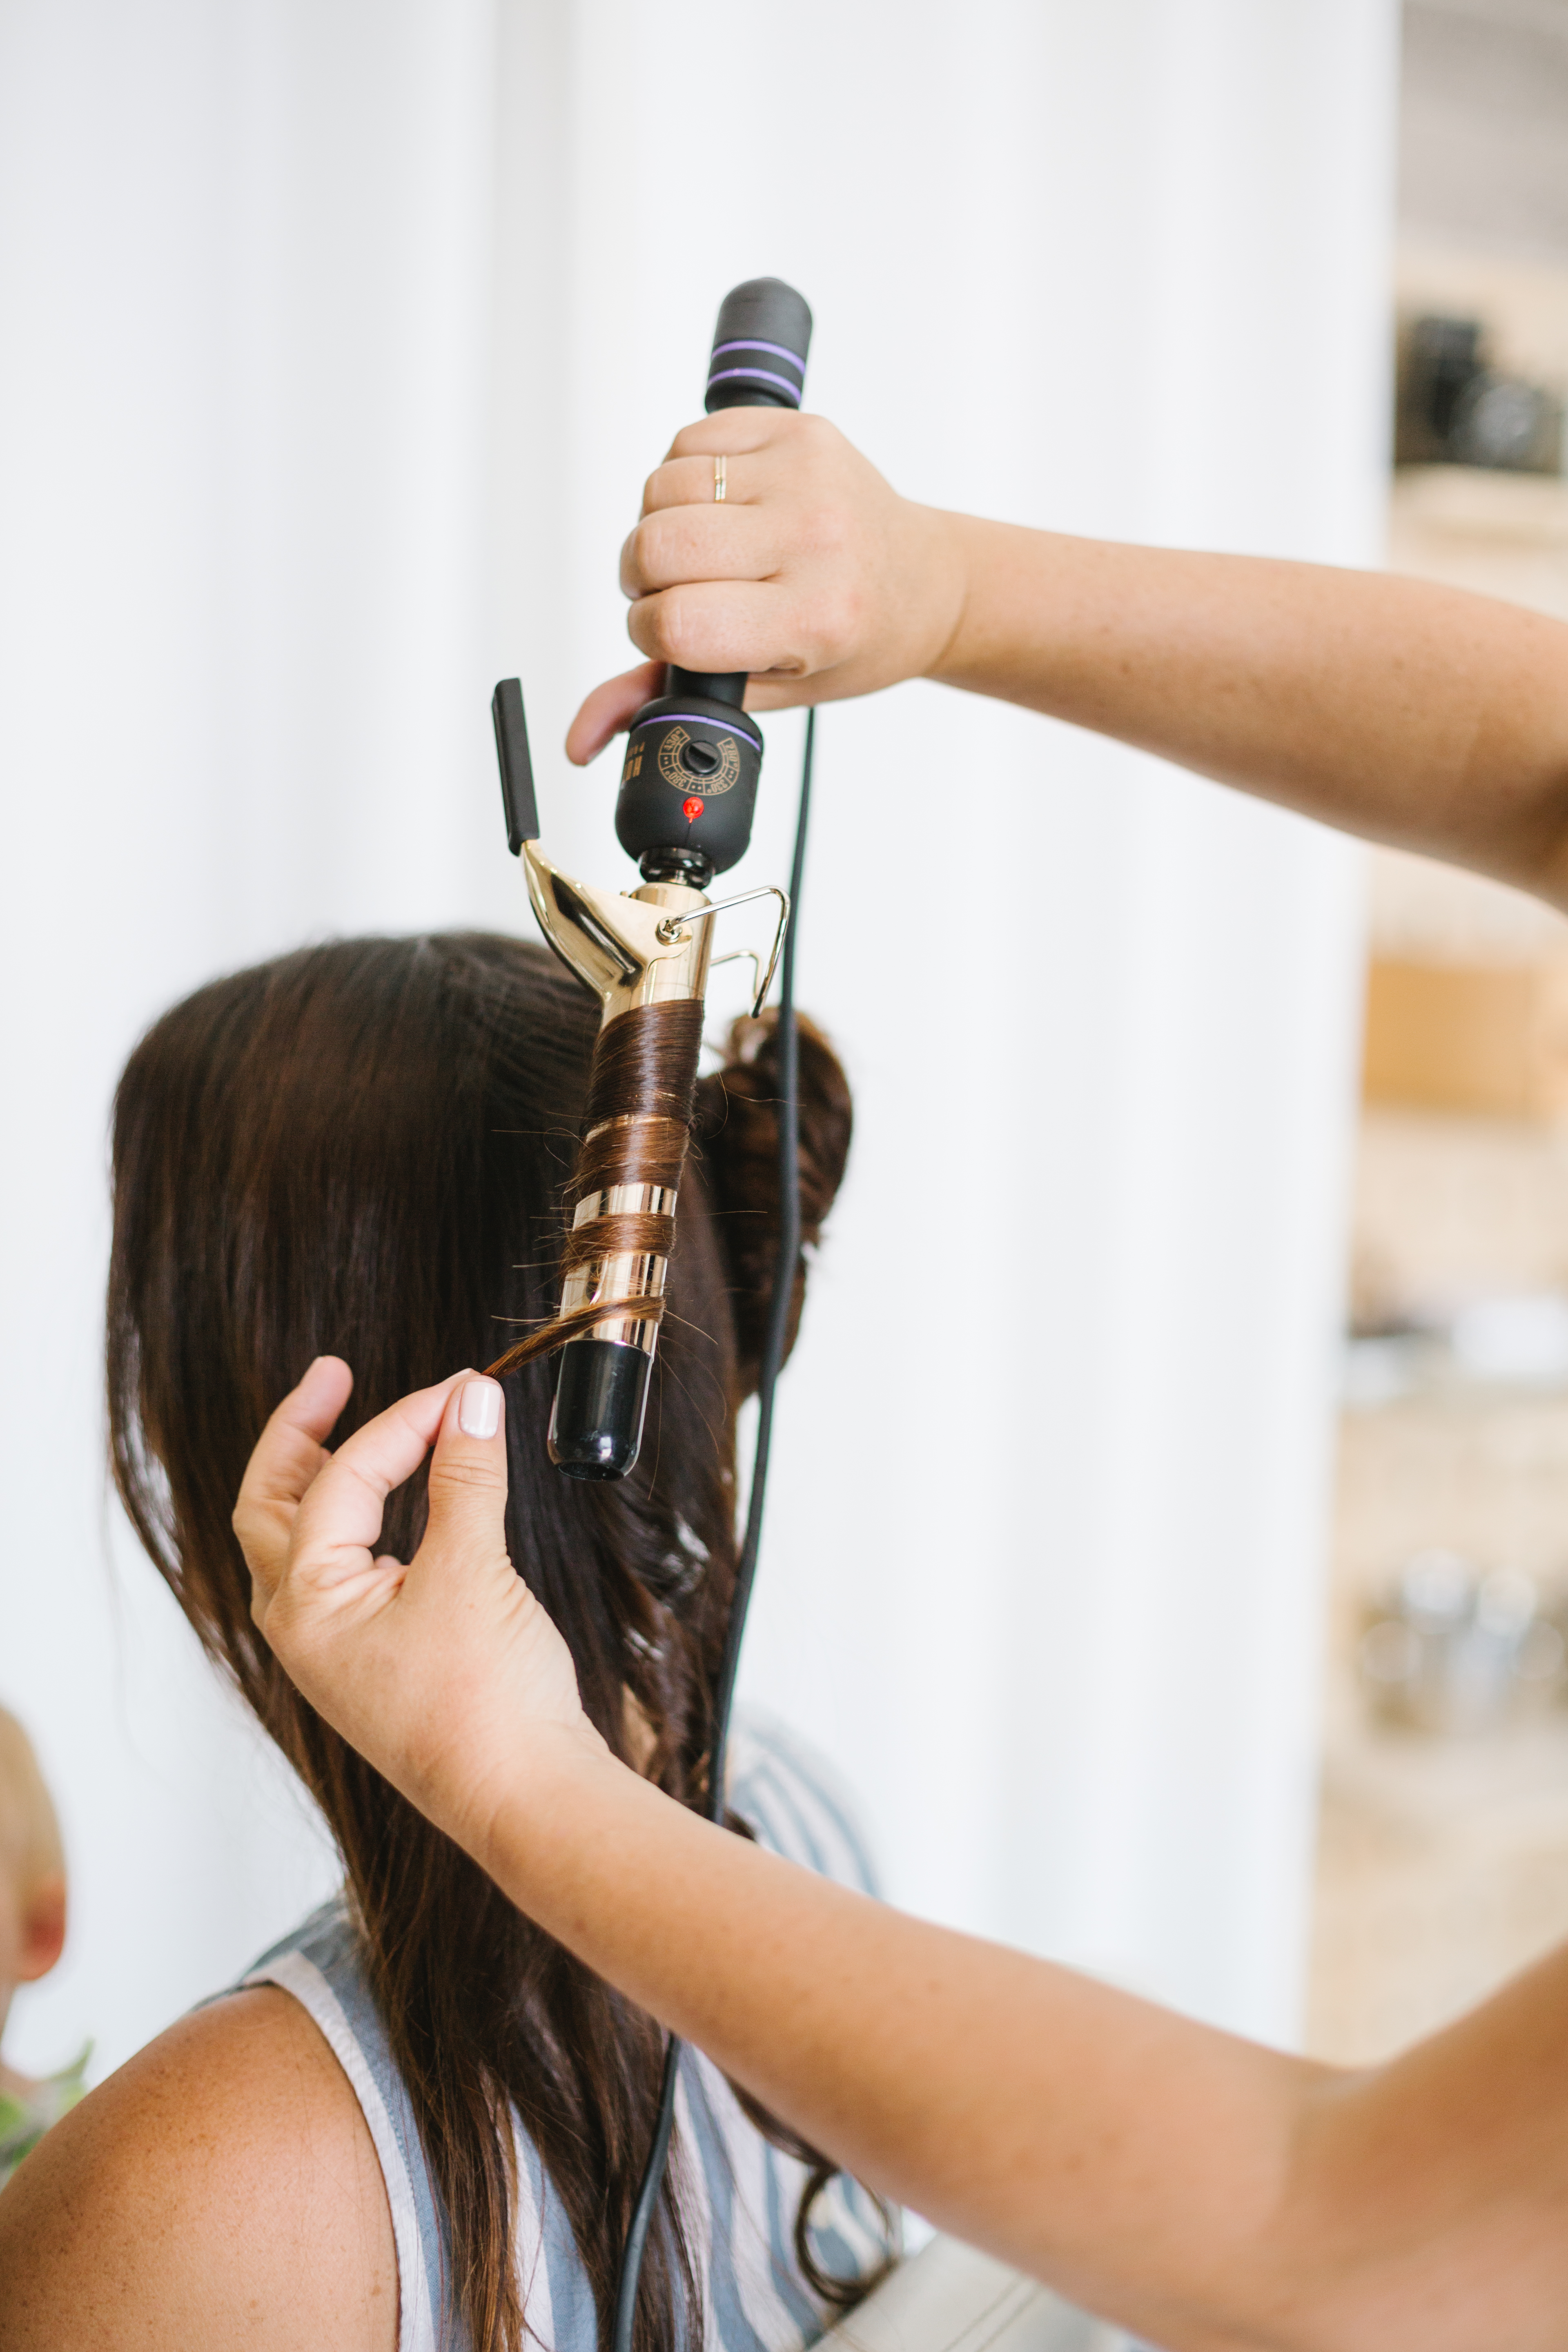
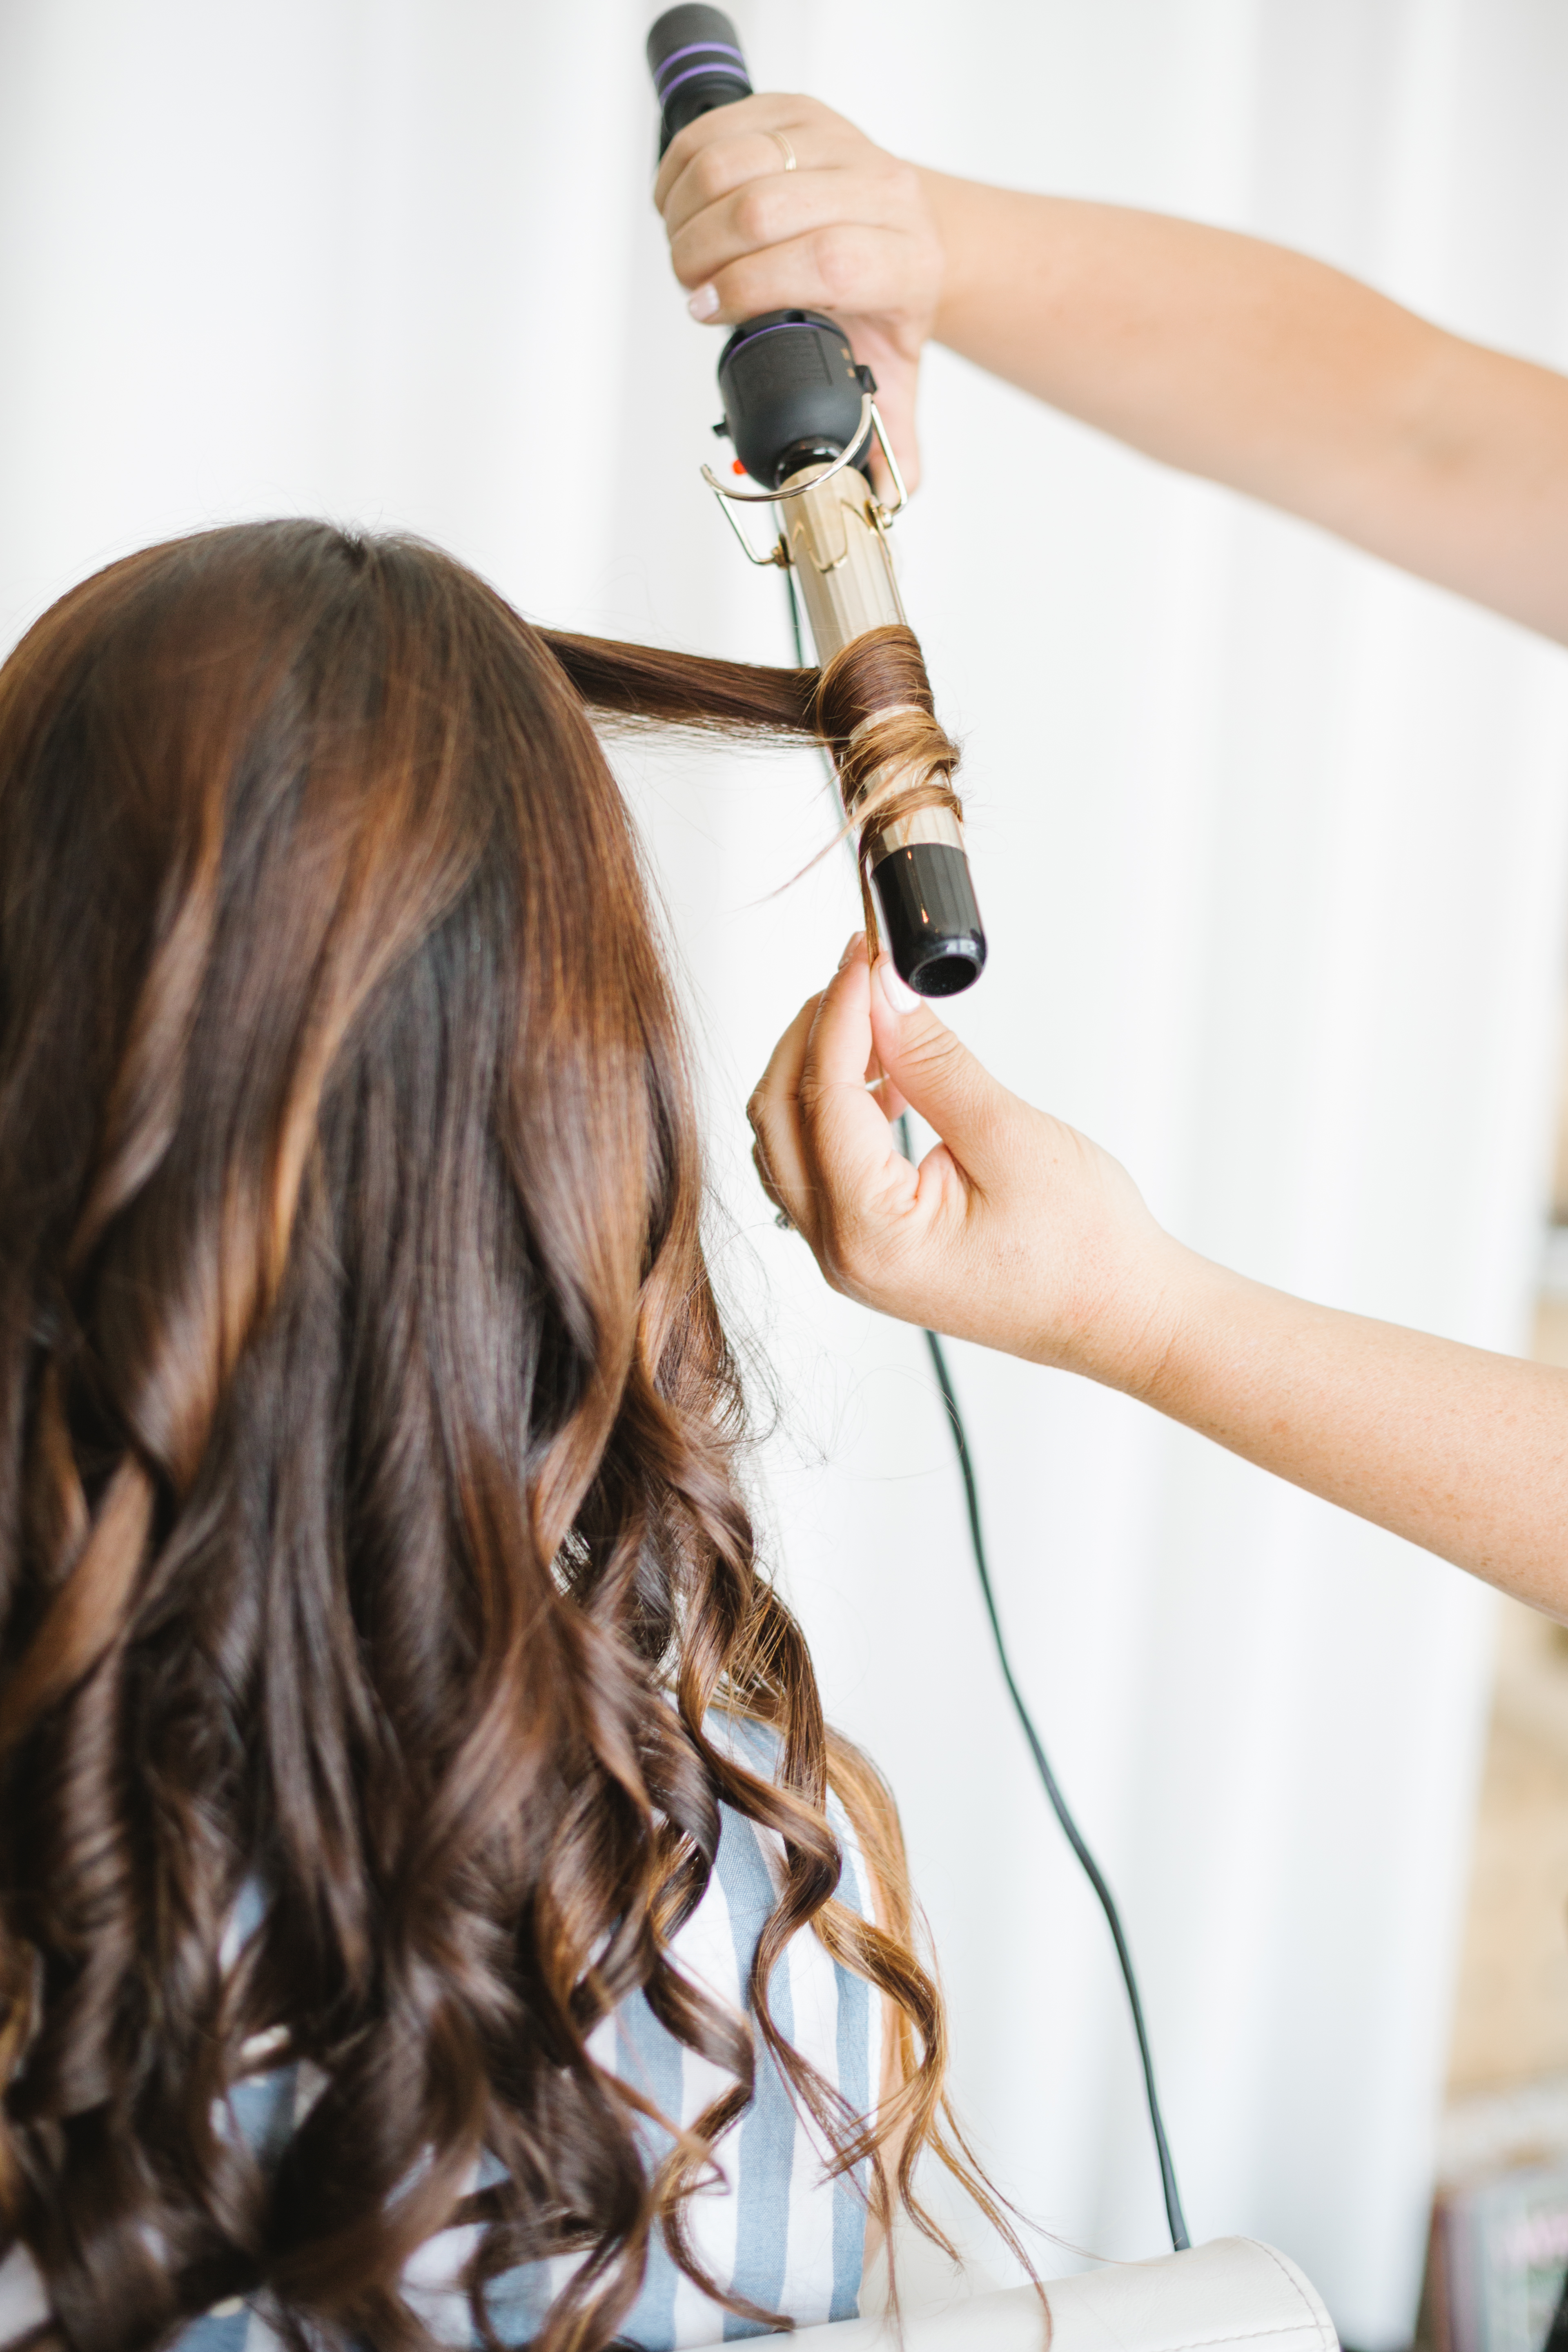
Rotate the hair around the barrel until the hair is wound. Wrap hair in rotating directions (towards face and away from the face). Start the wrap with the hair close to the scalp working your way to the ends of the hair. Try to hold the ends of the hair with one hand as you curl with the other. This will help to control the hair and keep the hair taut as you work your way down. It will also keep the ends protected from too much heat.
Don’t be afraid to move the iron around so it makes it easier to control. You can direct the iron angled up or you can direct the iron angled down, depending on what side of the head you are working on, and what hand is your dominant hand.

 STEP 3
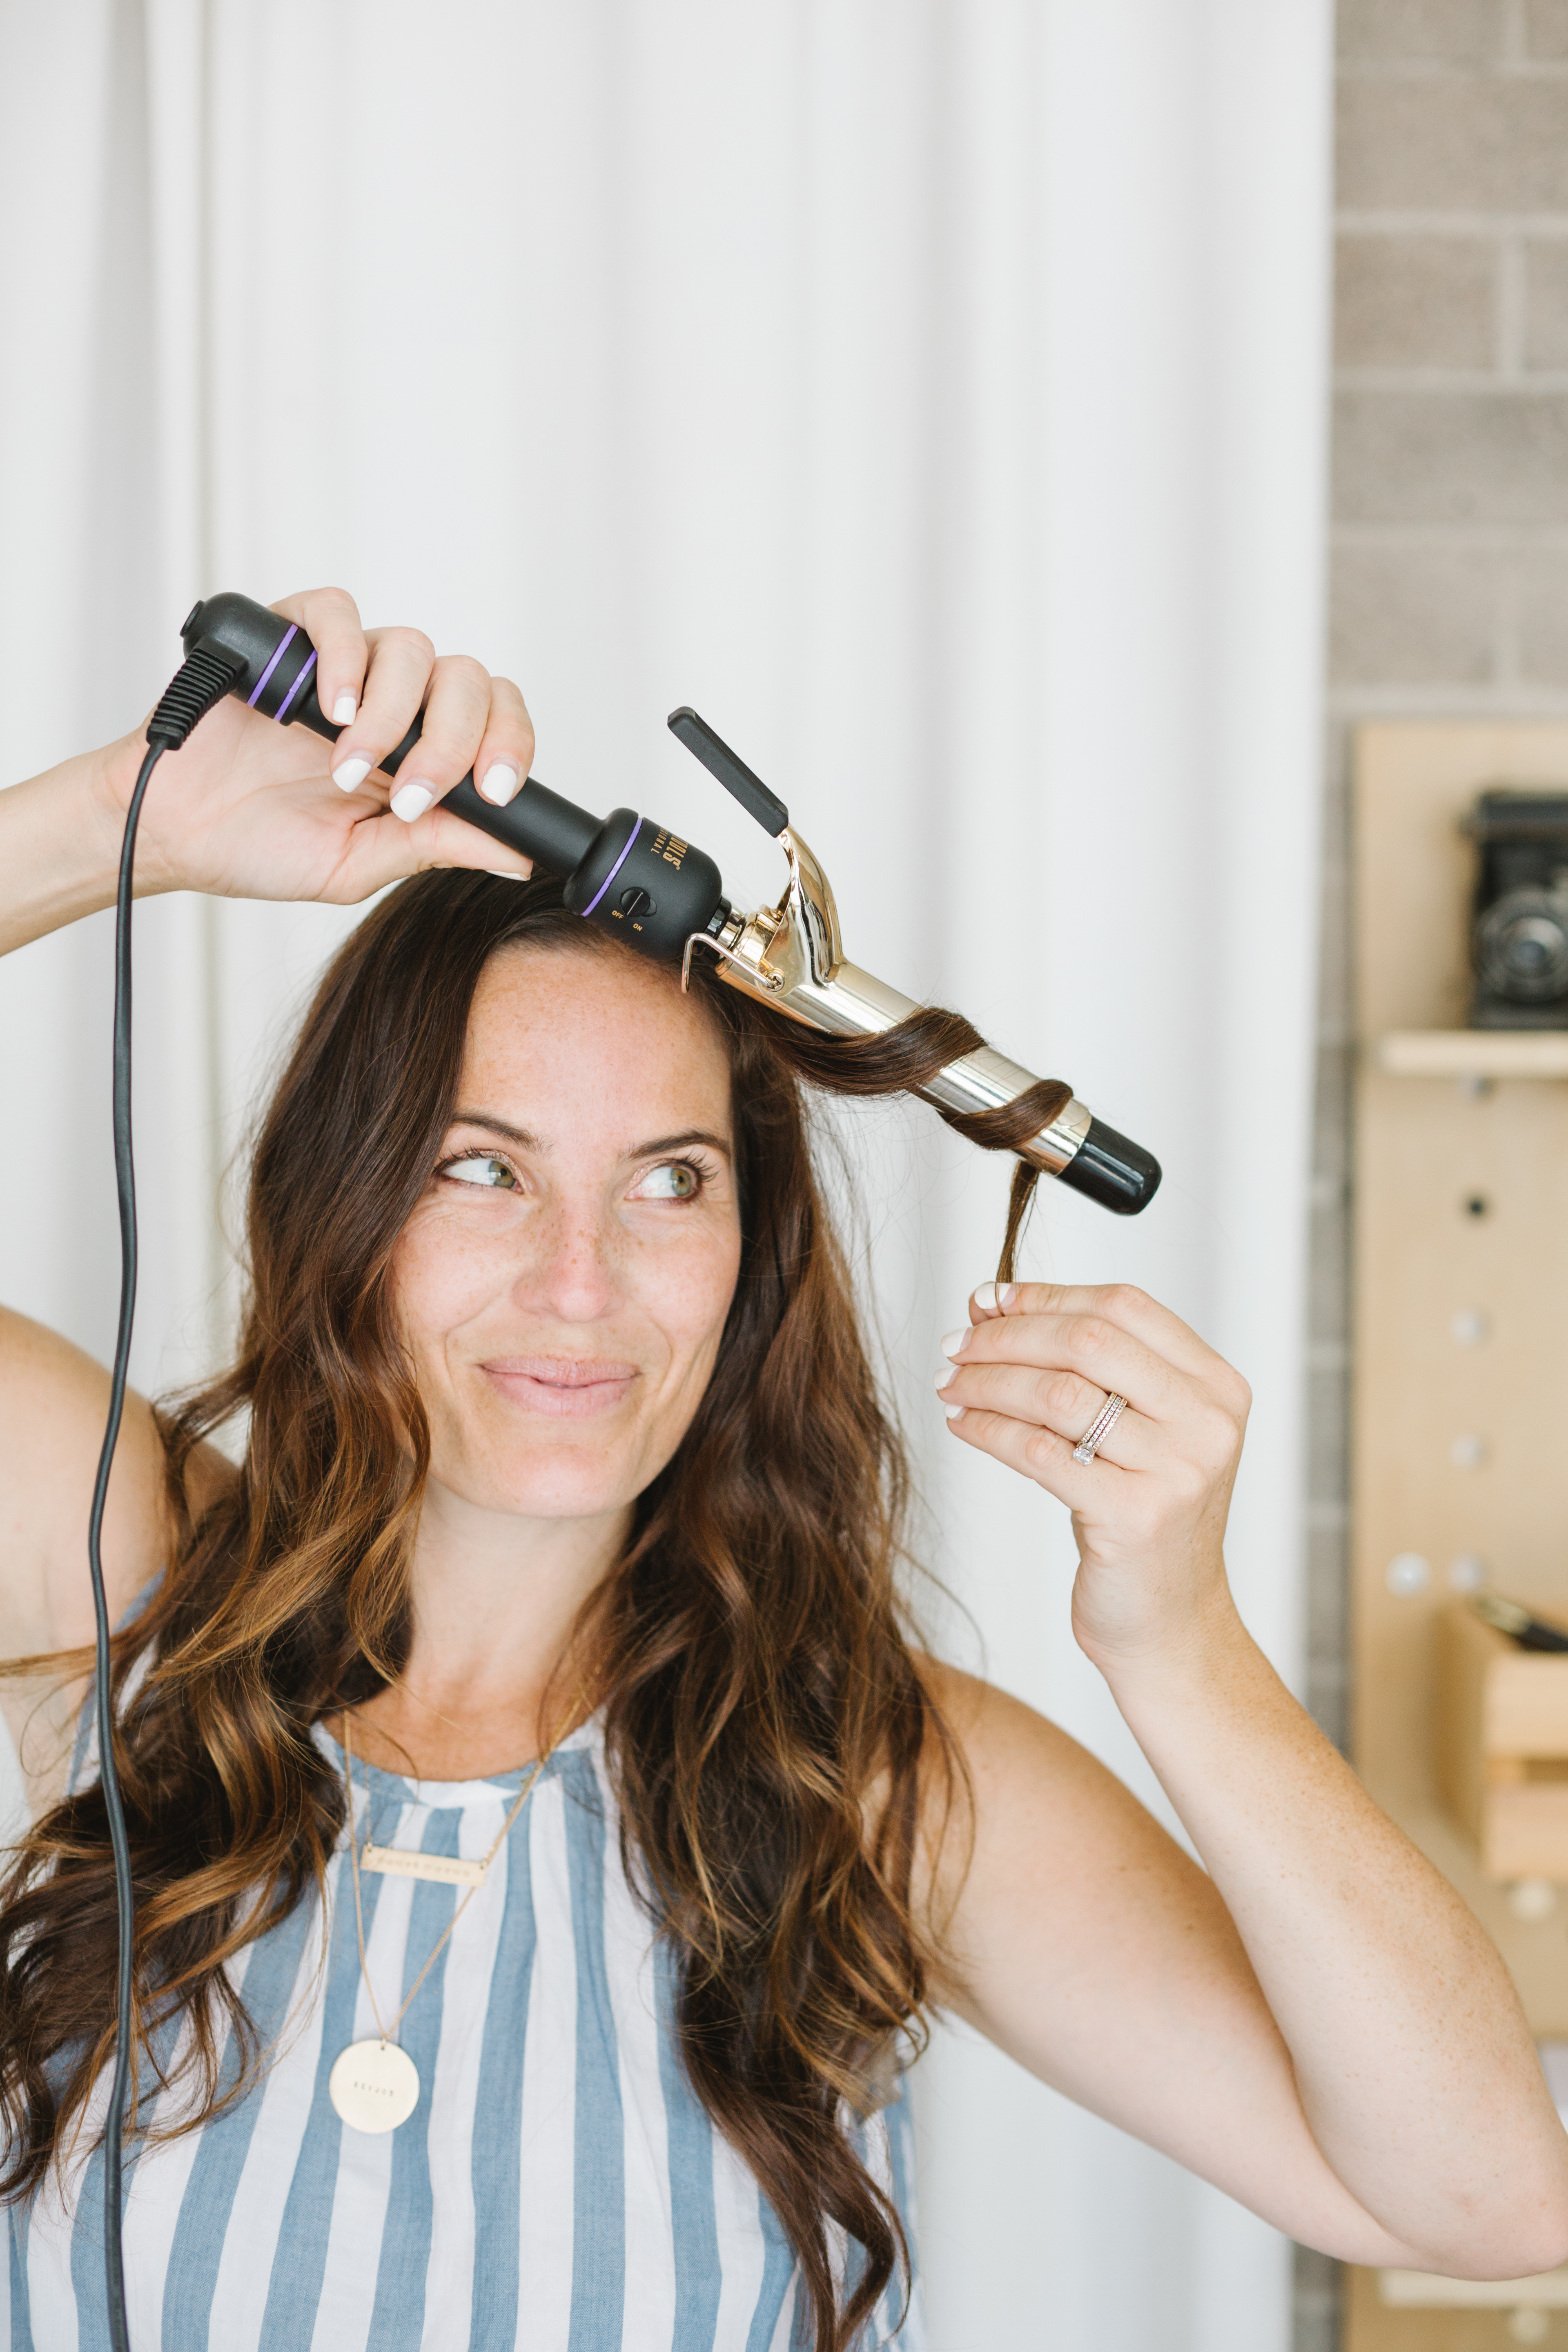
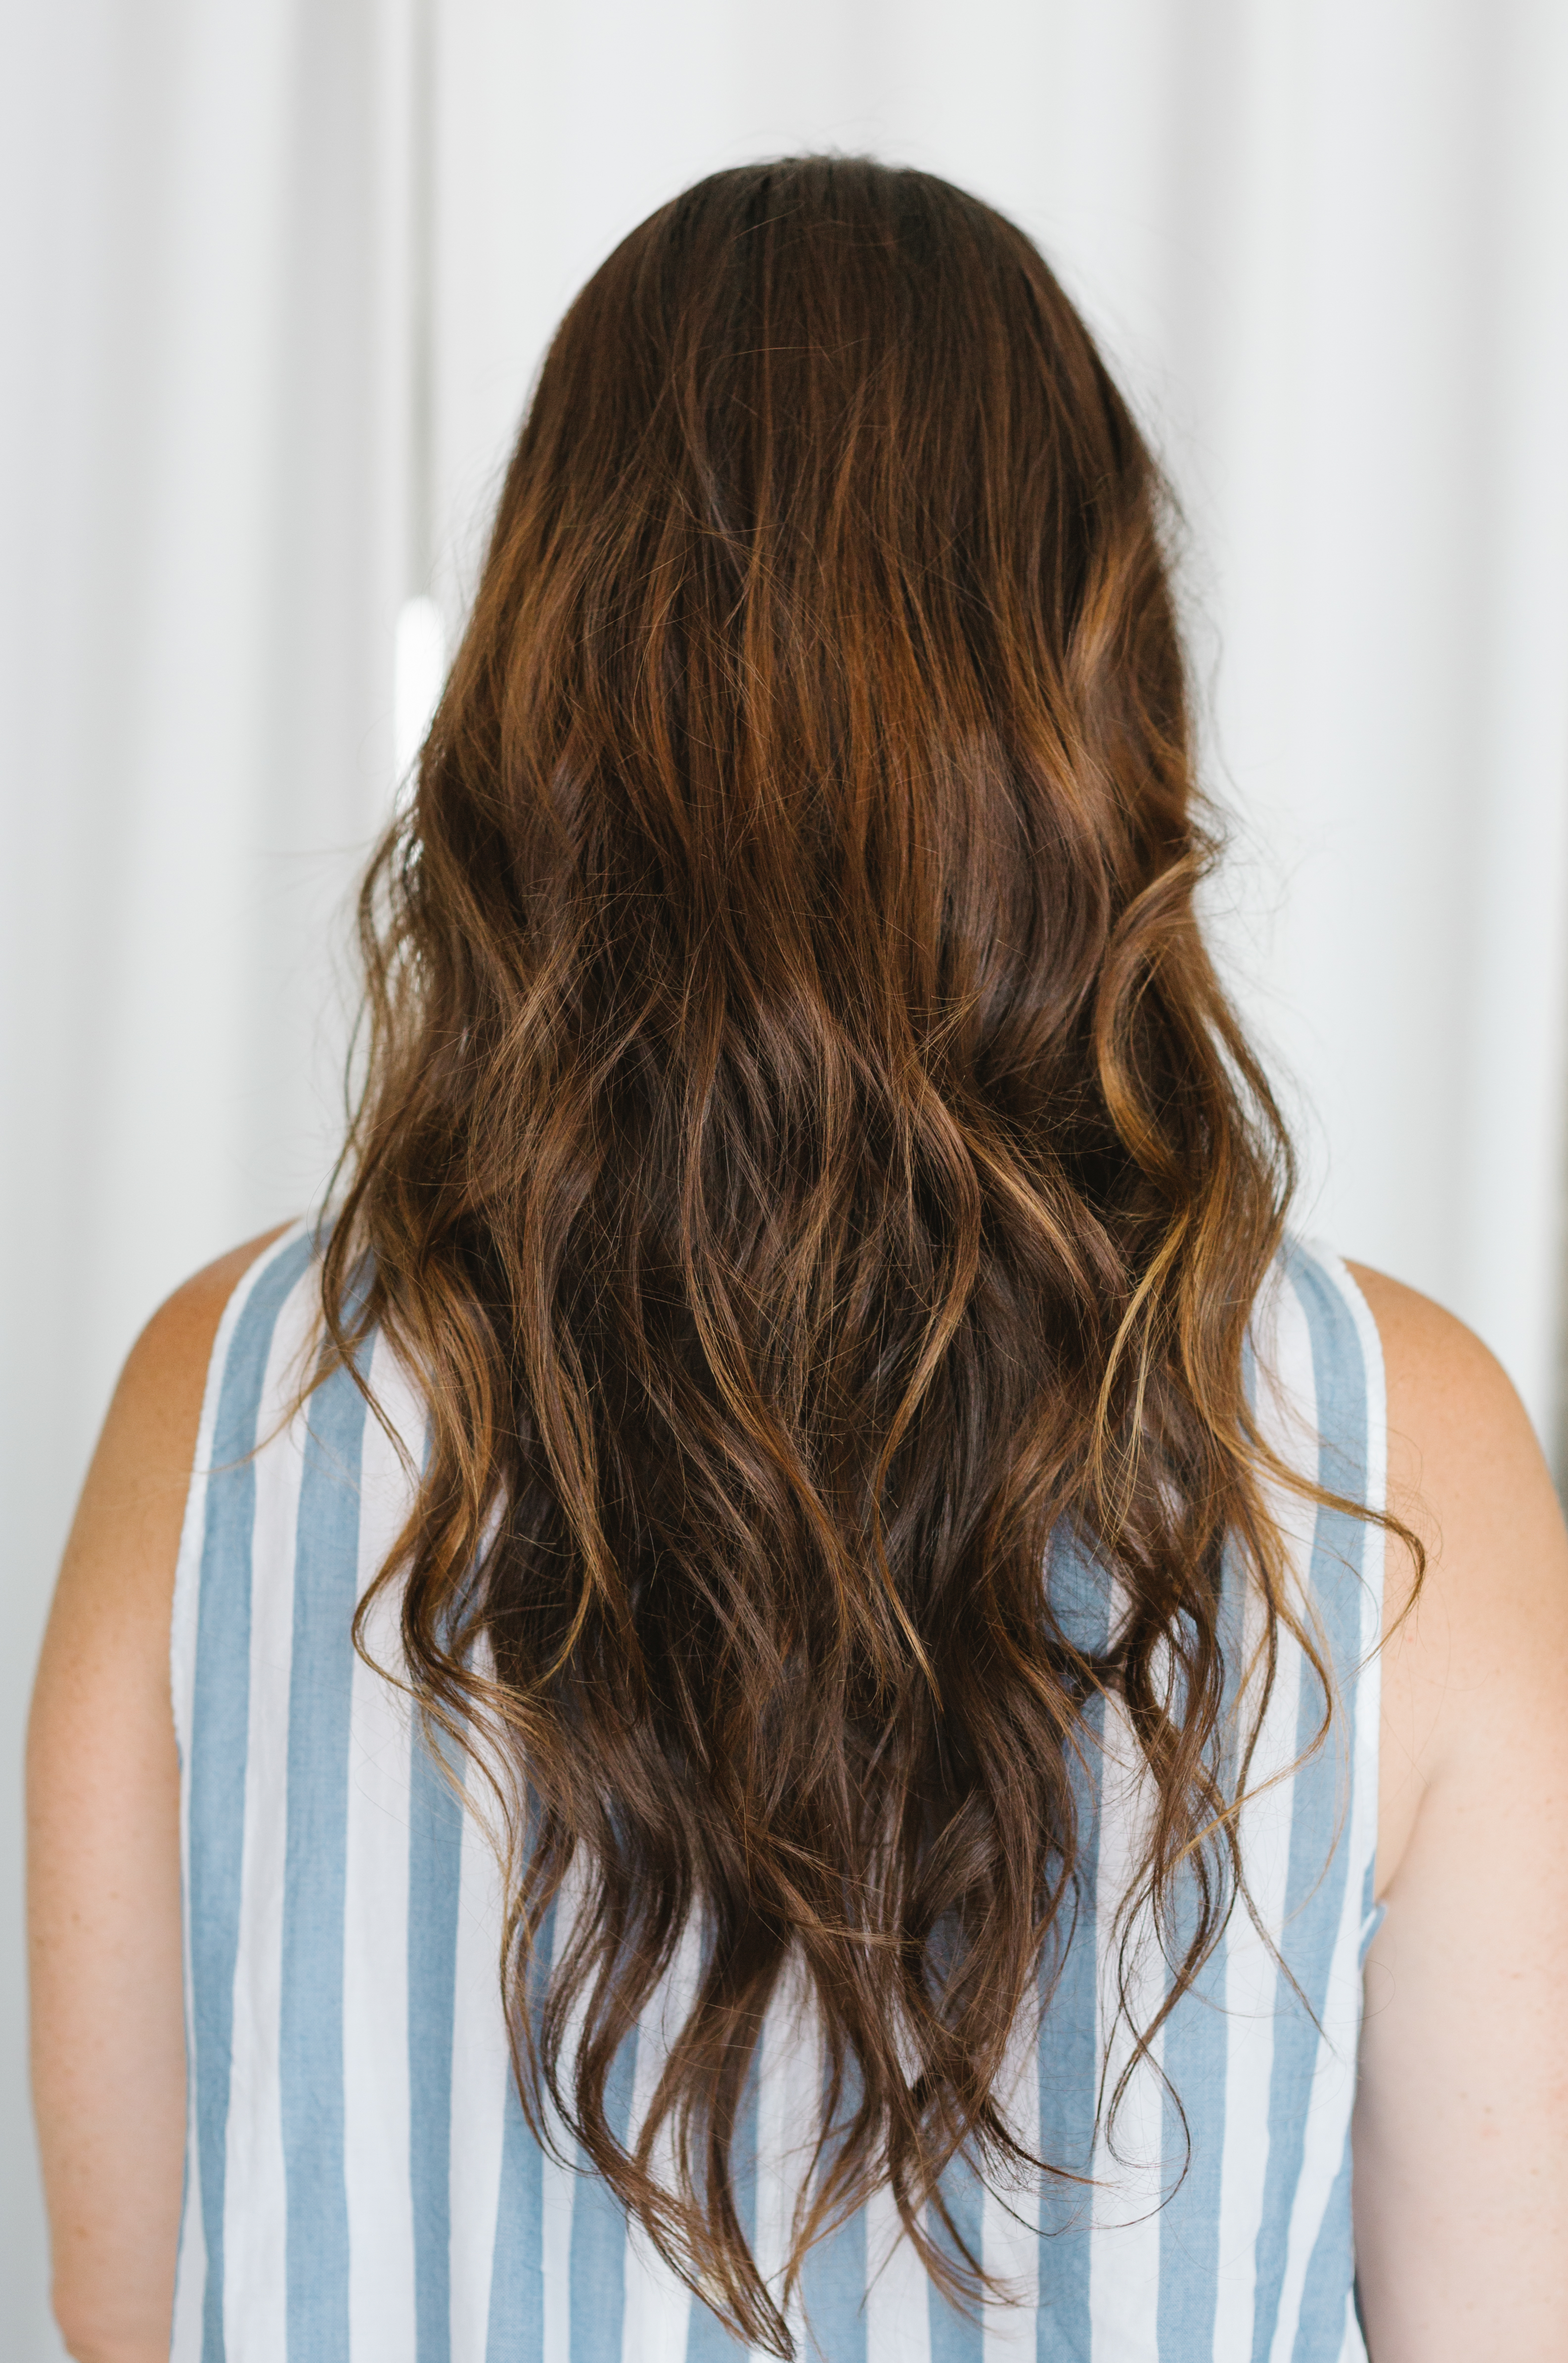
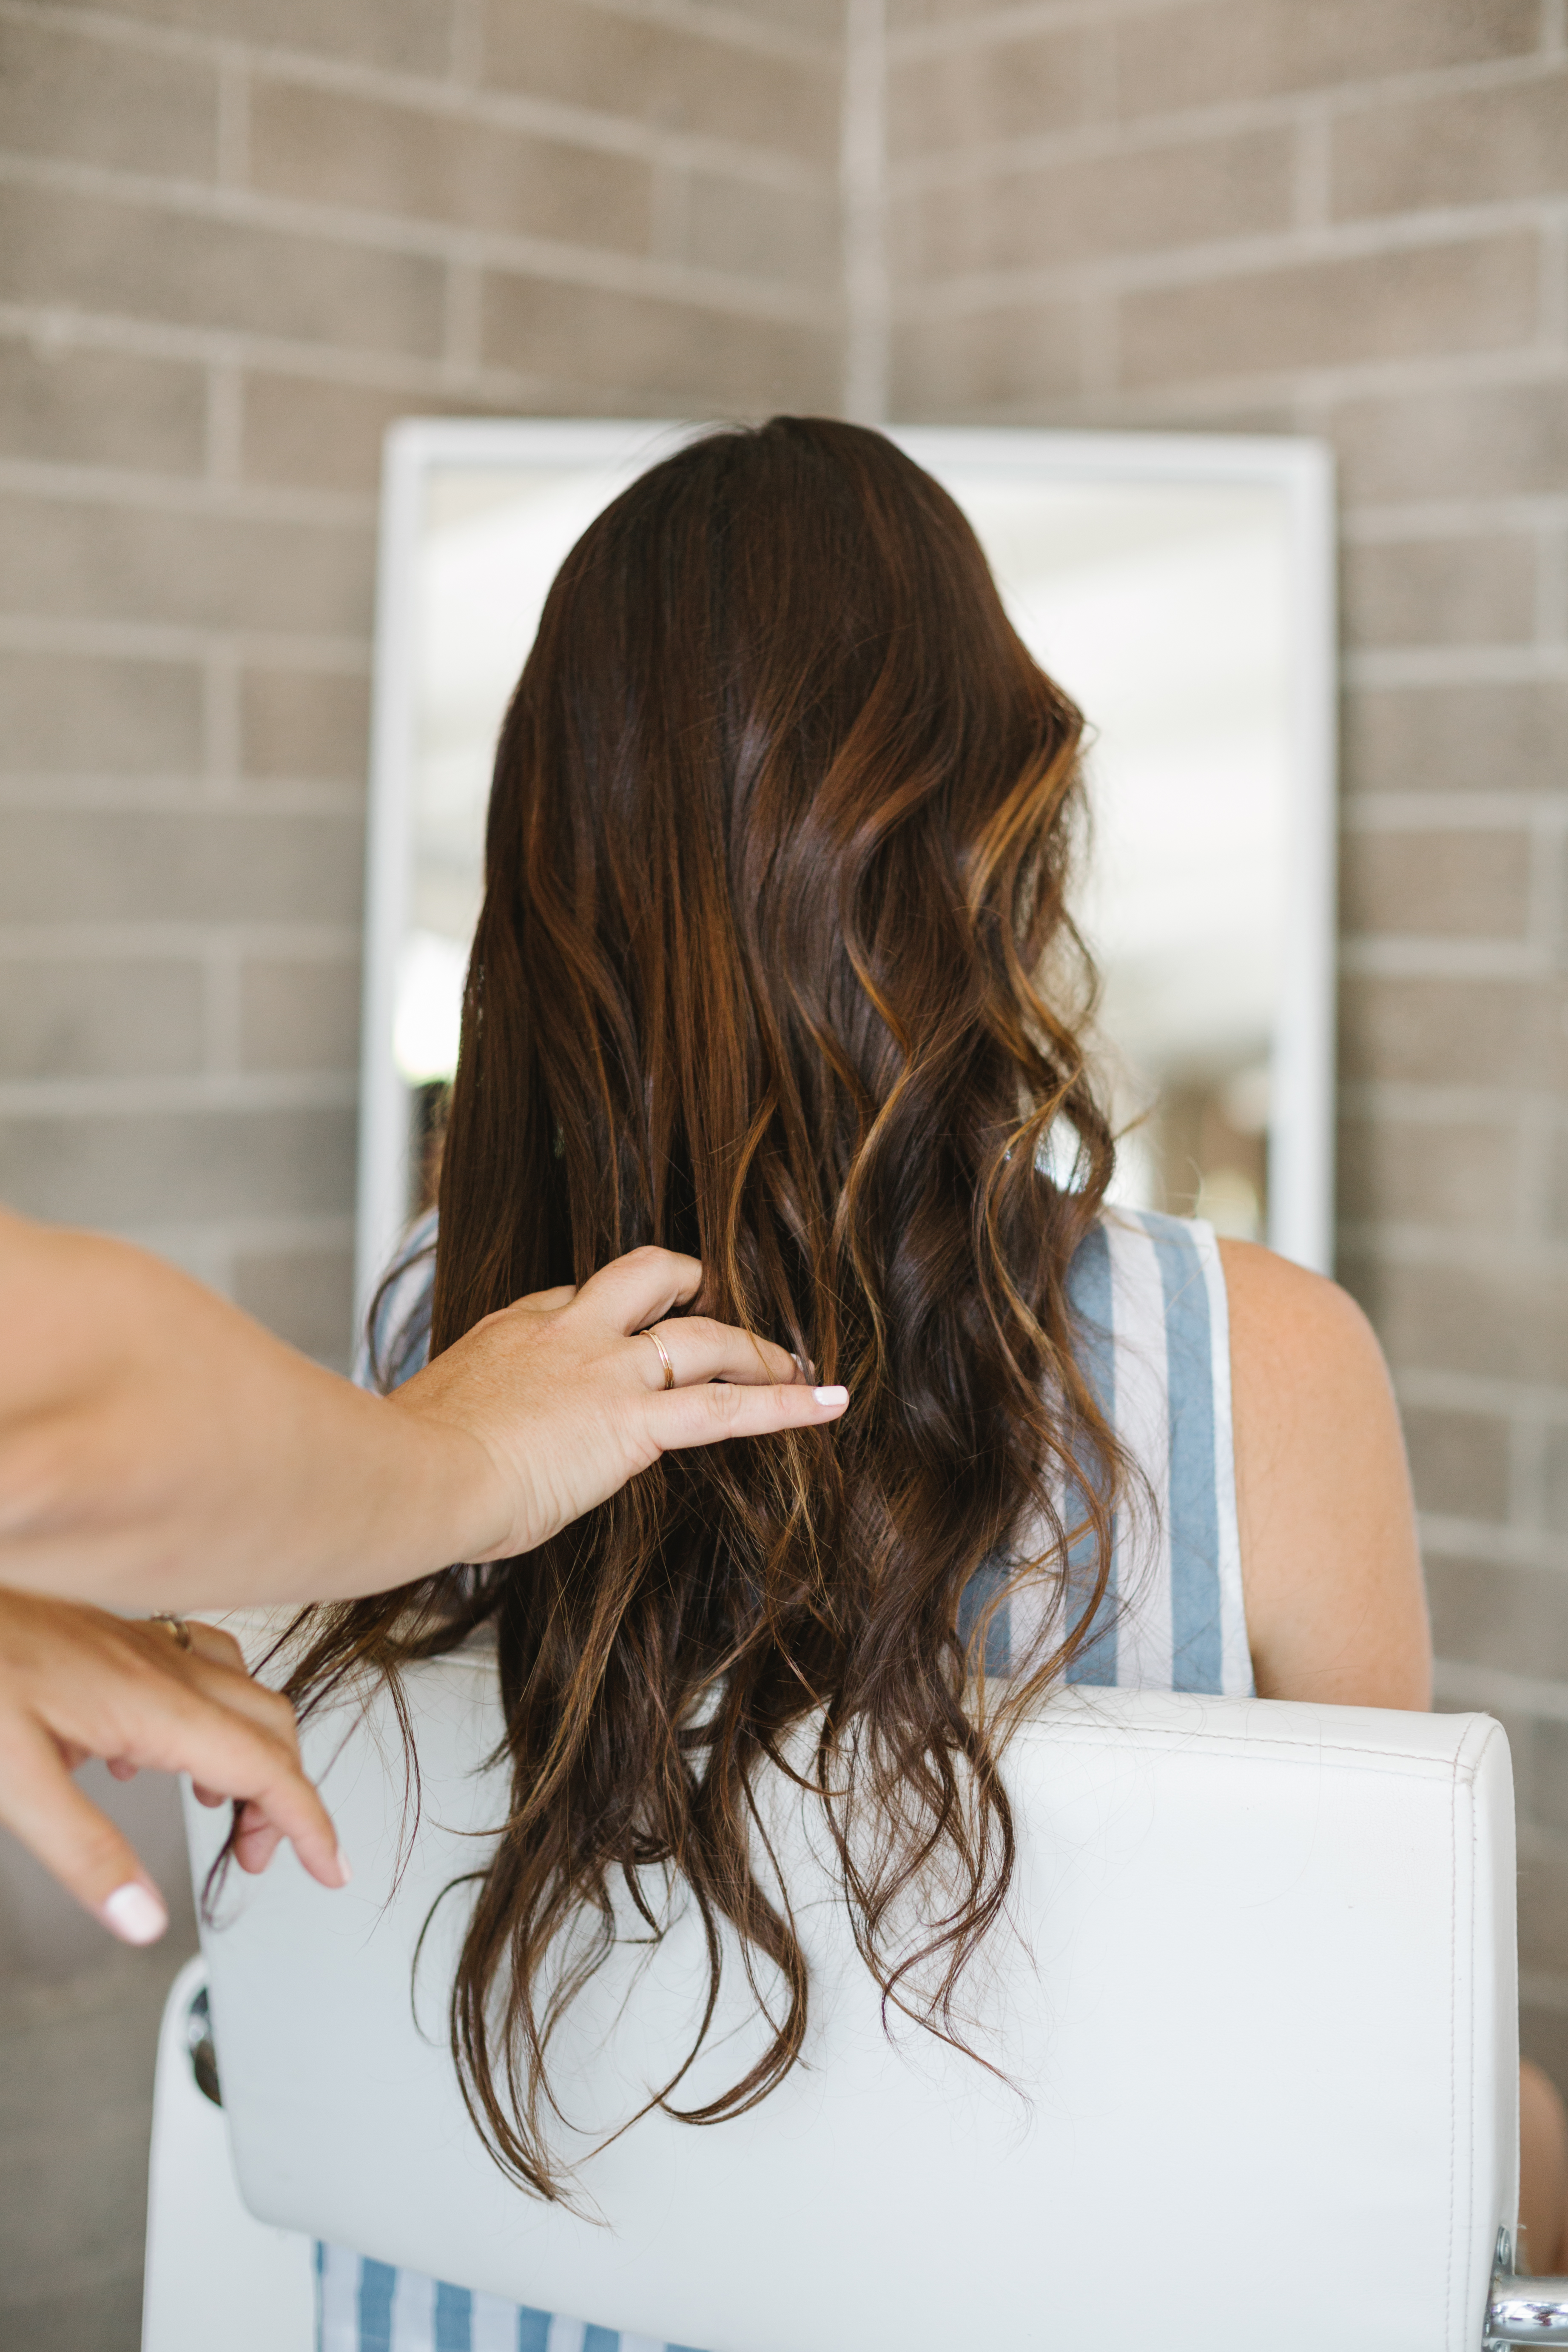
The hair that frames the face should be directed away from the face. Once you have worked your way around the head, you can use your fingers to break up the curls leaving you with loose, tousled, curls.
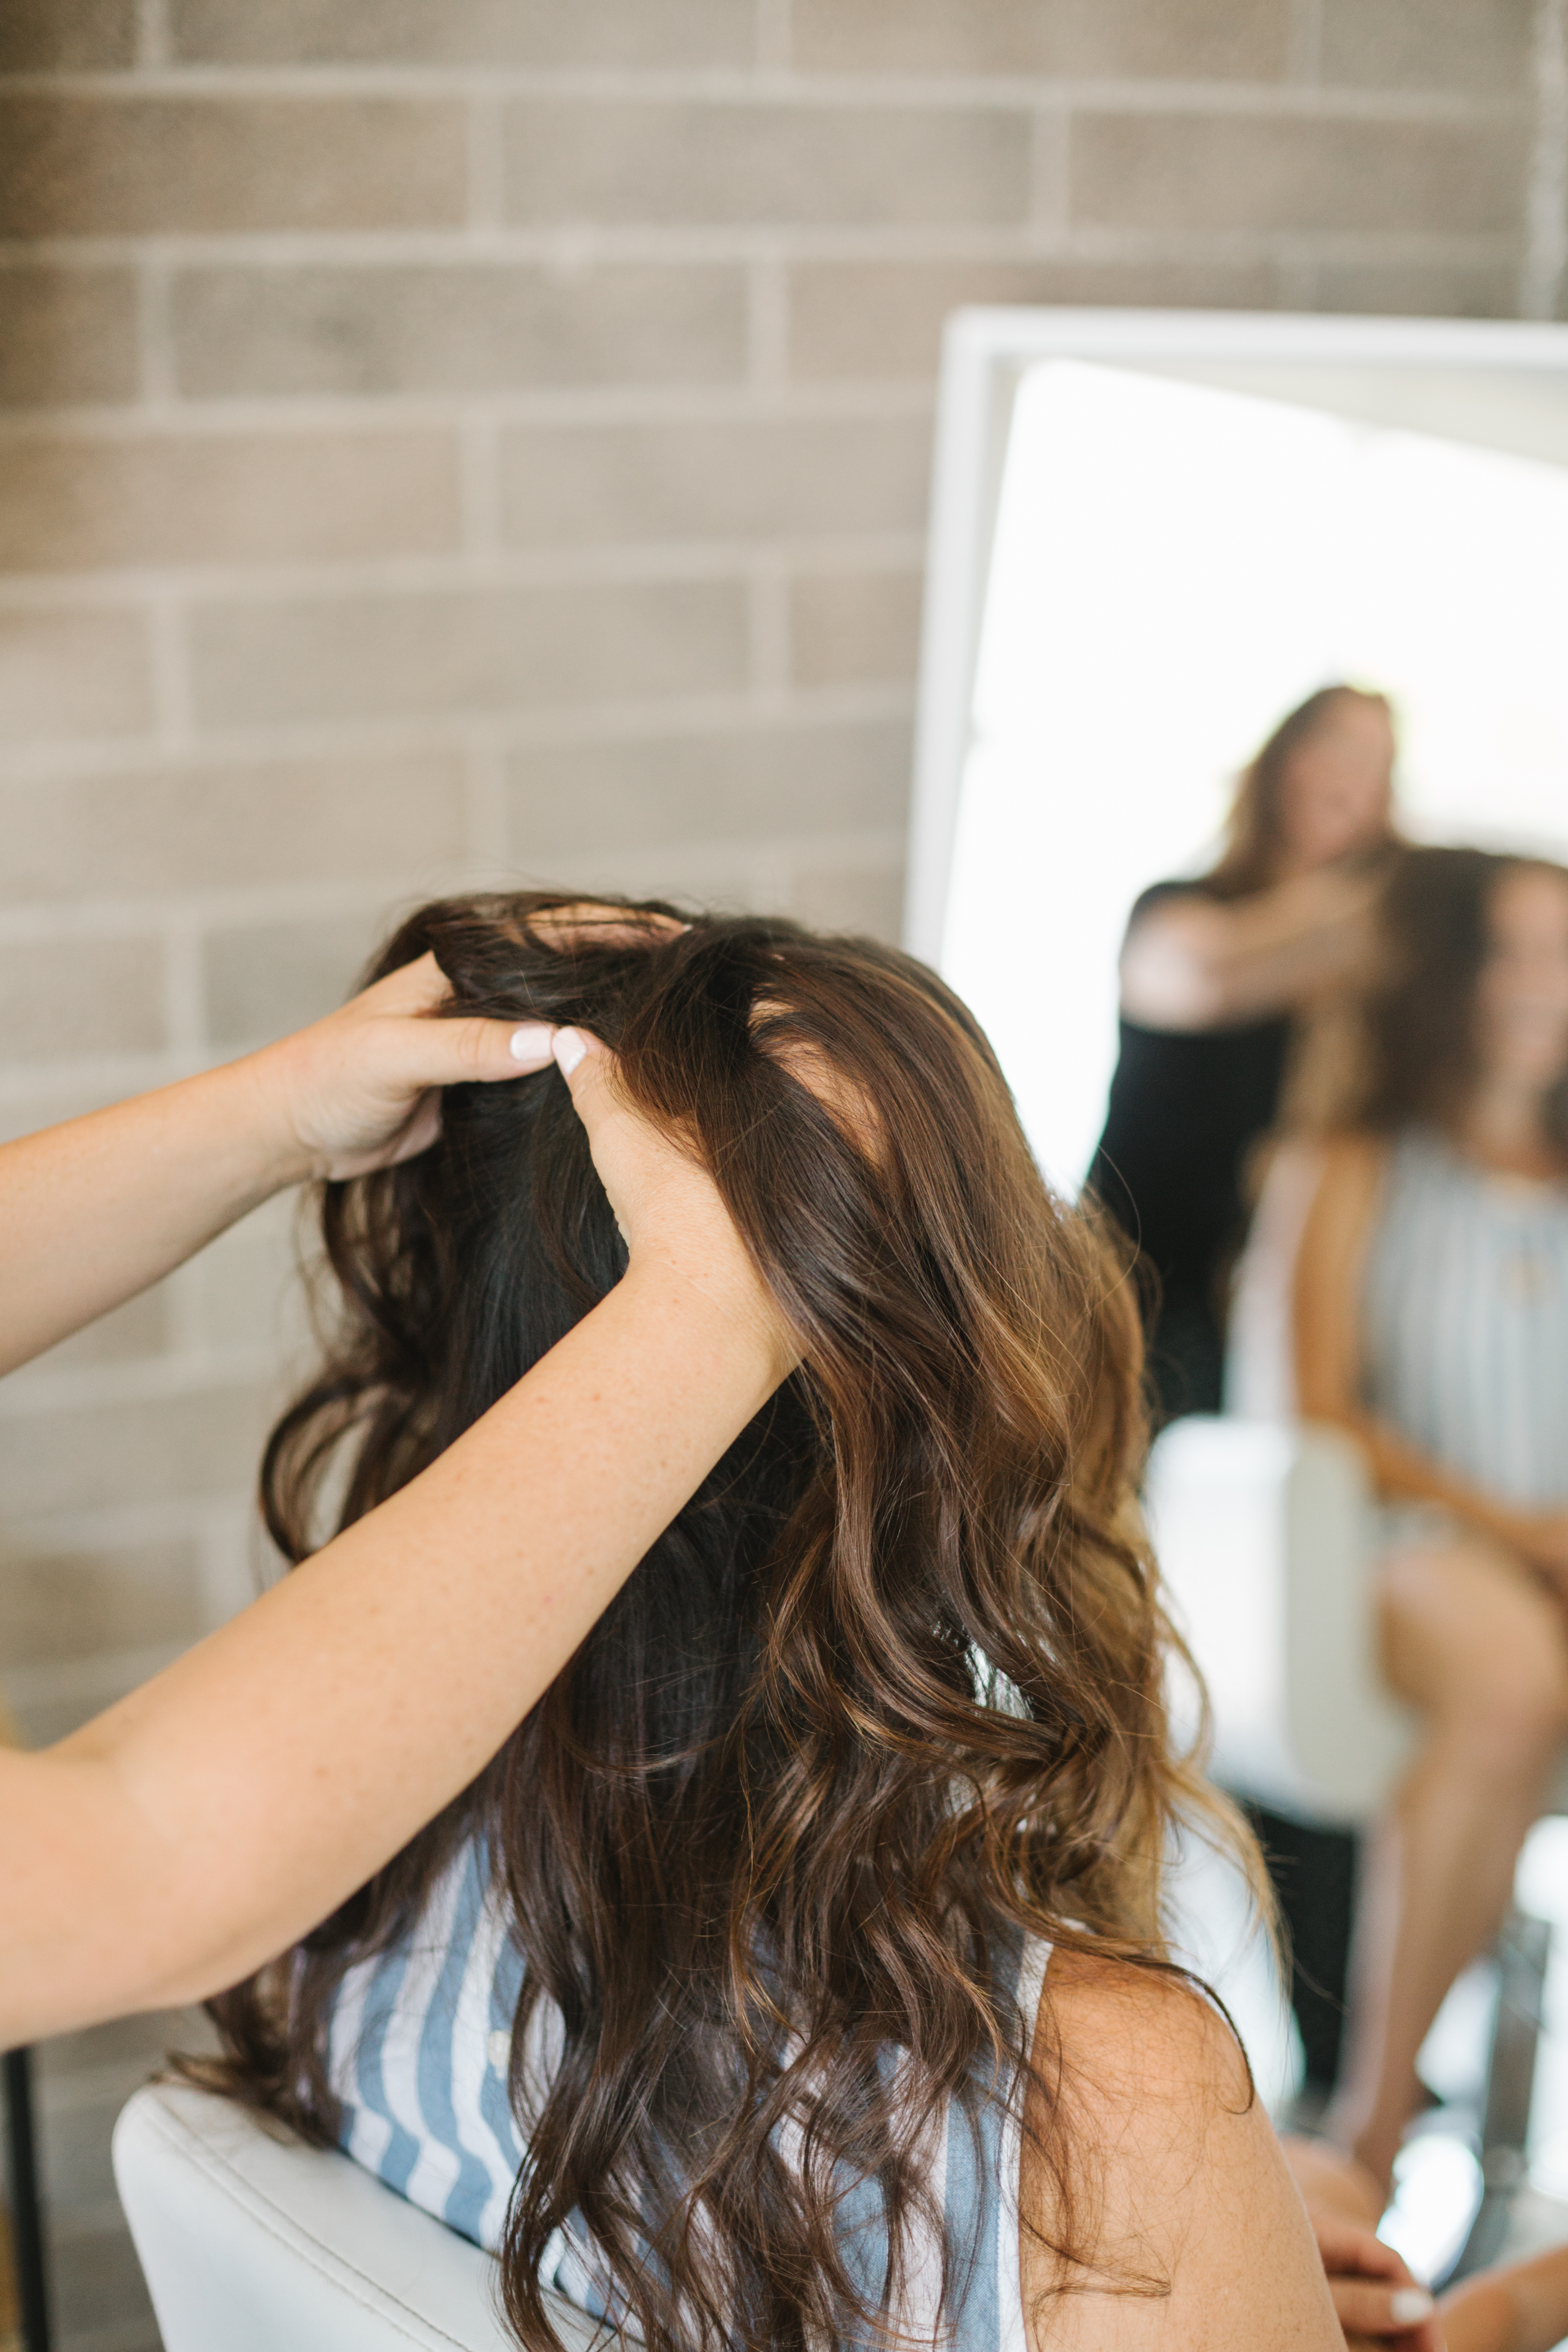
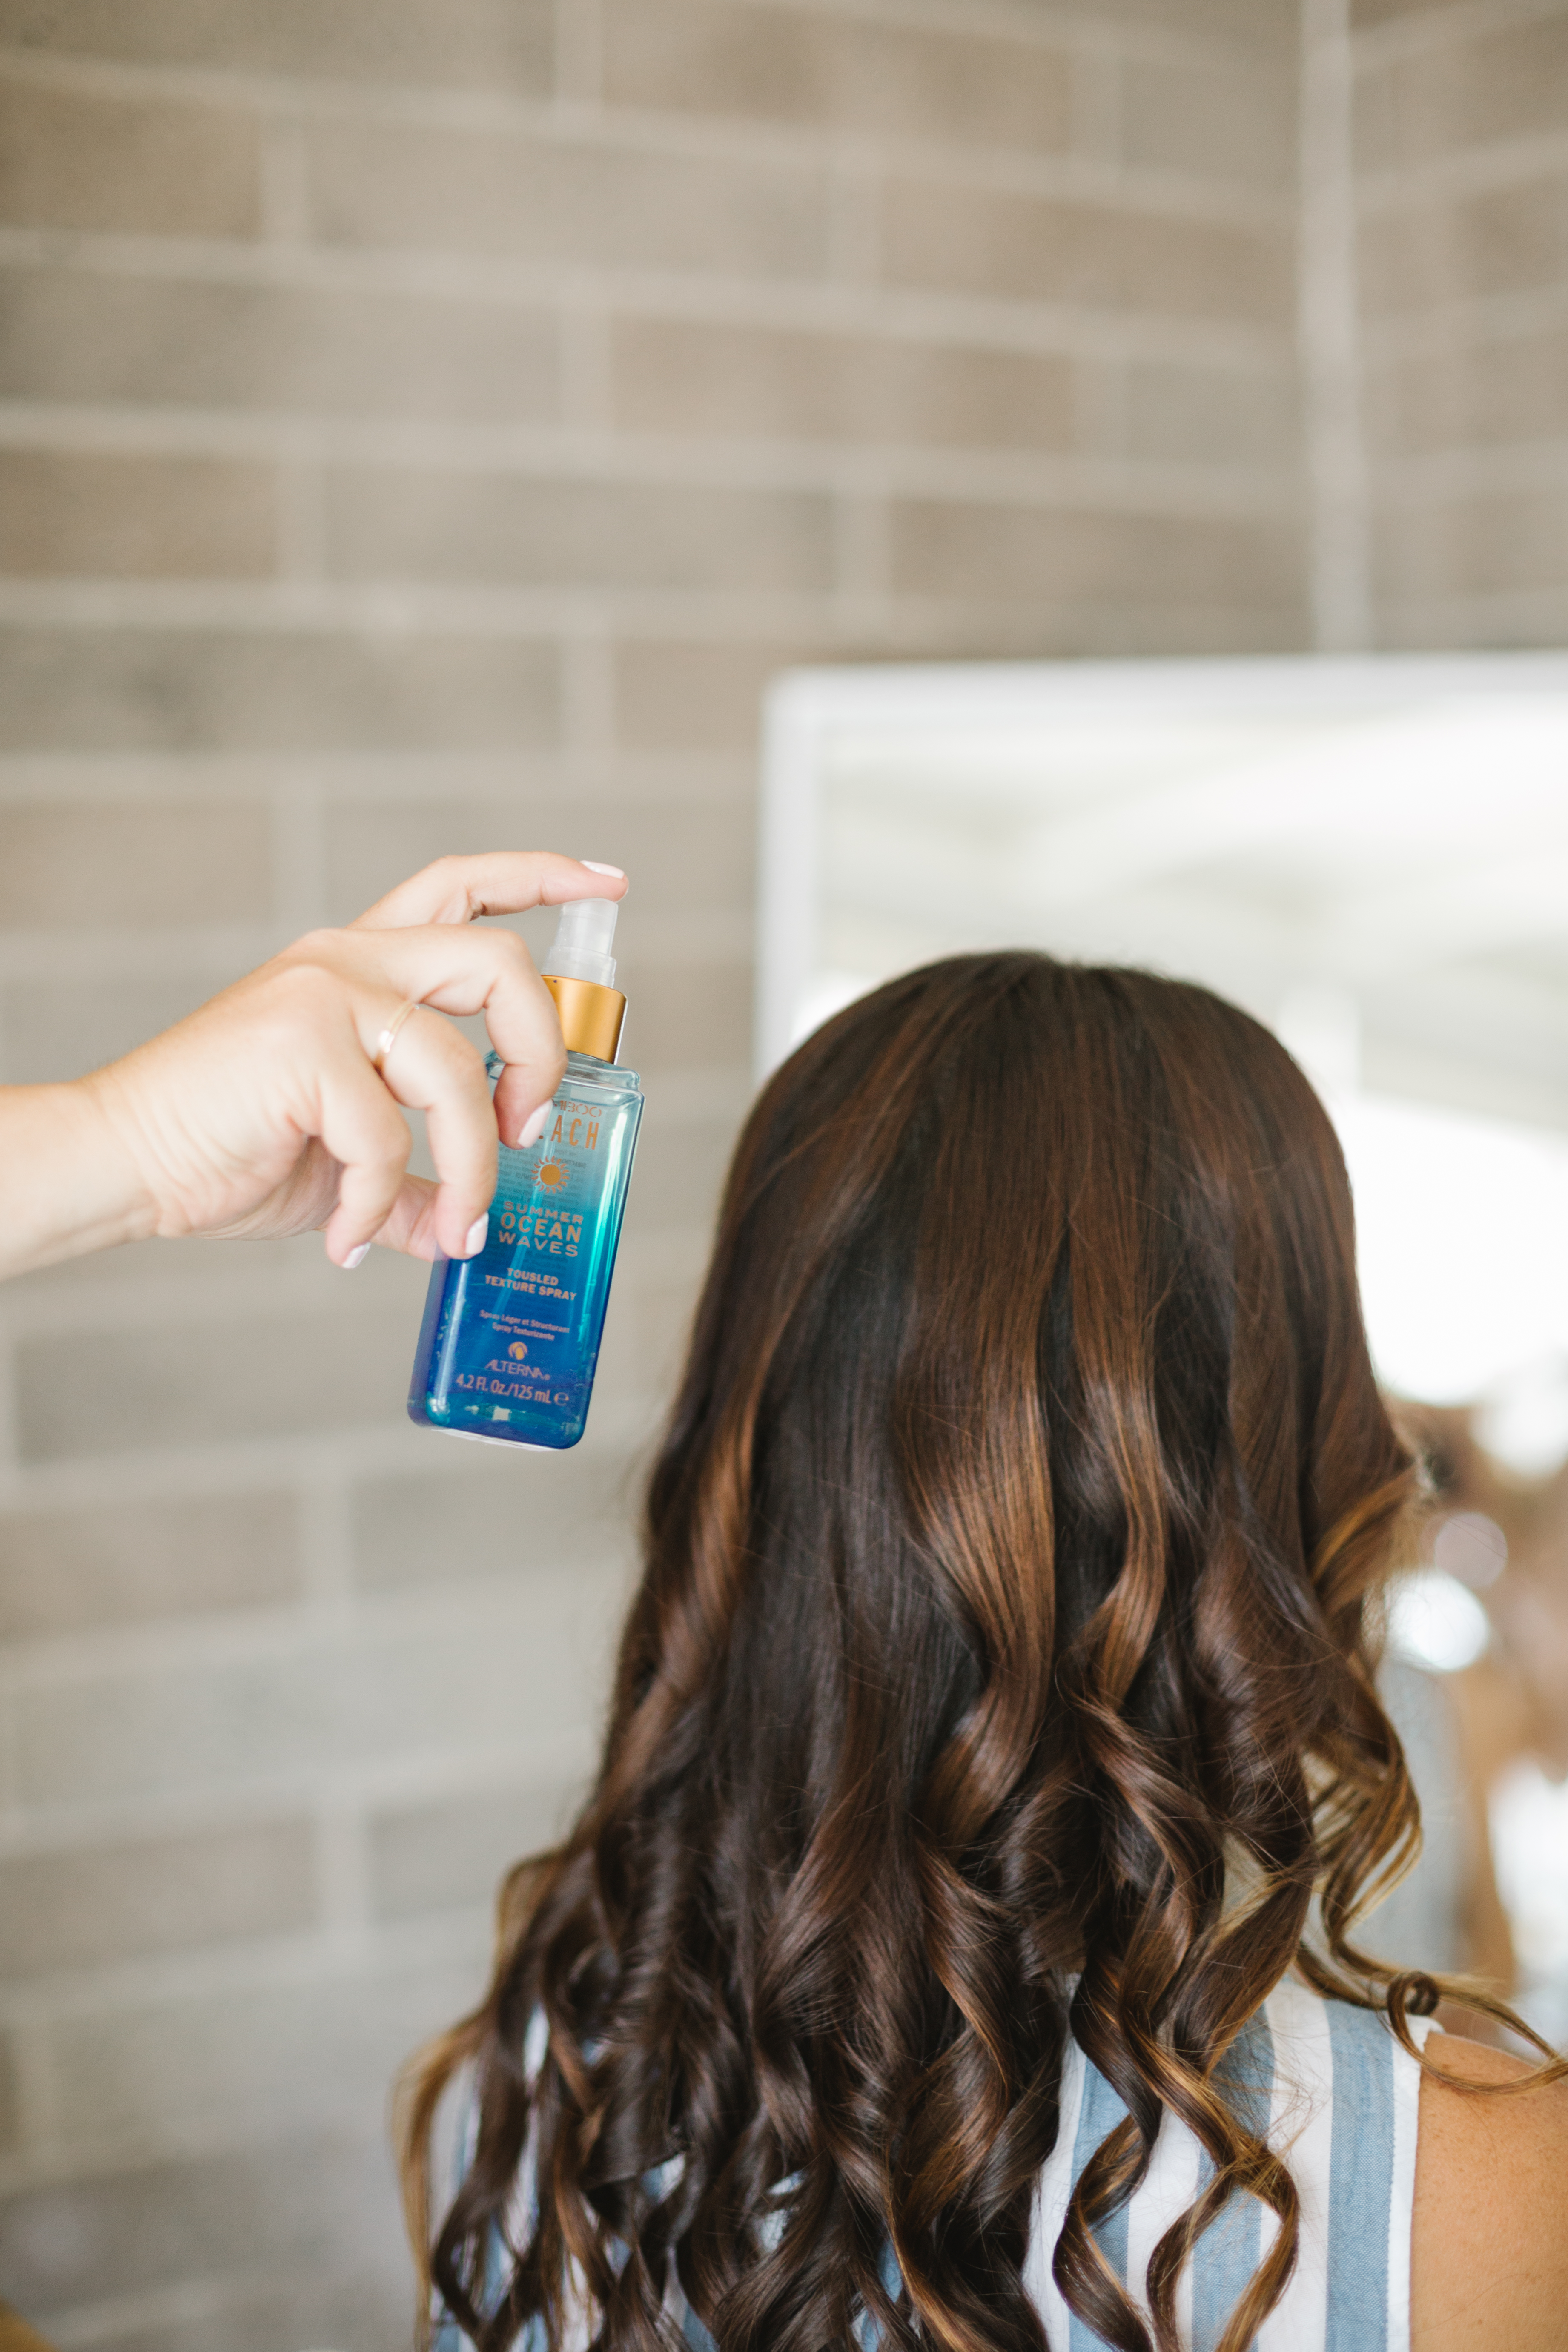
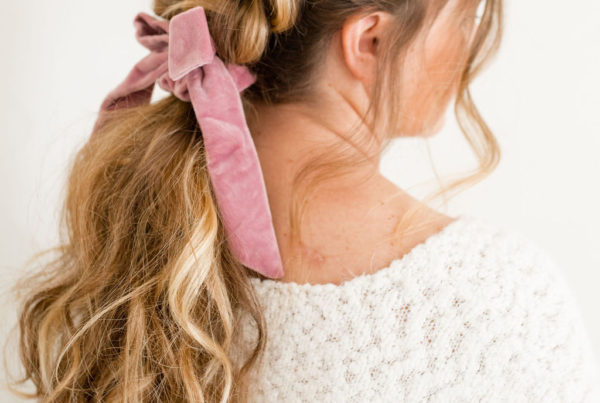
Spray hair with beach/ sea salt spray and a light finishing spray. You can also use a light spray wax to give you a more “piecey” look… just don’t overdo the wax or it can weigh down the curl.
 Now let’s see if I can keep it up with doing my own hair… If not, good thing I have Erica on speed dial!
xx
Jacquelyn