
To kick off the Fall season we thought a Fall wreath DIY was in order!! Why not share with everyone that you are ready for this festive season to begin right on your front door?! Our Fall to do list has so many fun ideas, and this is just the beginning!! If there is any way we can decorate or jazz up our home we get excited, so this was right up our alley! Our friend Meagan from MV Florals was kind enough to share her tips of the trade and teach us these two amazing Fall wreath DIY’s! Something simple and something a little more ornate, and we can’t get enough of each of them! Scroll down to see how you can get in the Fall spirit by dressing up your front door and decking it with leaves!
Photos by Megan Welker
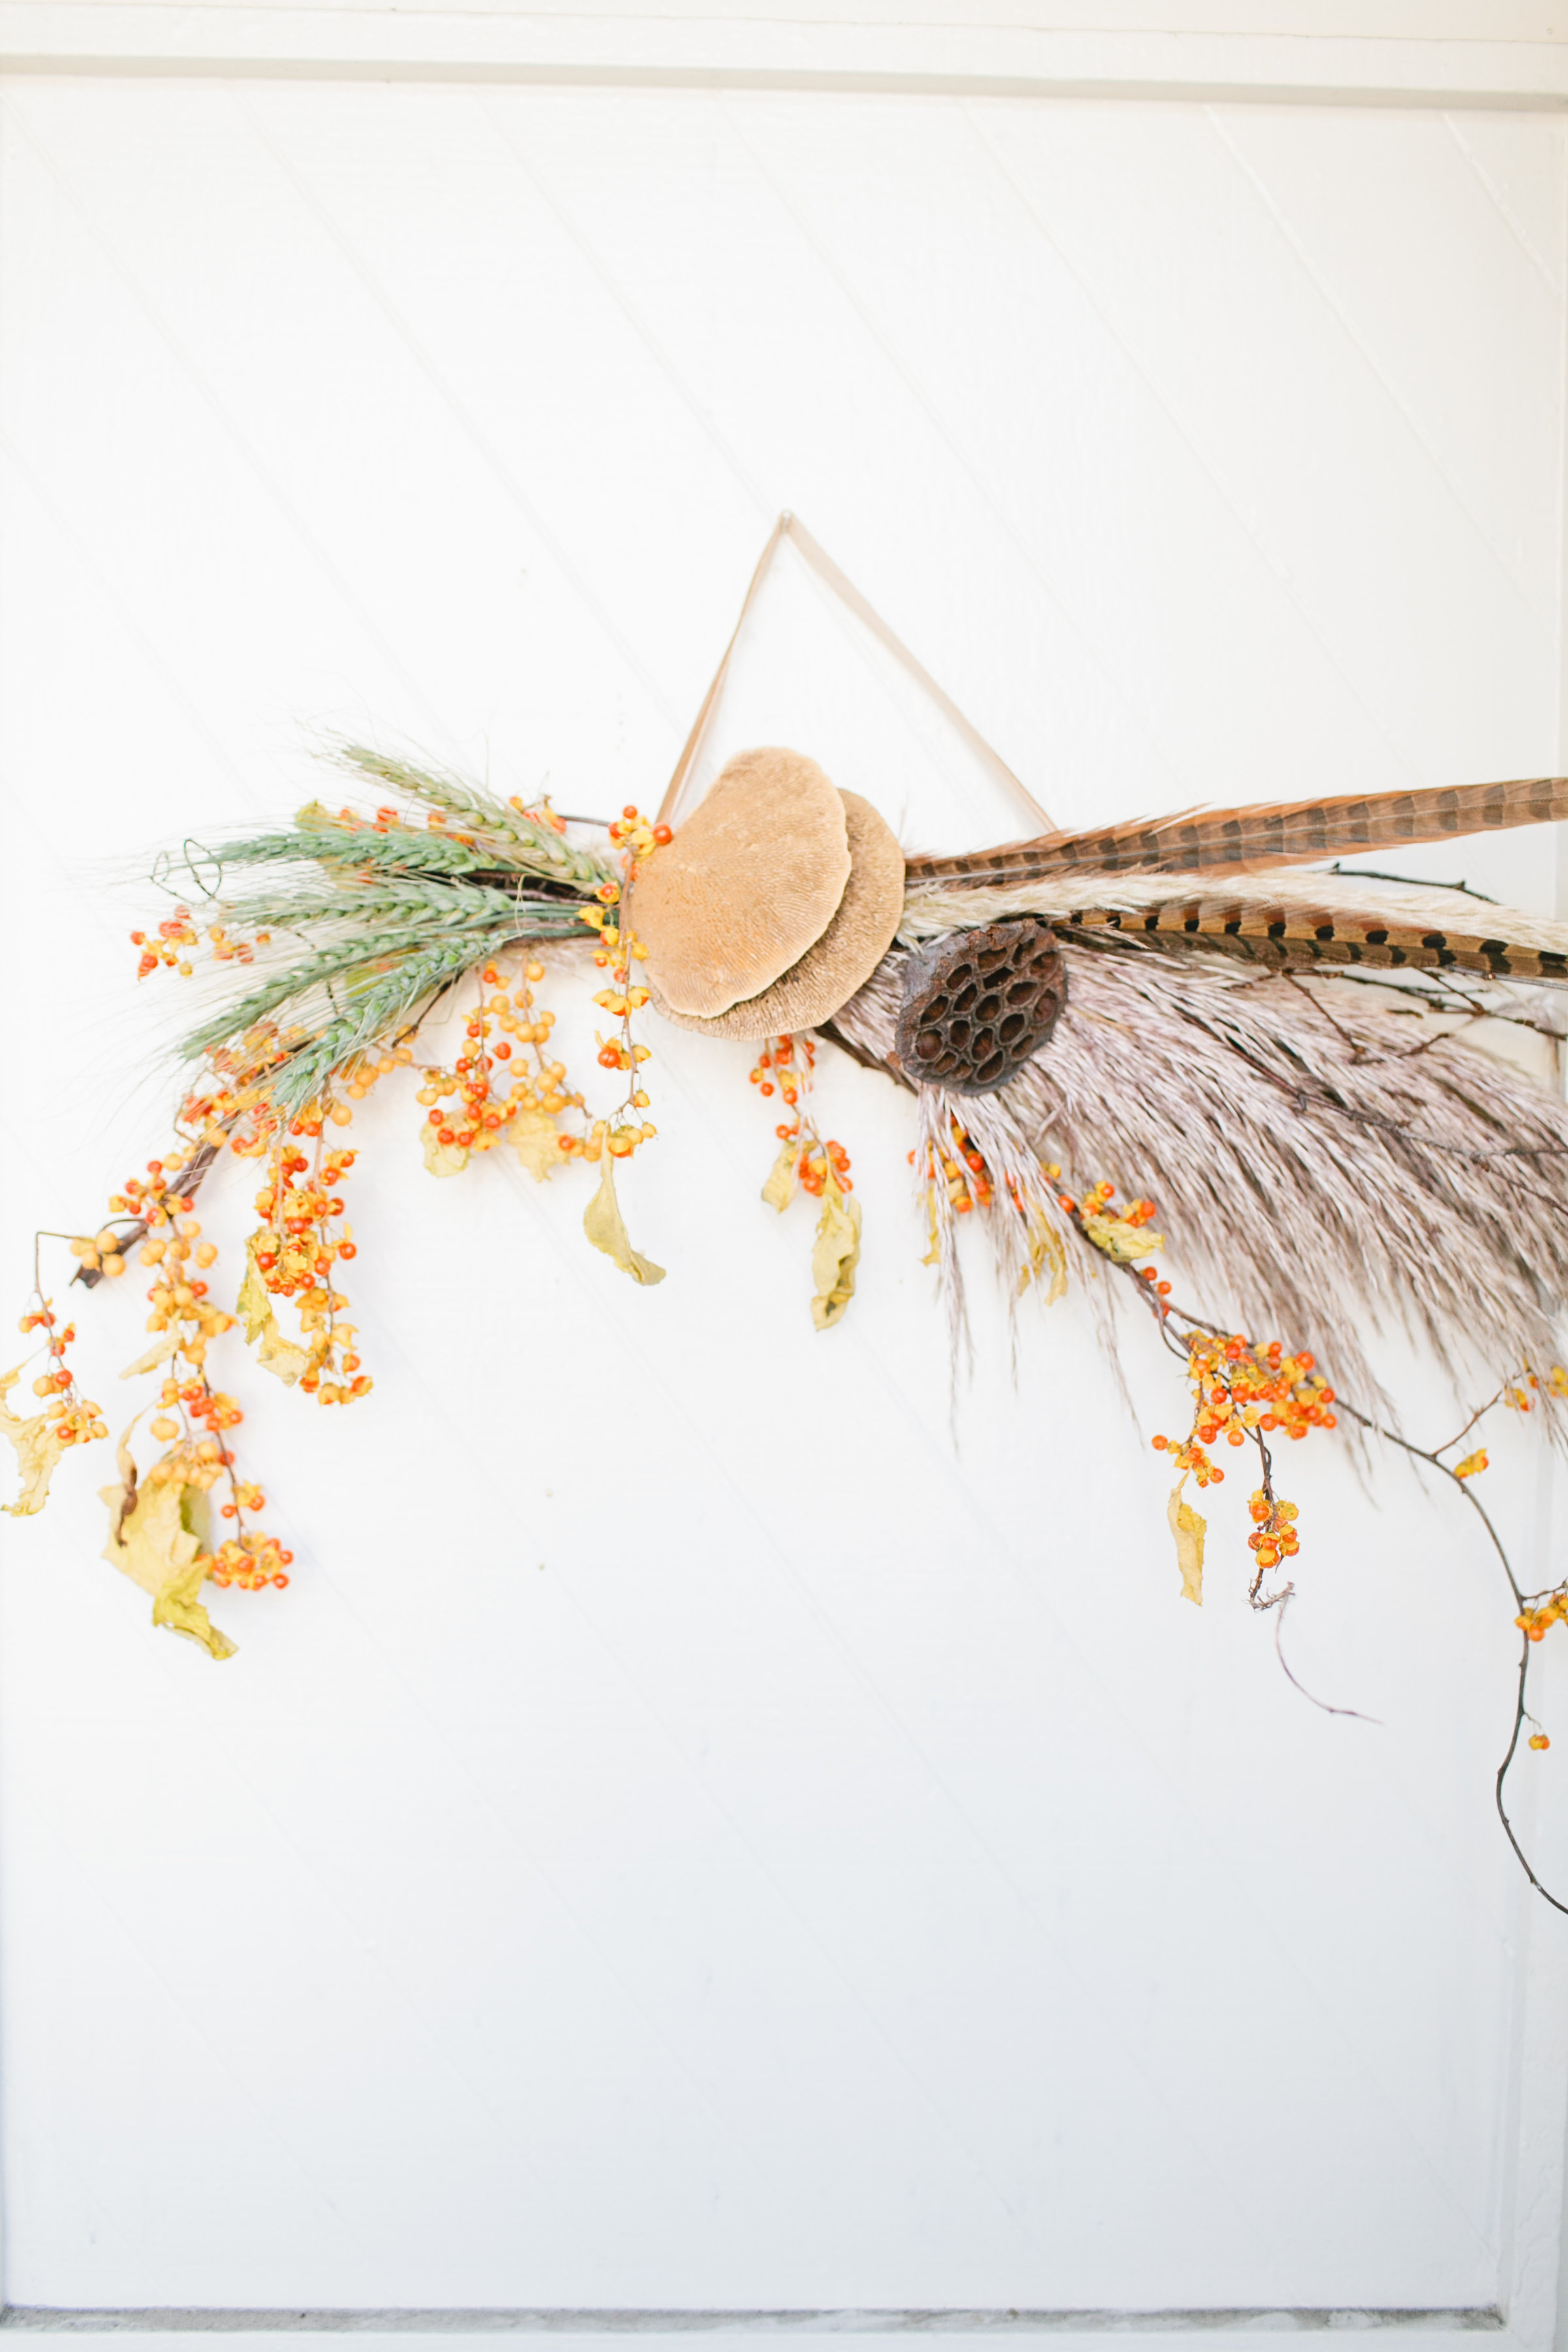
Fall Foliage Wreath
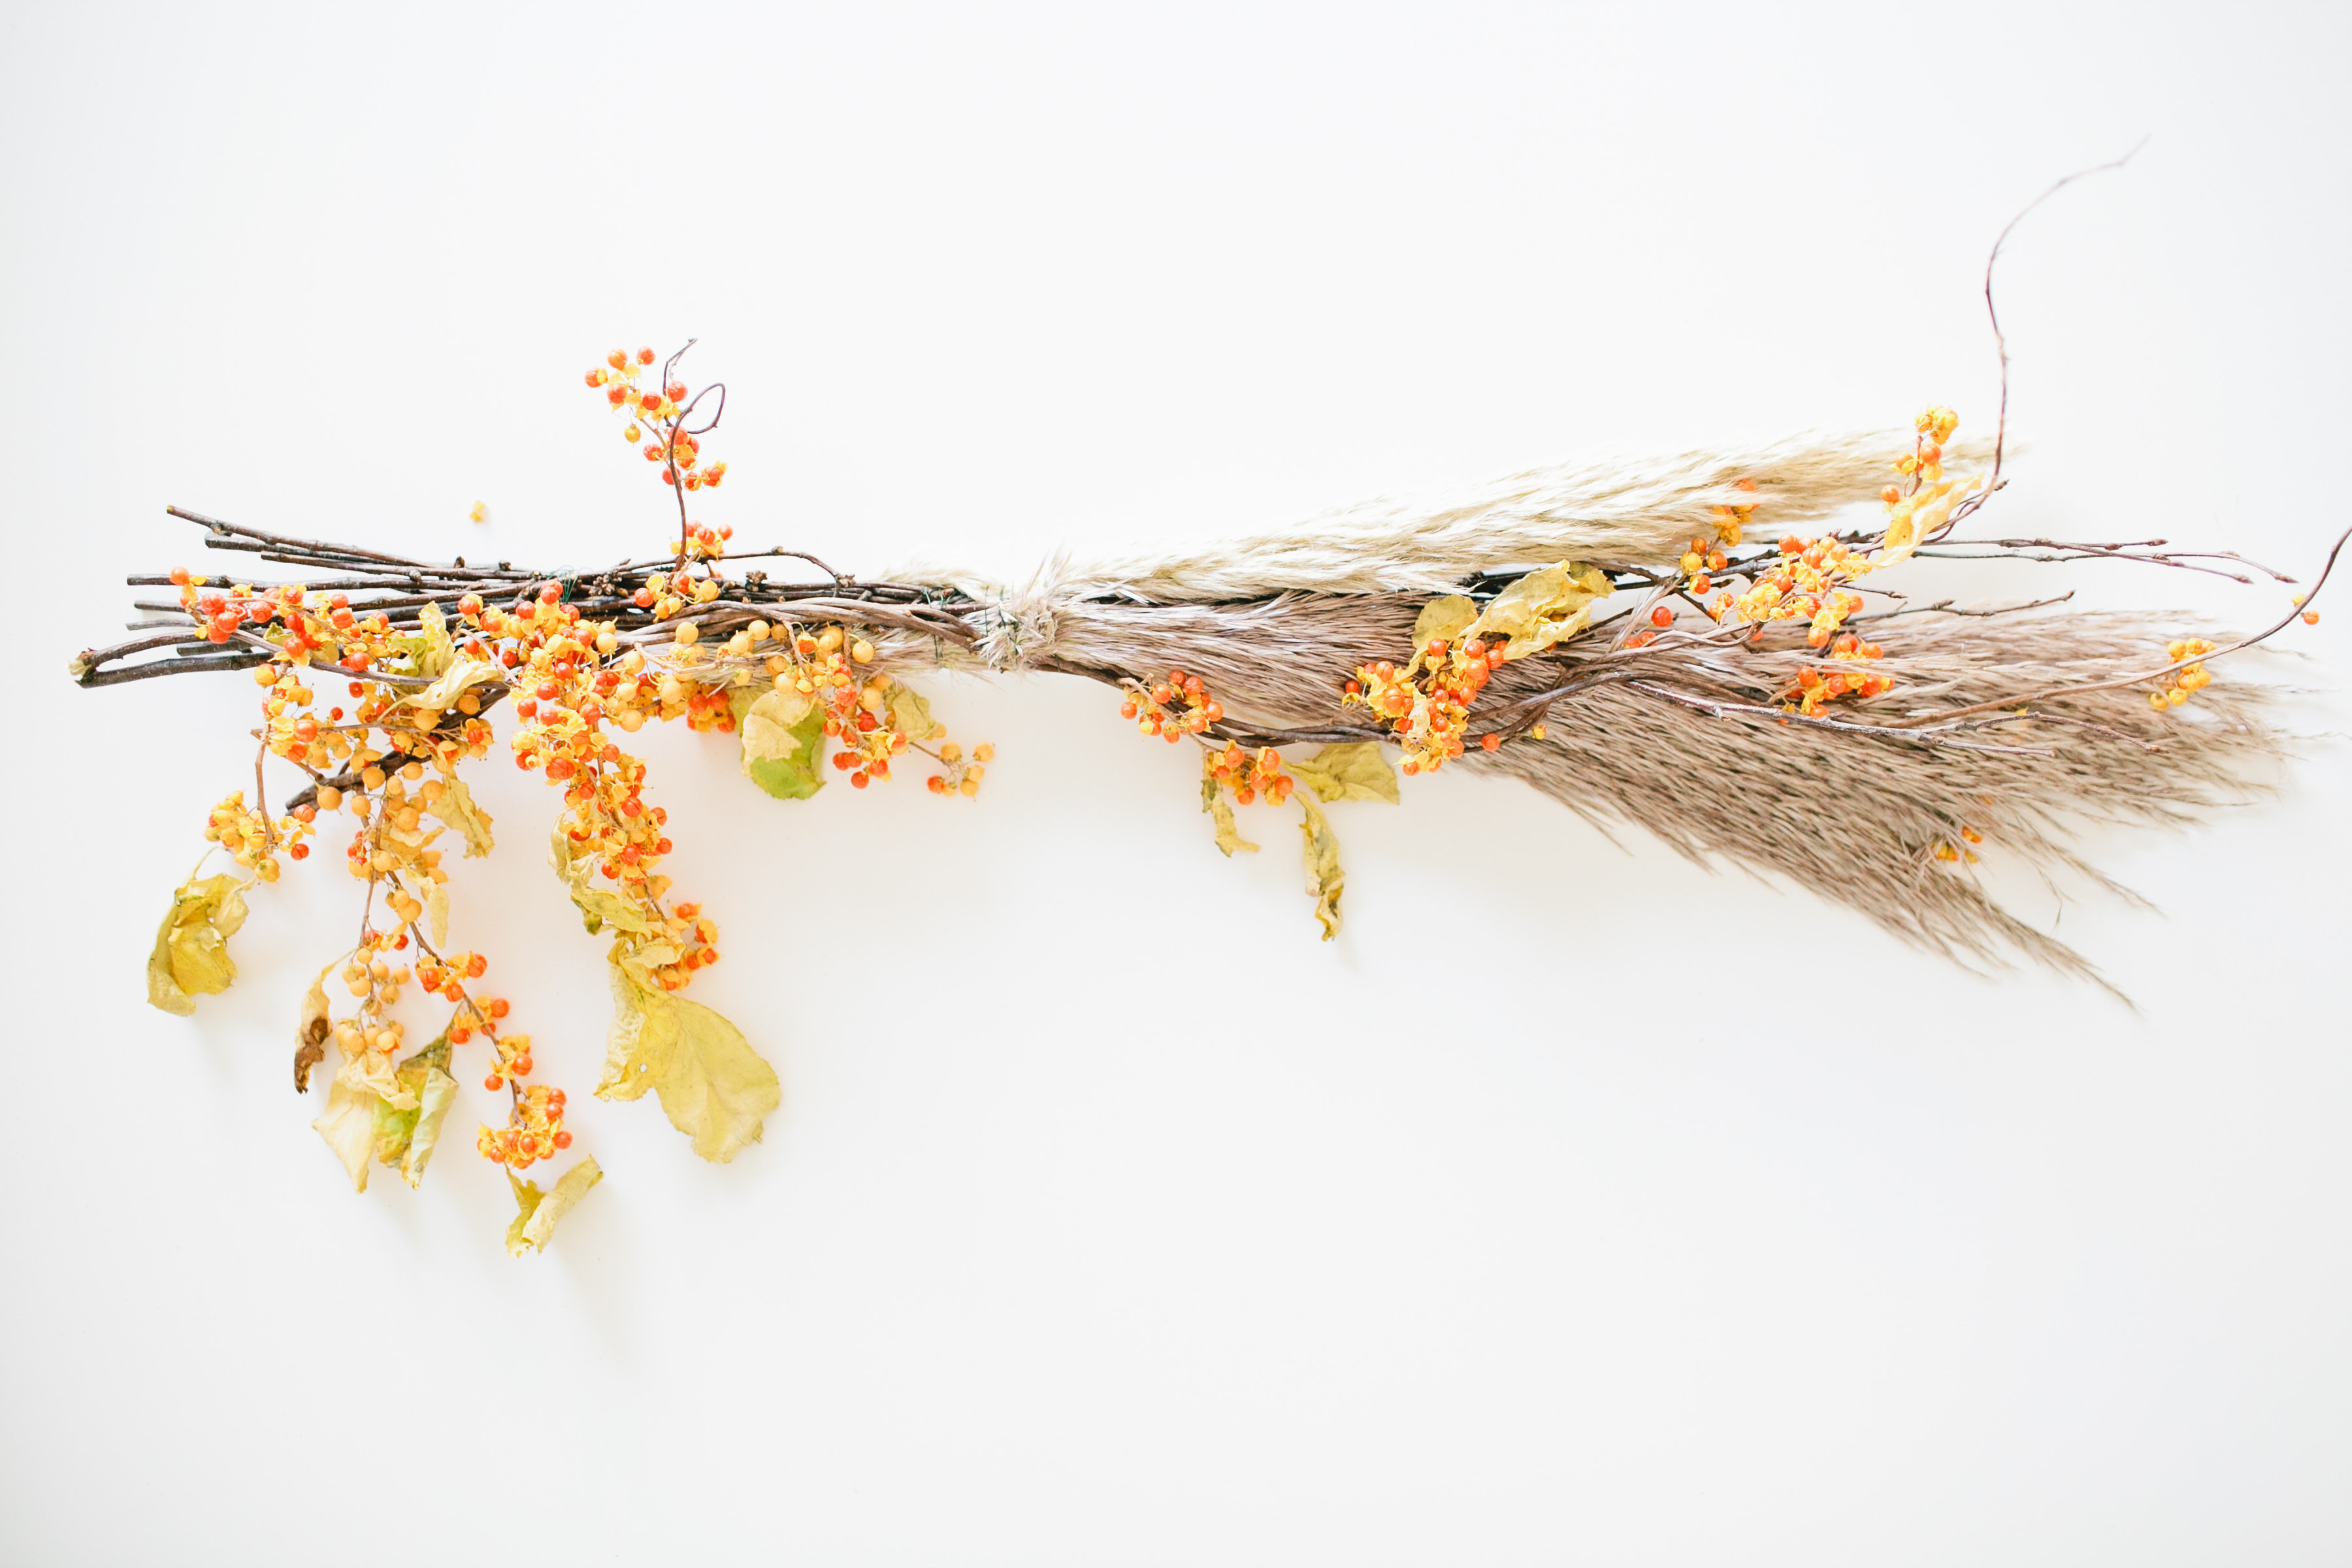
 1. Choose your desired products to use. For this wreath I wanted to use natural elements and foliage that dried, creating something that can be used the whole season.
From left to right in the picture I used feathers, dried mushrooms, wheat, birch branches, bittersweet, lotus pods, and pampus grass.
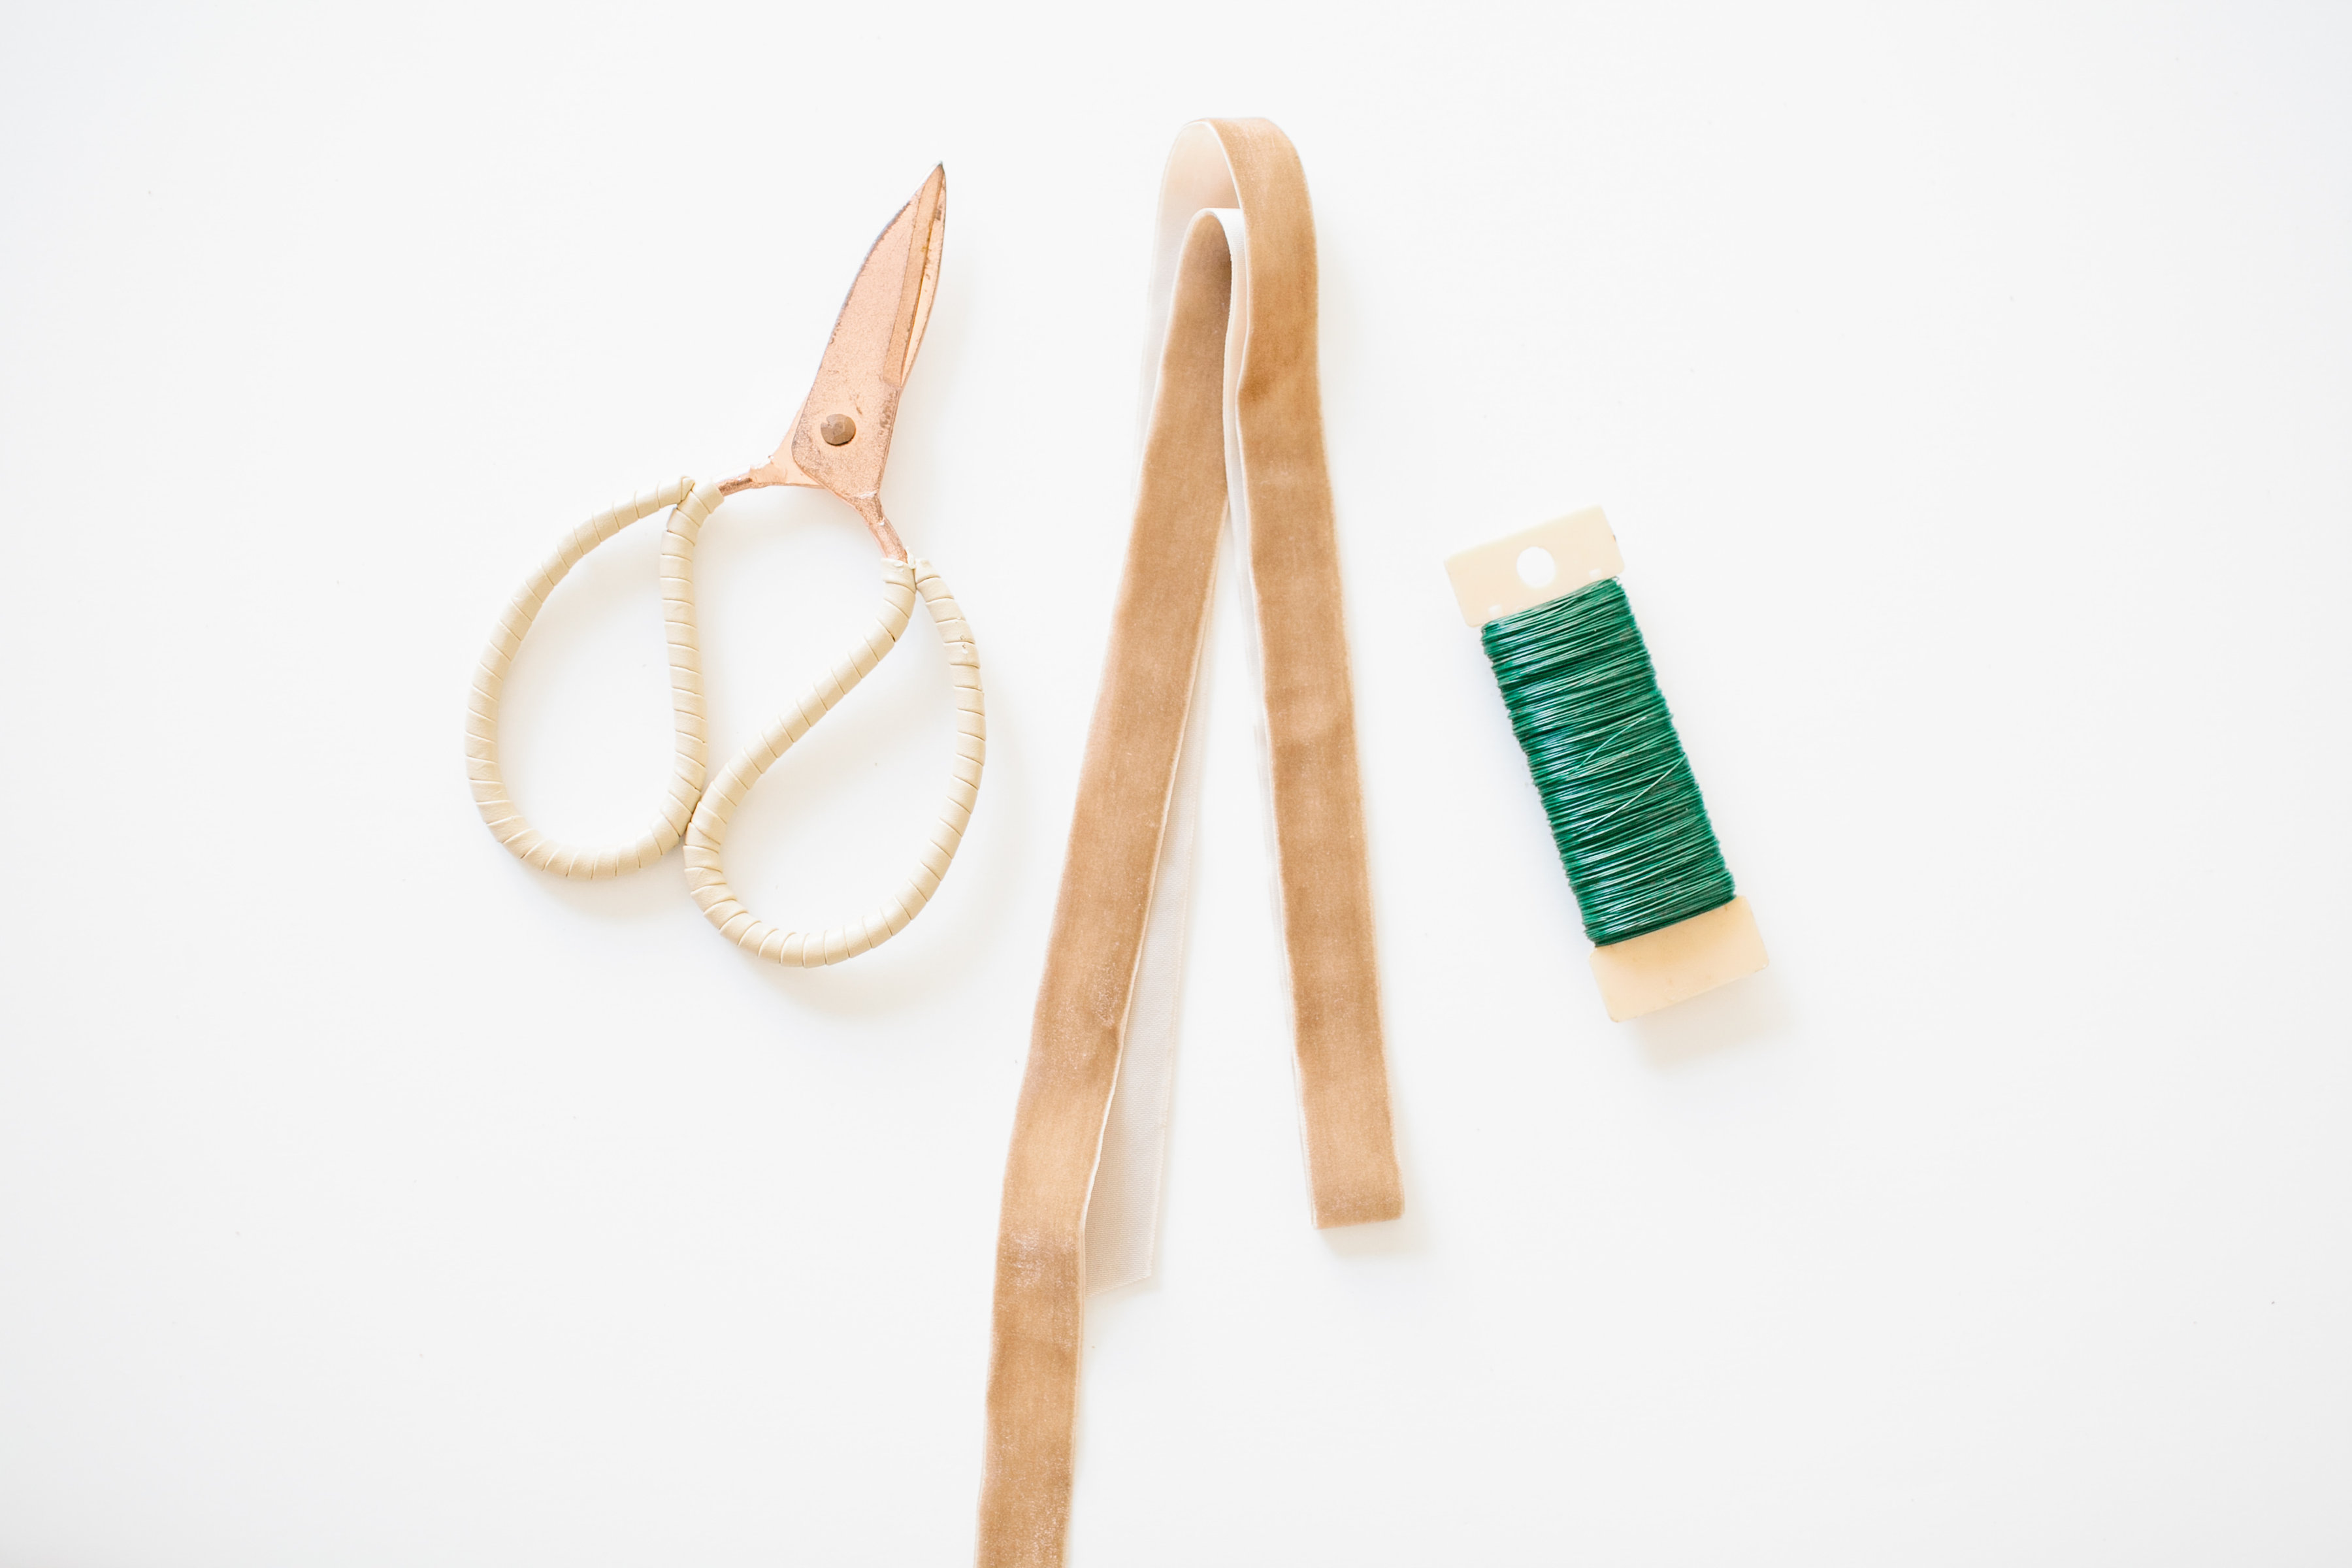
 2. Supplies Include:
-clippers
-ribbon or twine to hang wreath
– wire
-glue gun (not shown)
-scissors(not shown)
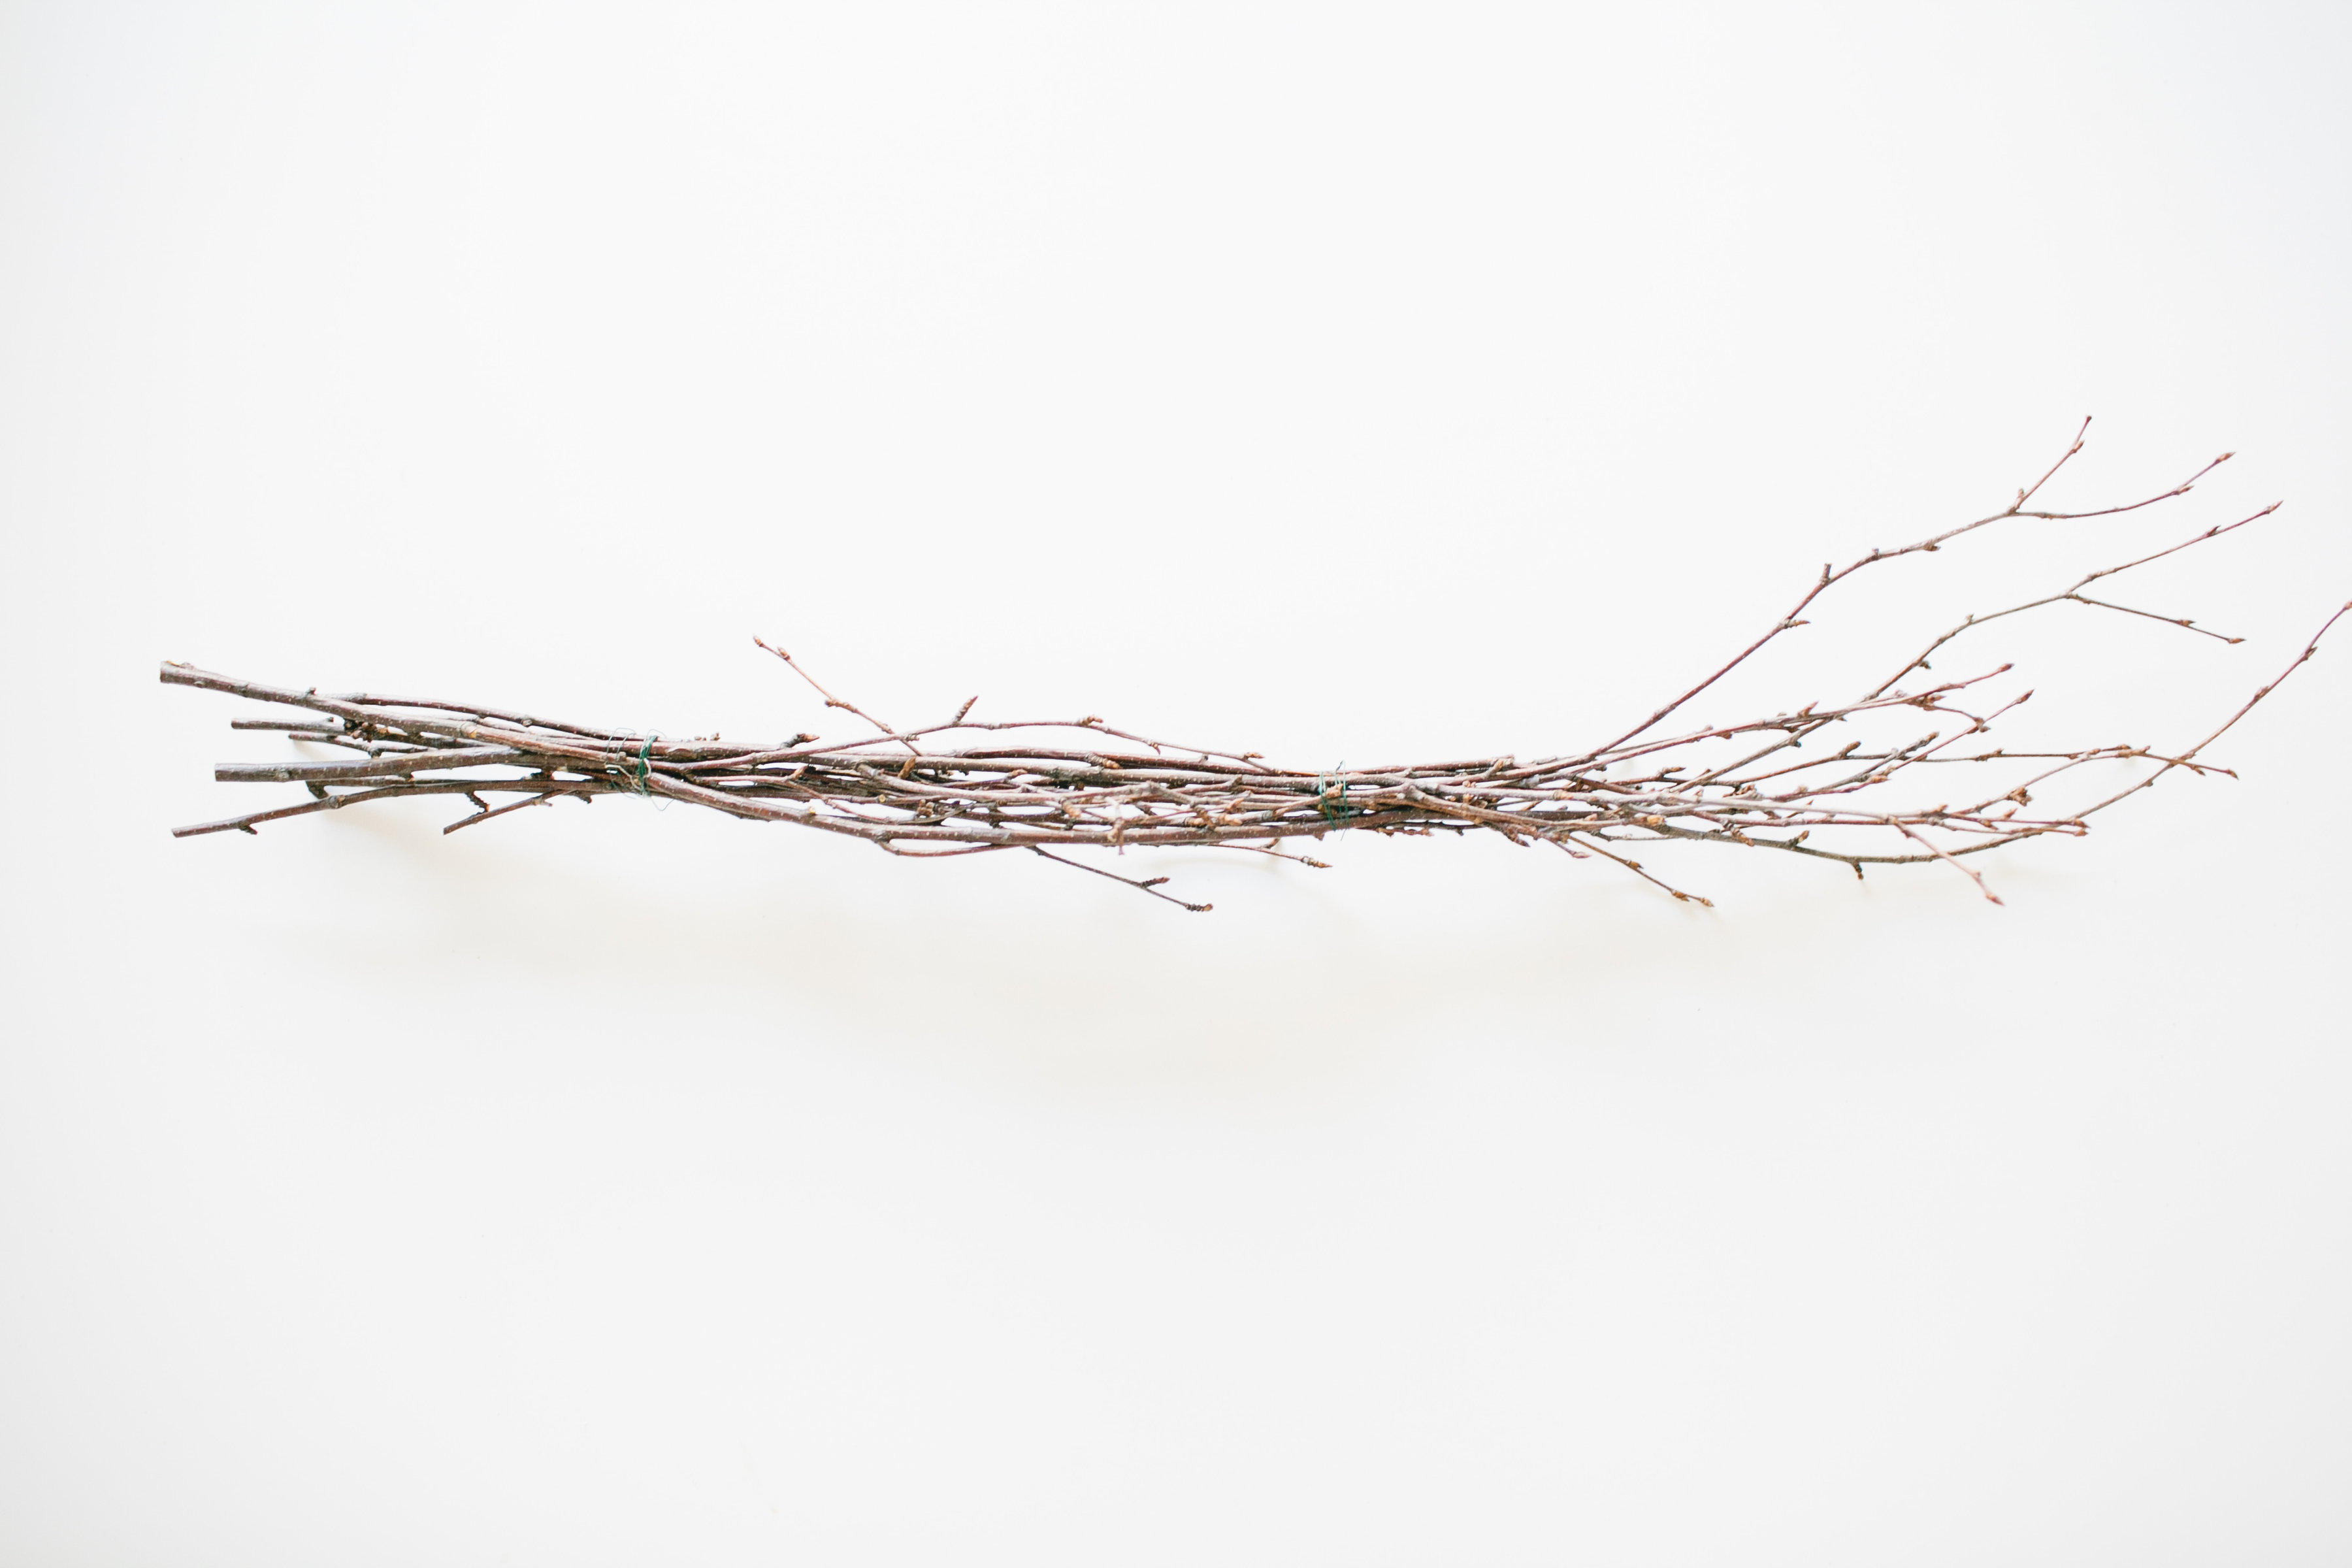
 3. Start with cutting birch branches to the length and thickness of your desire. Secure the branches together with wire on each end. This is your base for the wreath.
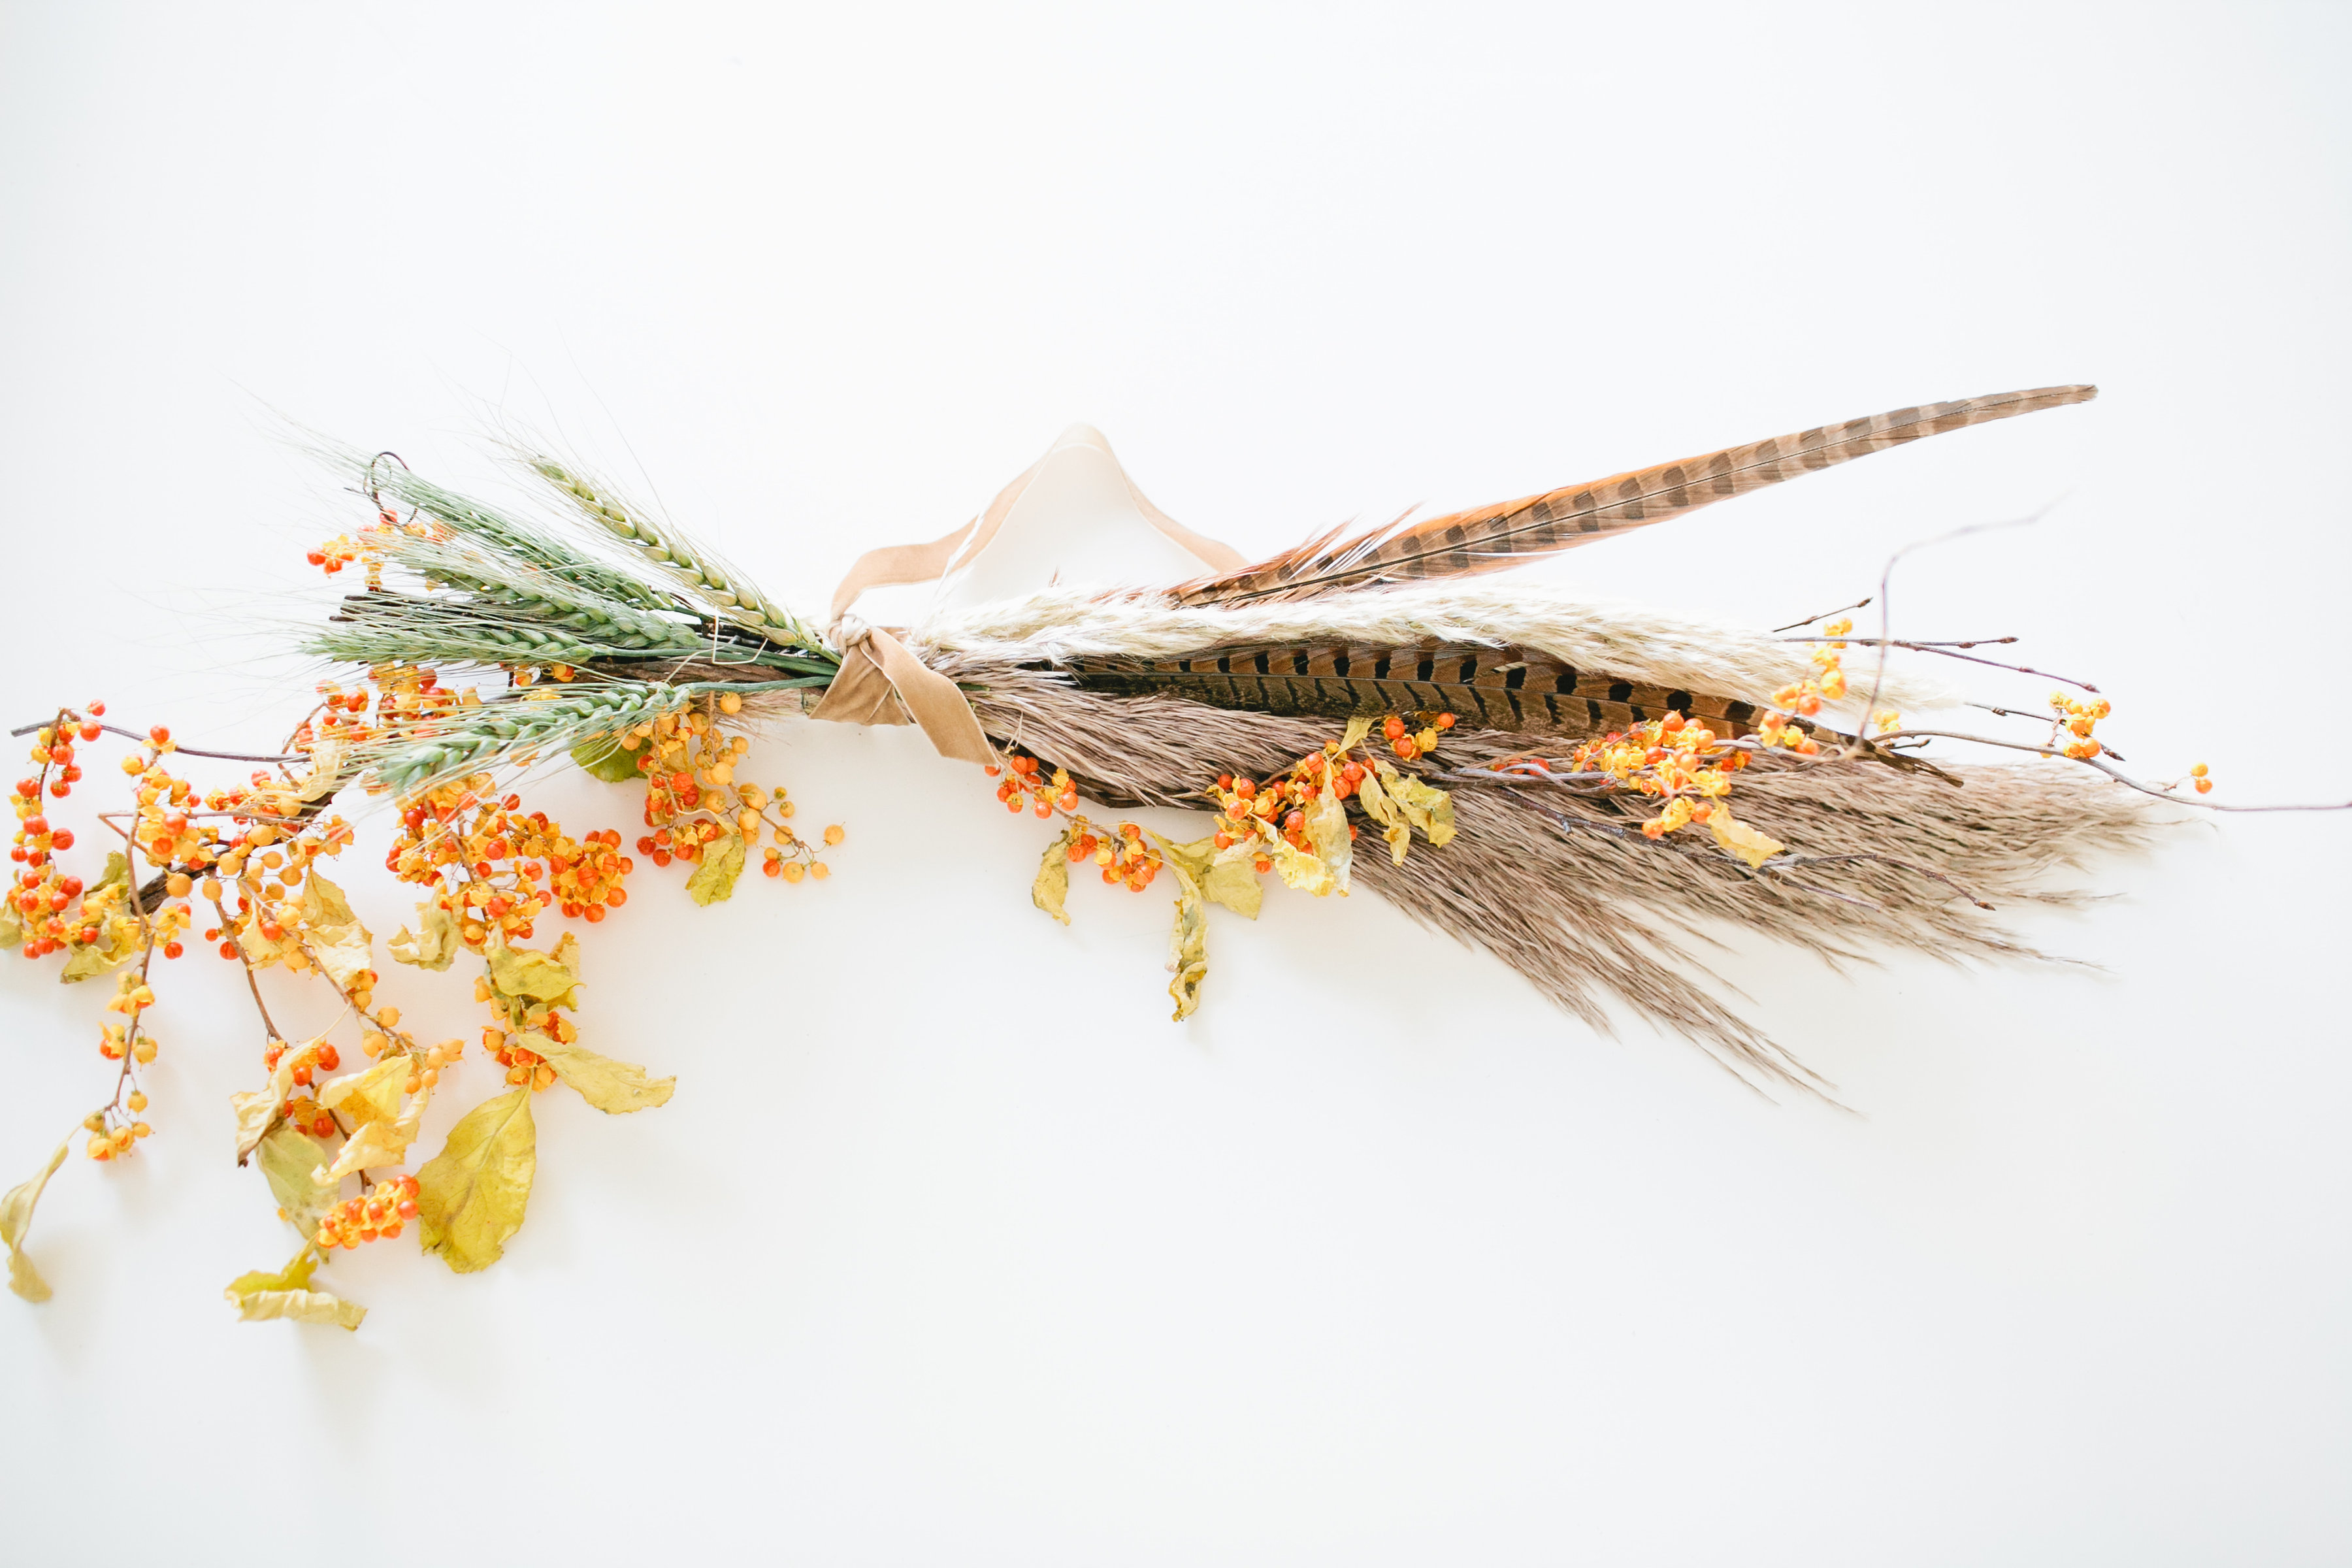
4. Start placing your larger foliage over the birch branches, securing with the wire.
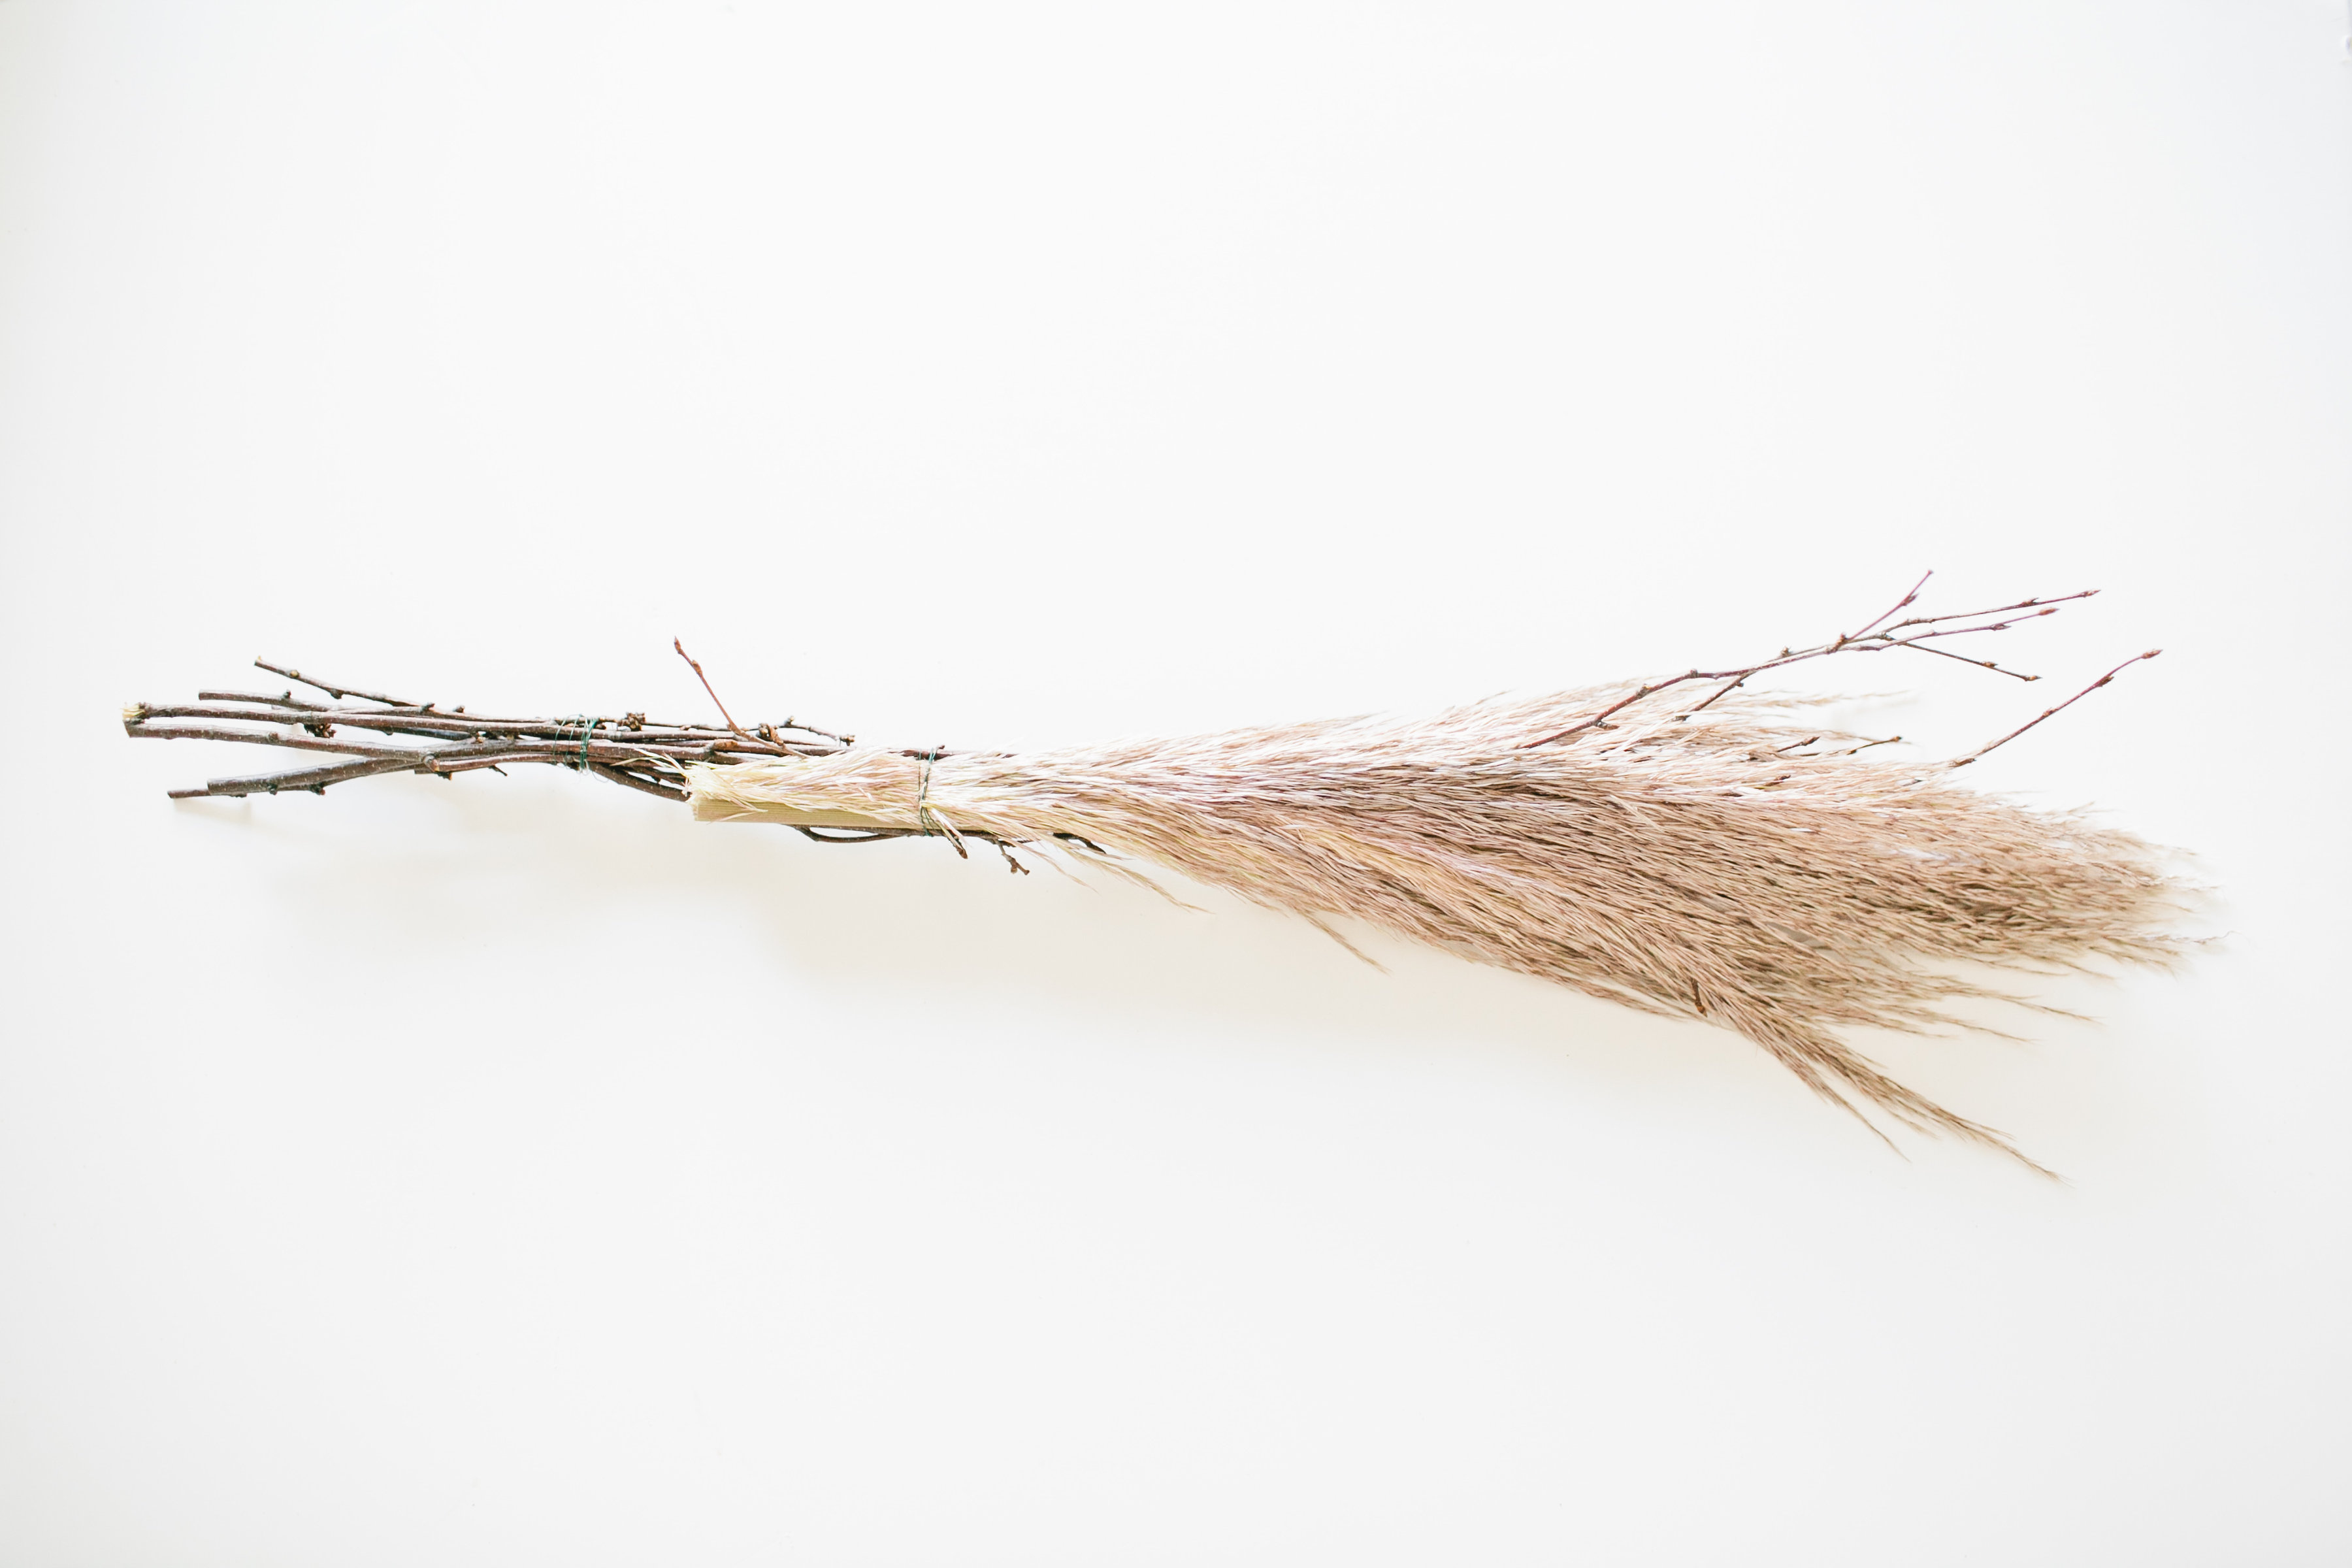 5. Start adding more foliage or blooms. You may need to play and adjust as you go. I did!
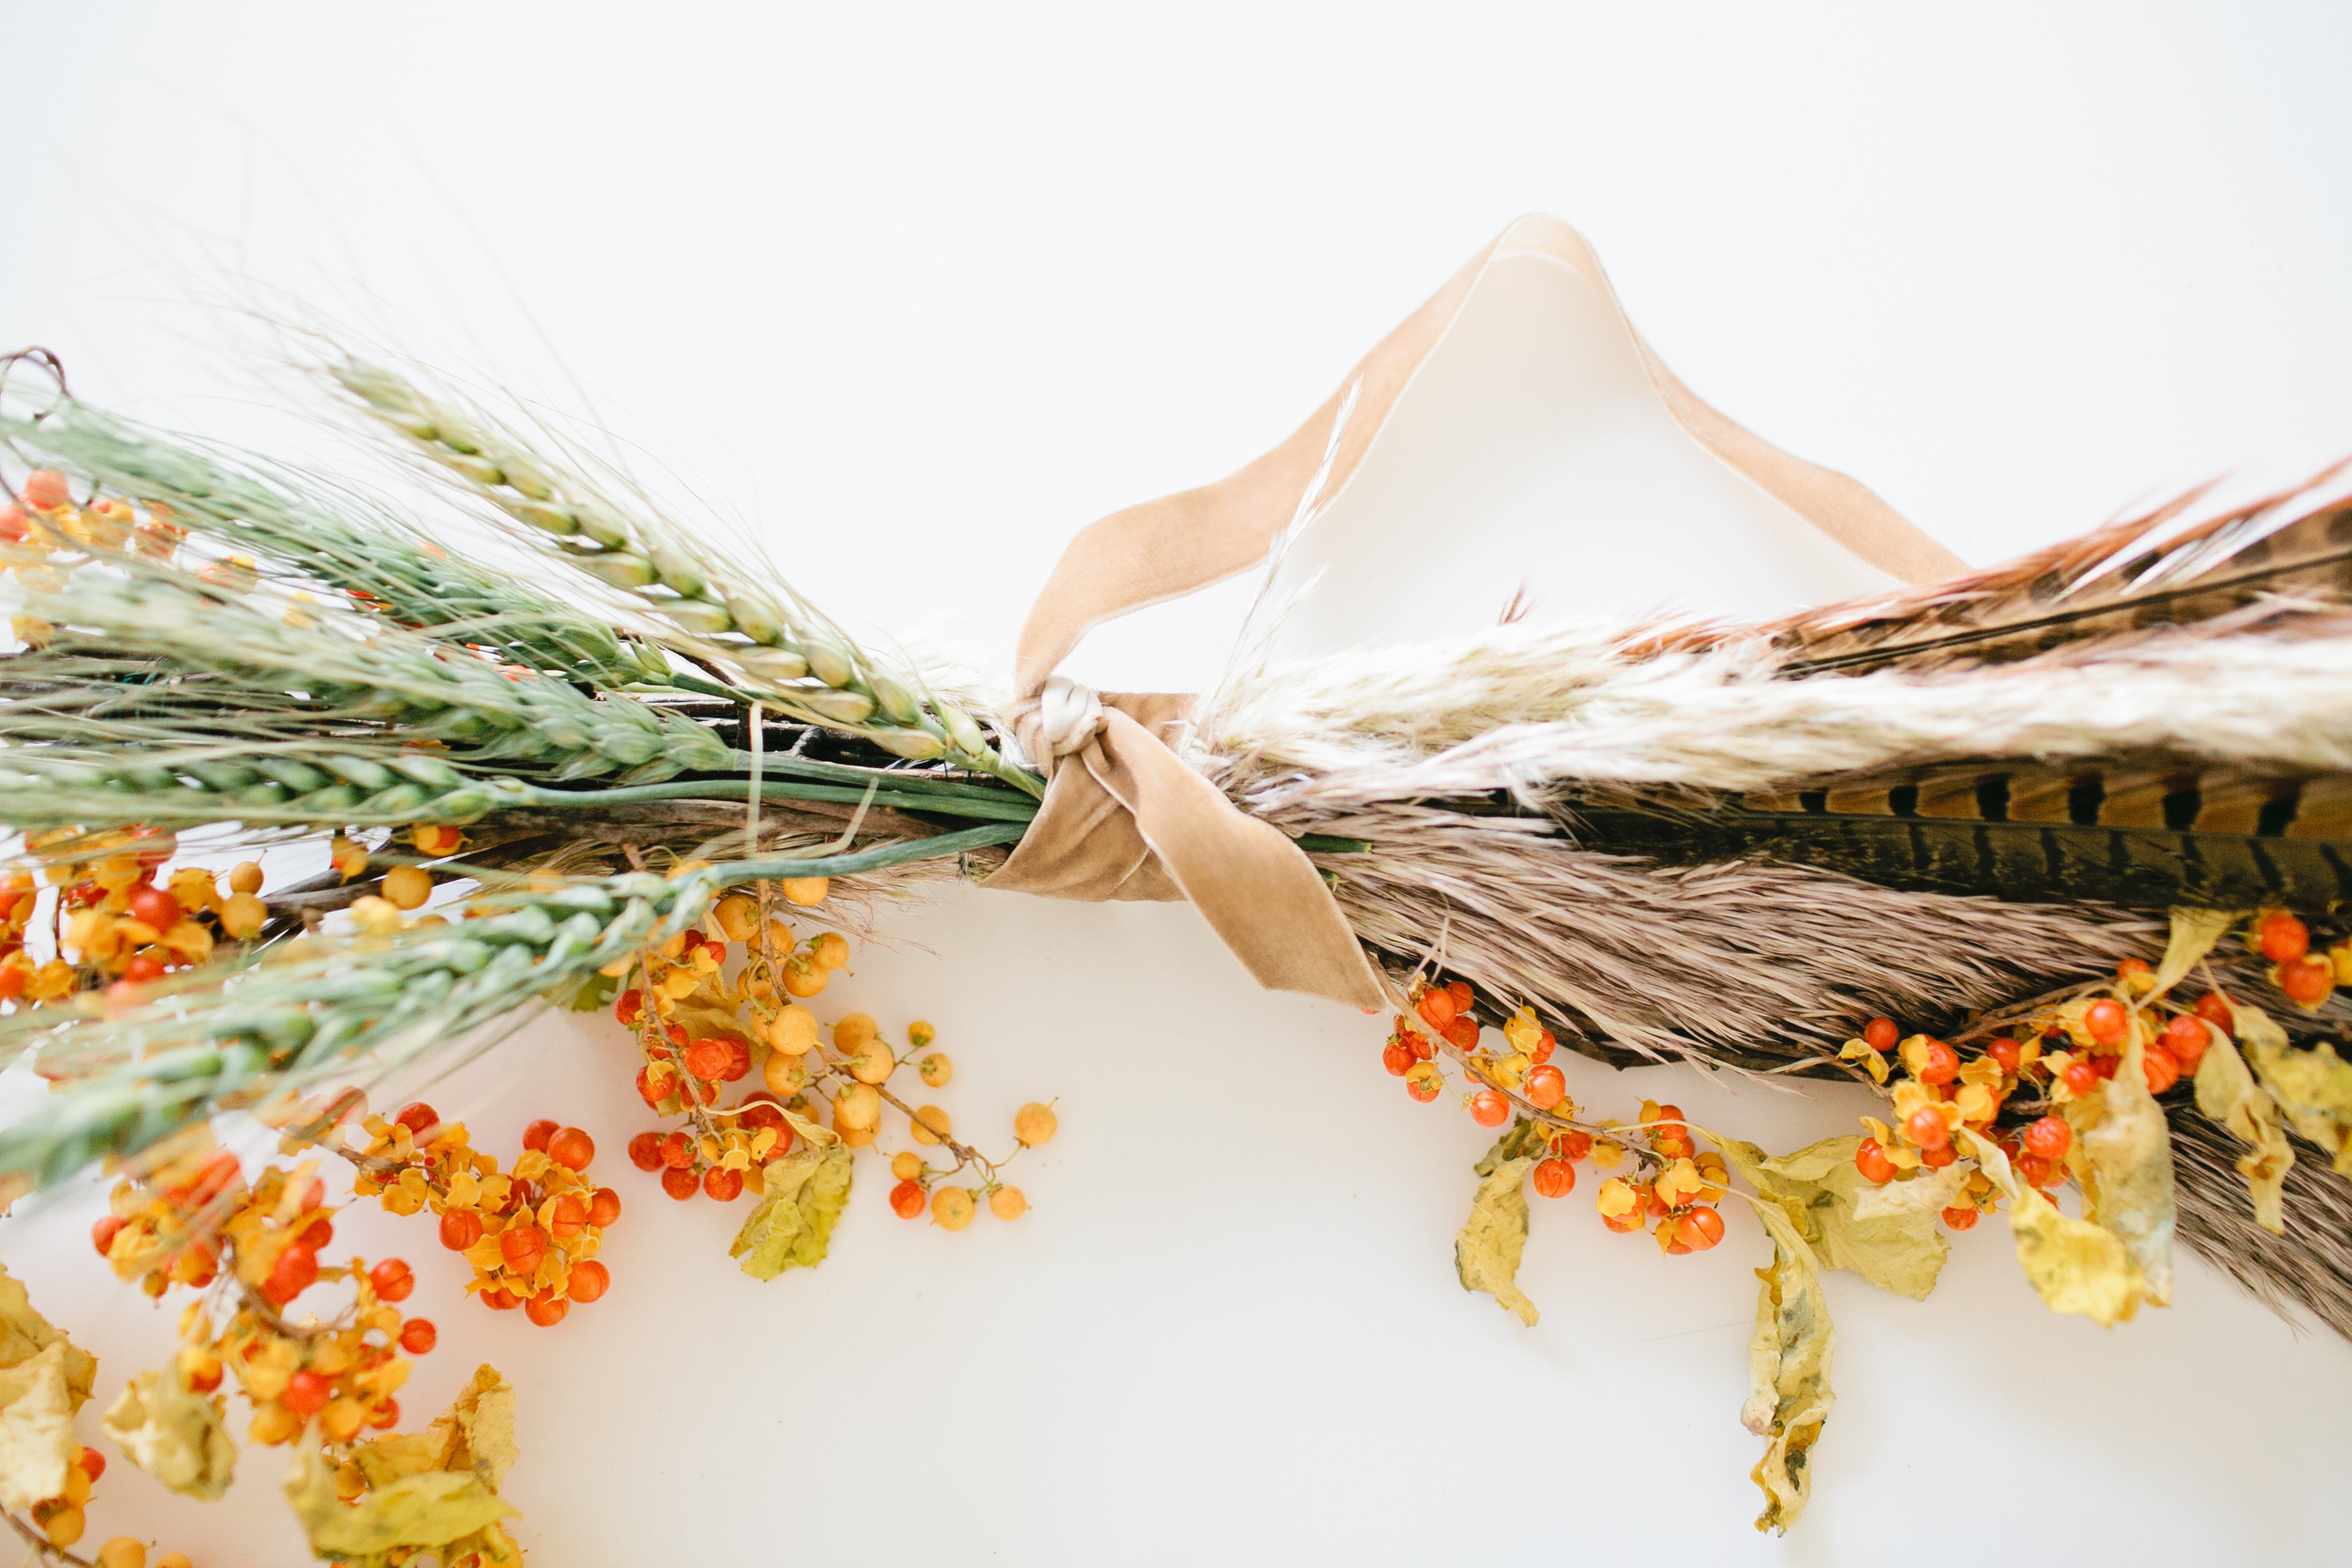
6. After a few larger items are placed how you like, take your ribbon and tie on the back and front of the branches. Hold it up to make sure it stays even and doesn’t fall forward.
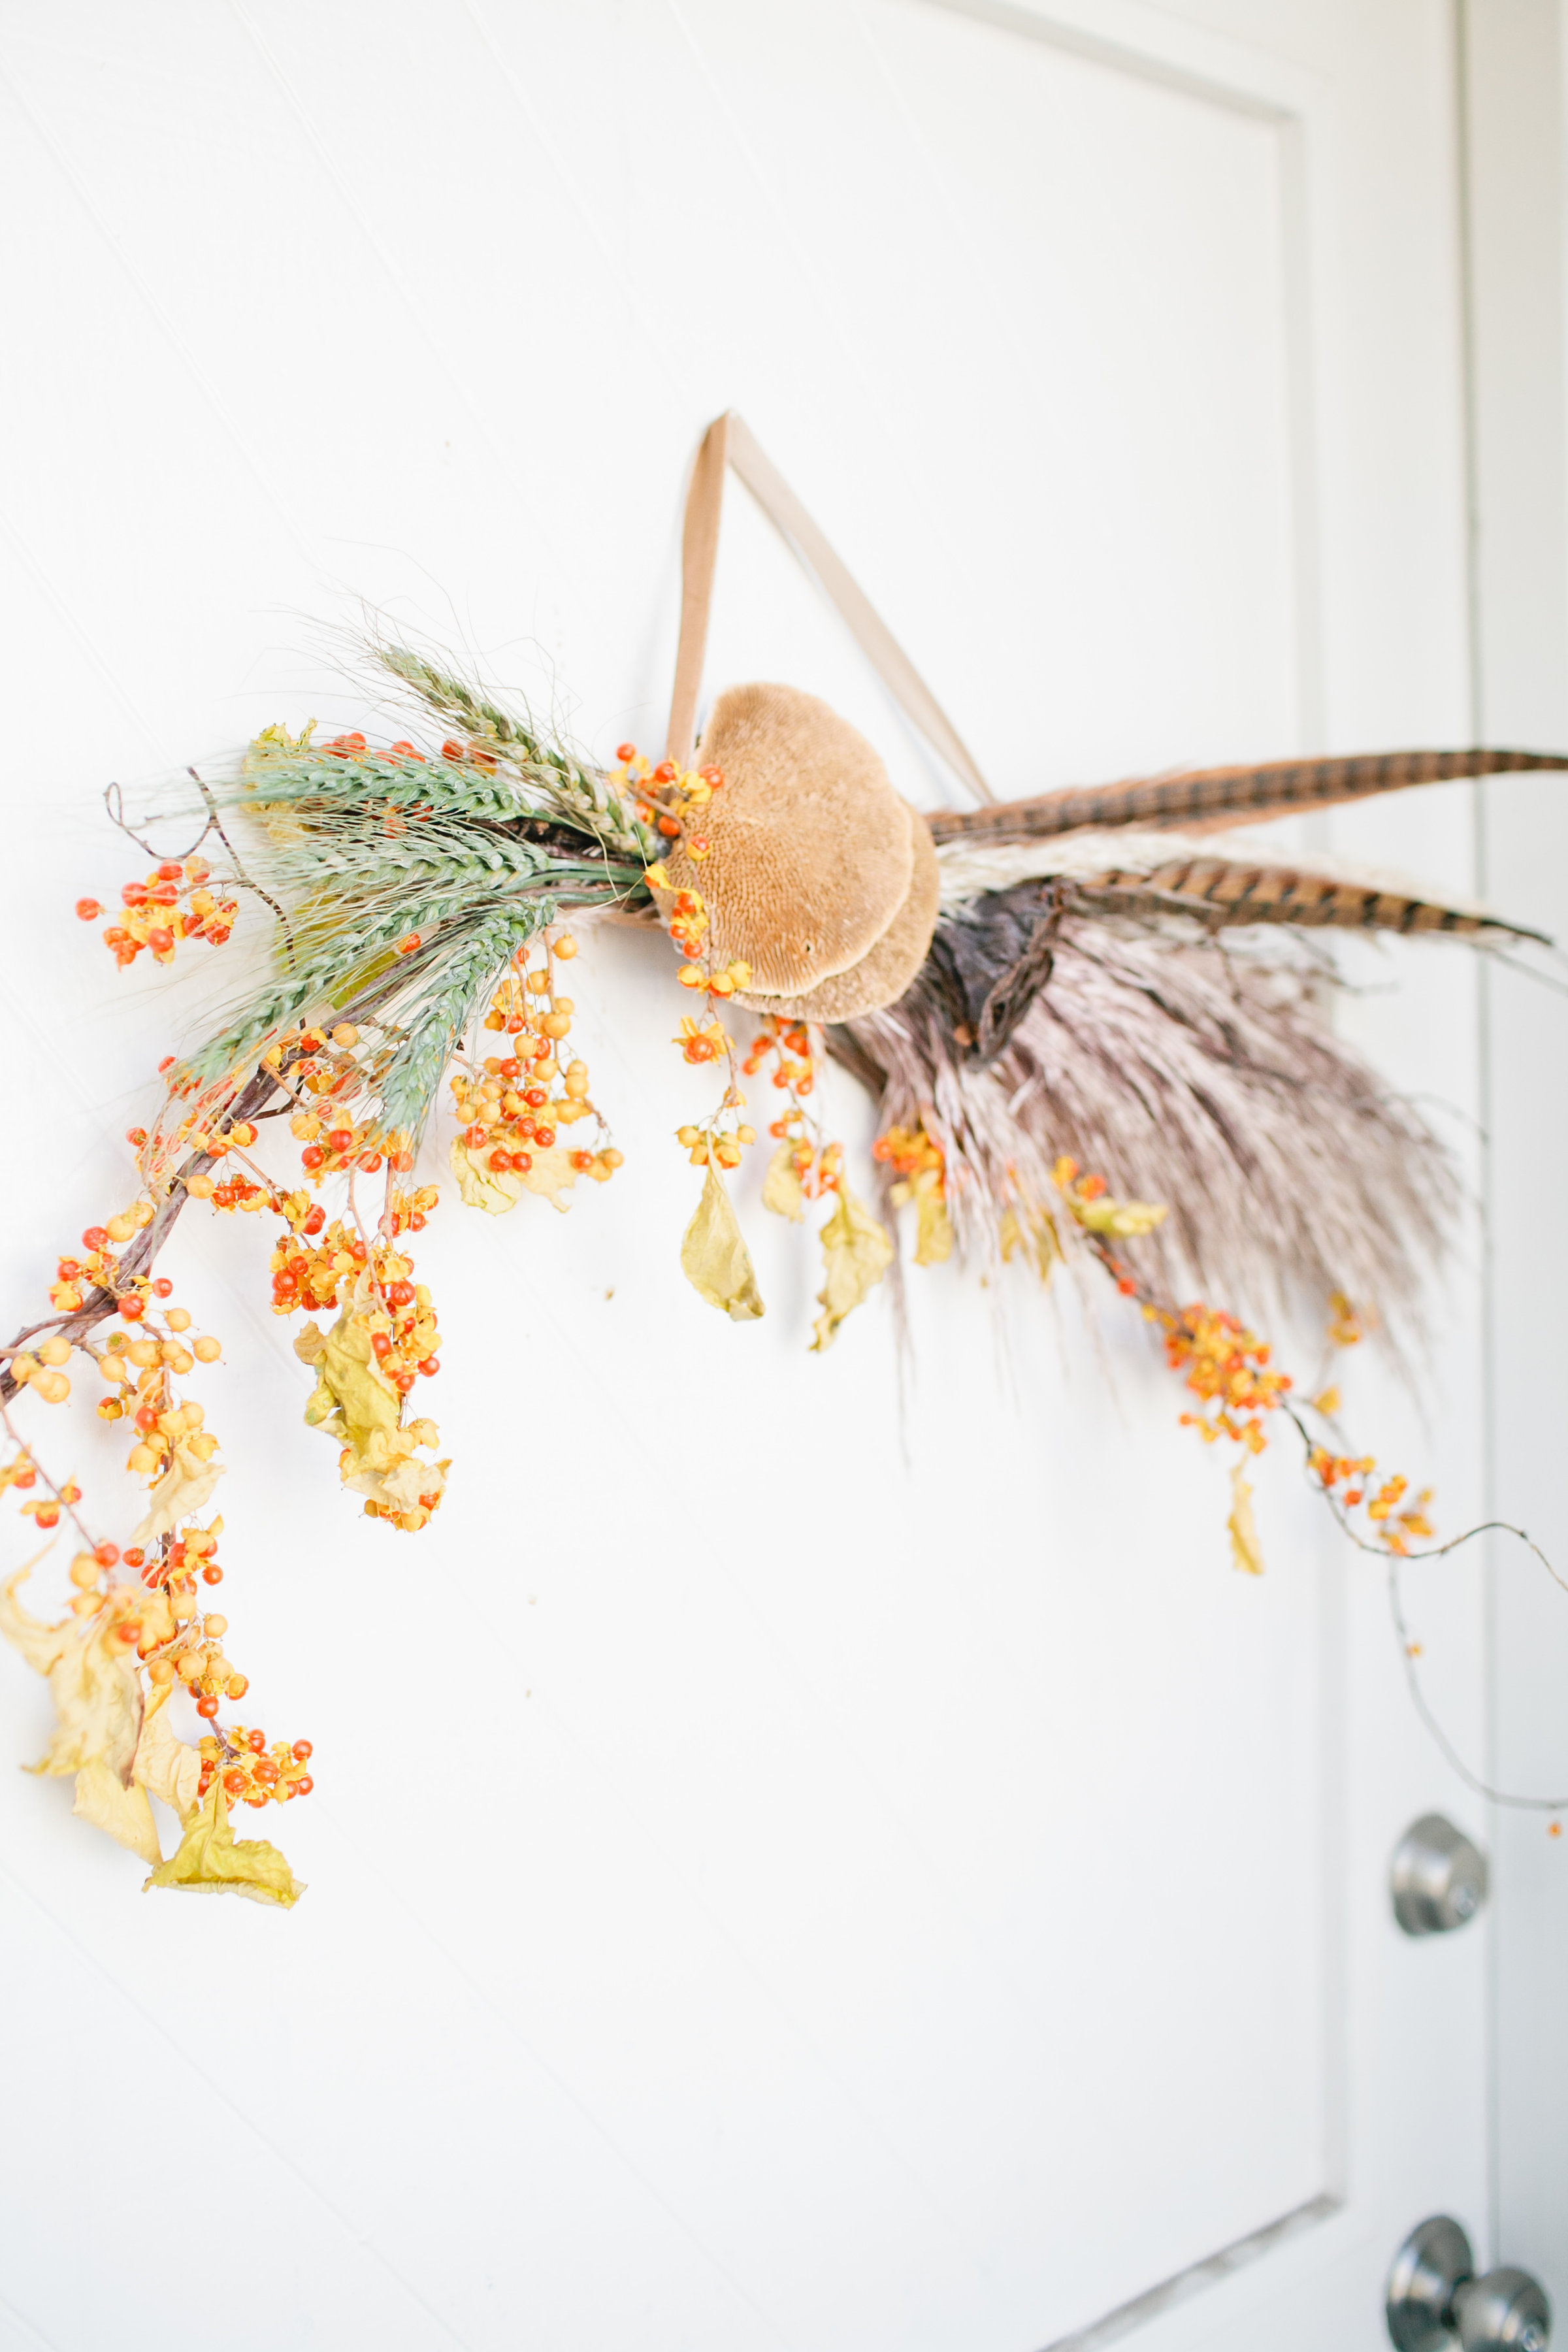
 7. After your ribbon is tied, place your remaining products on the wreath. I used a glue gun to secure the dried mushrooms and pods.
 8. Hang on your door and enjoy! =)
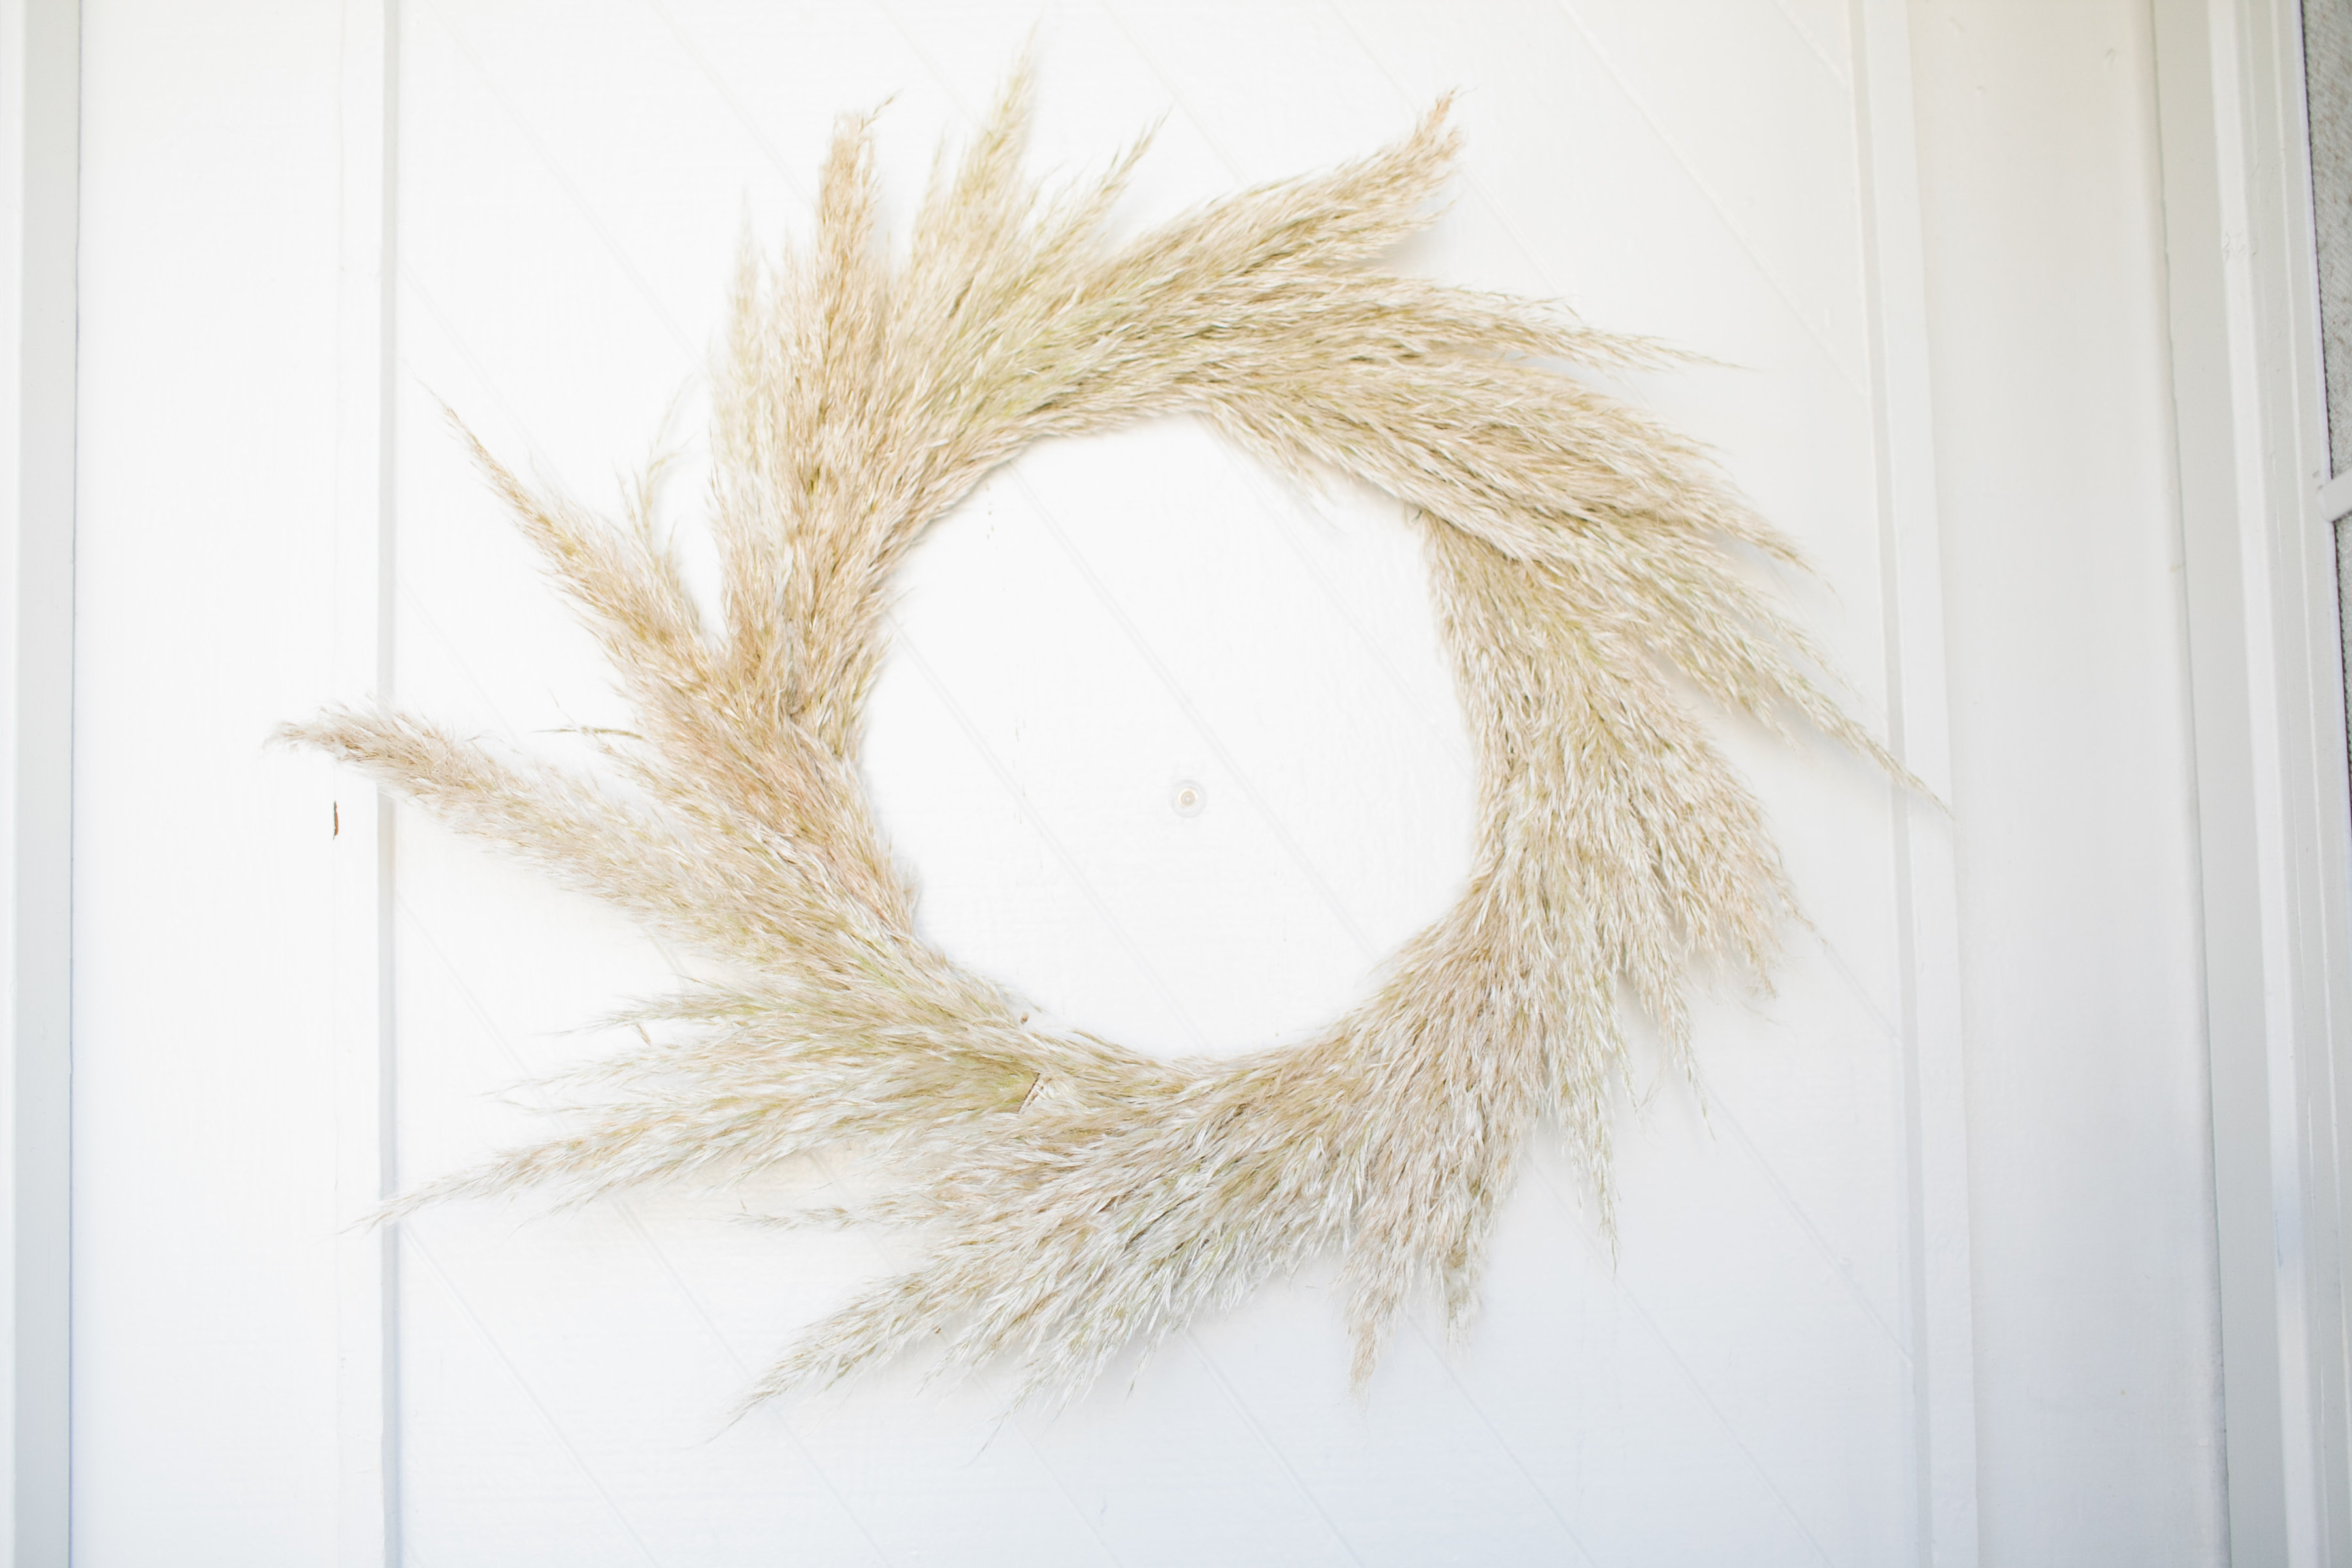
This pampas grass wreath is super easy to make! If you live in Southern California you can easily pick your own pampus grass wild (but you didn’t hear that from me!) or its available at your local nursery or flower shop.
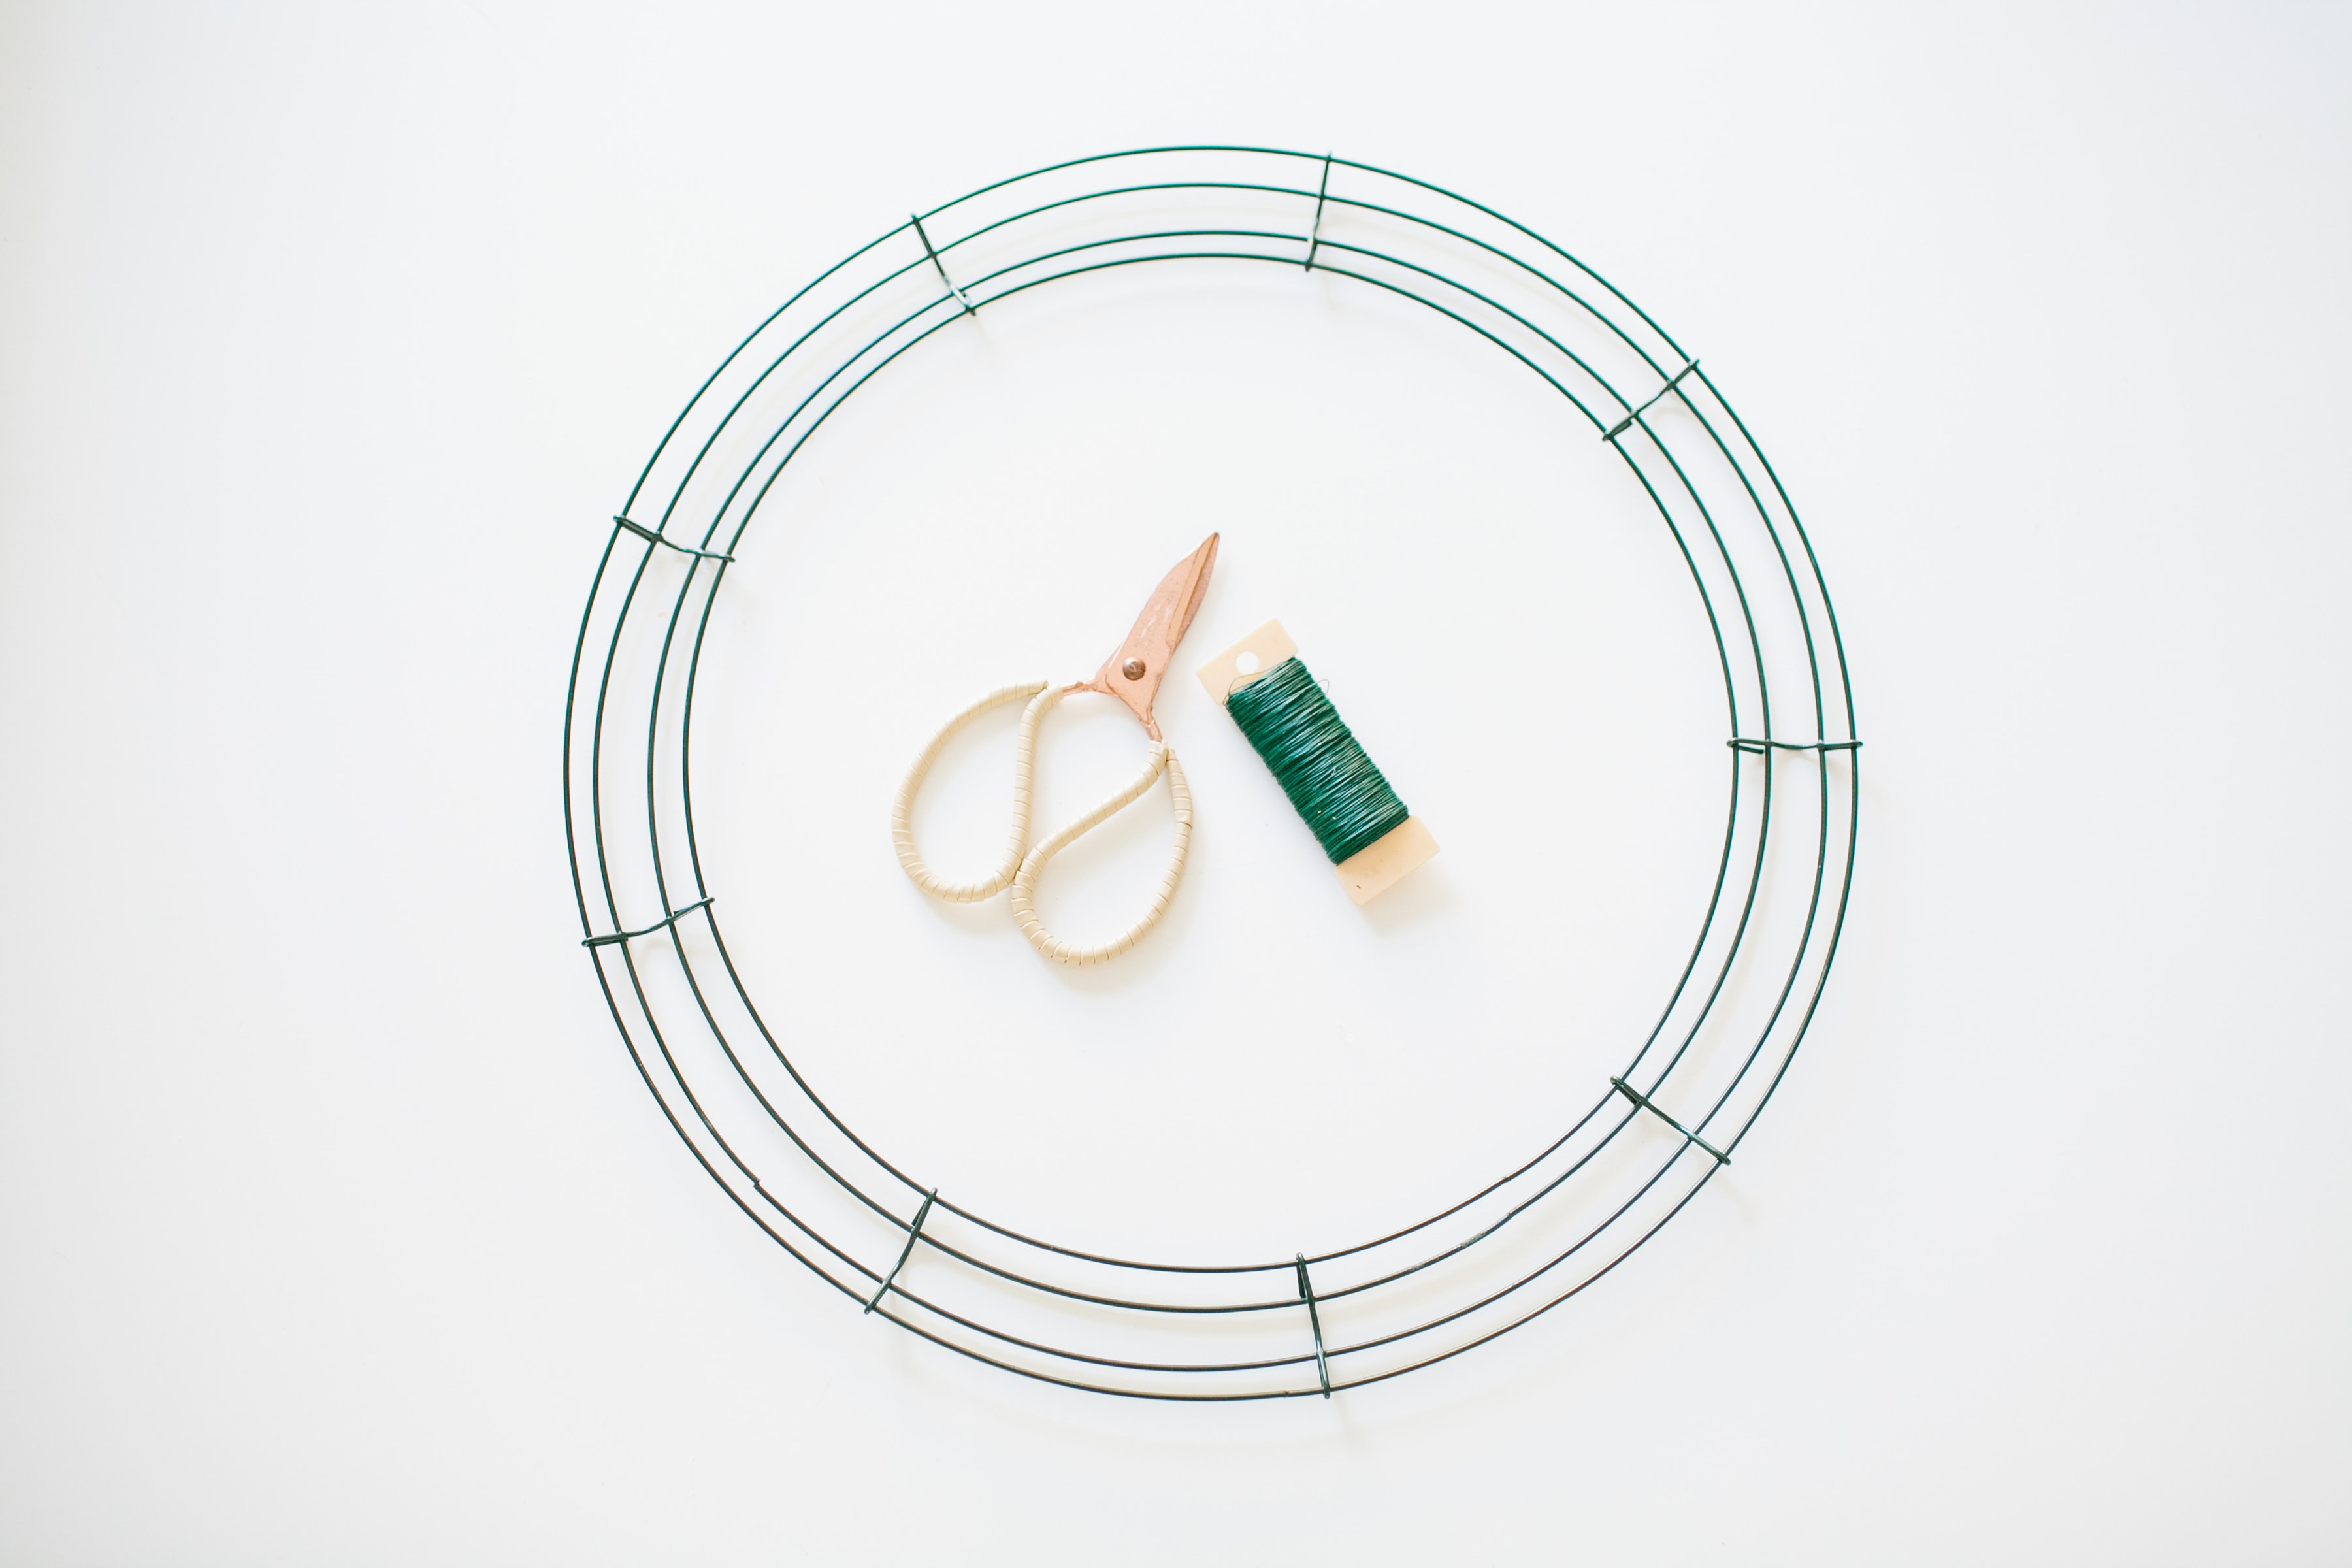
1. Supplies needed:
-Metal Frame
-Clippers
-Wire
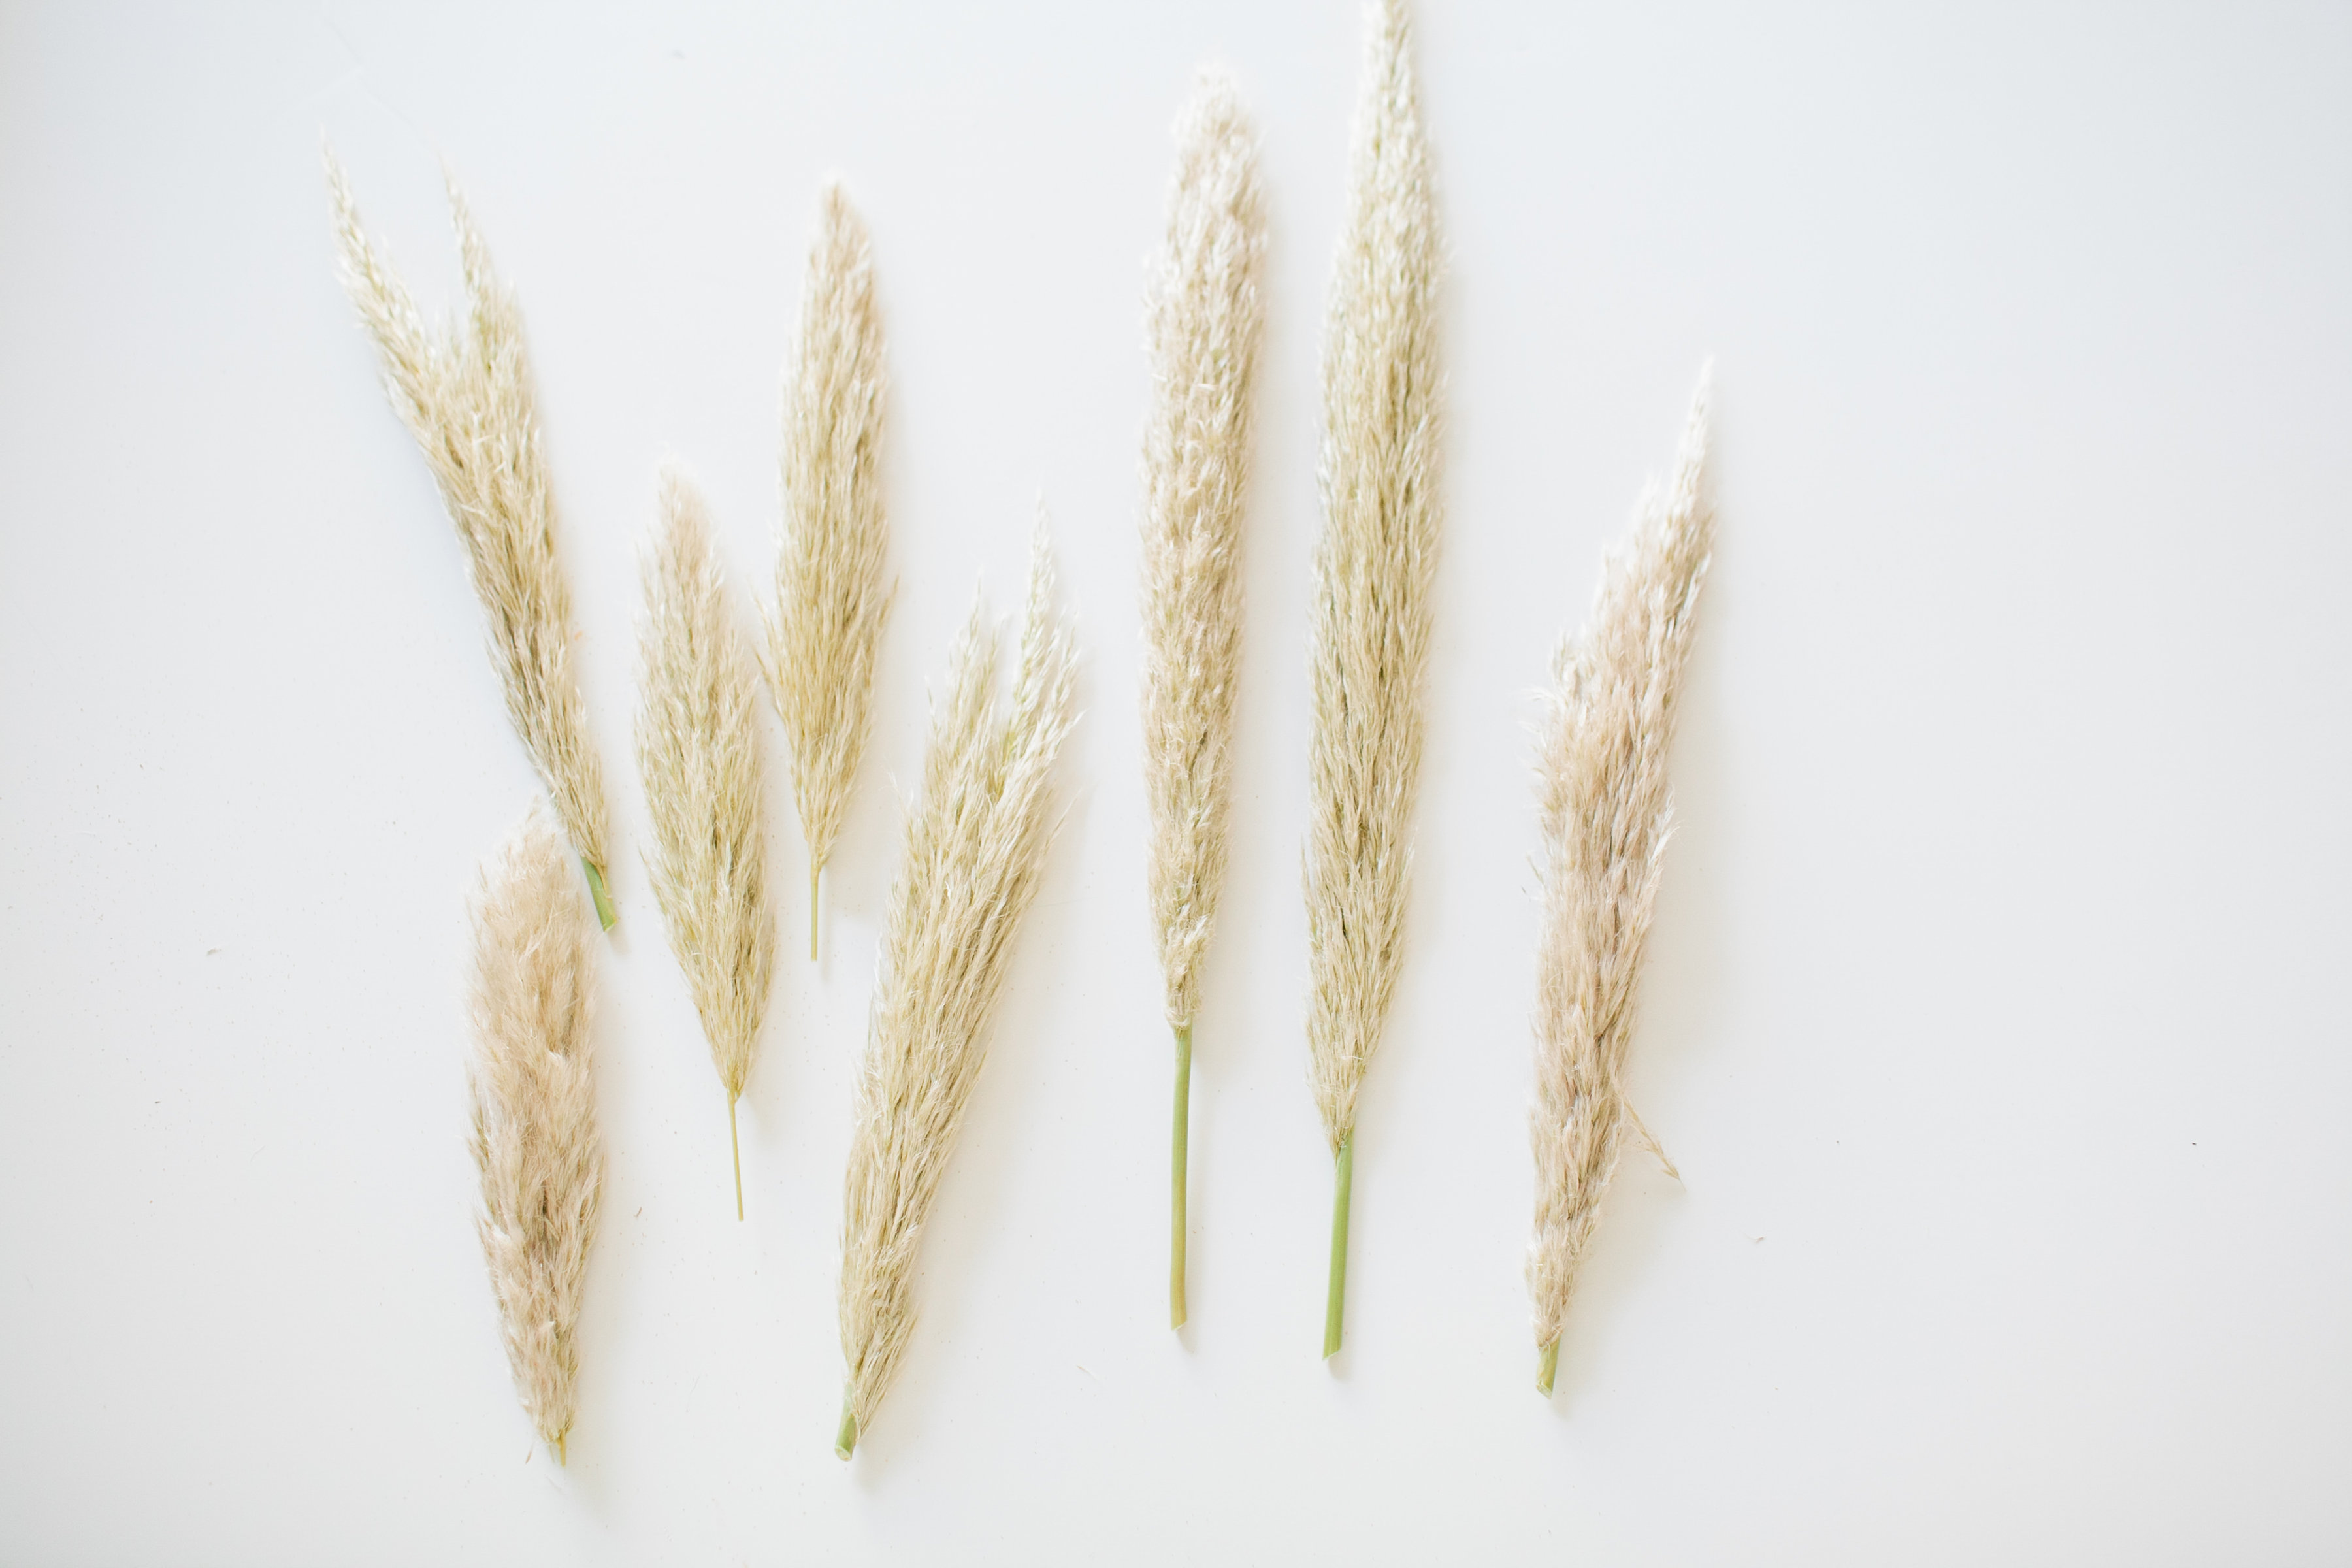
 2. Cut your pampas grass down. I used one piece and got about 2-3 pieces from it.
3. Cluster the pampas grass and secure to the frame, without cutting the wire and leaving it long.
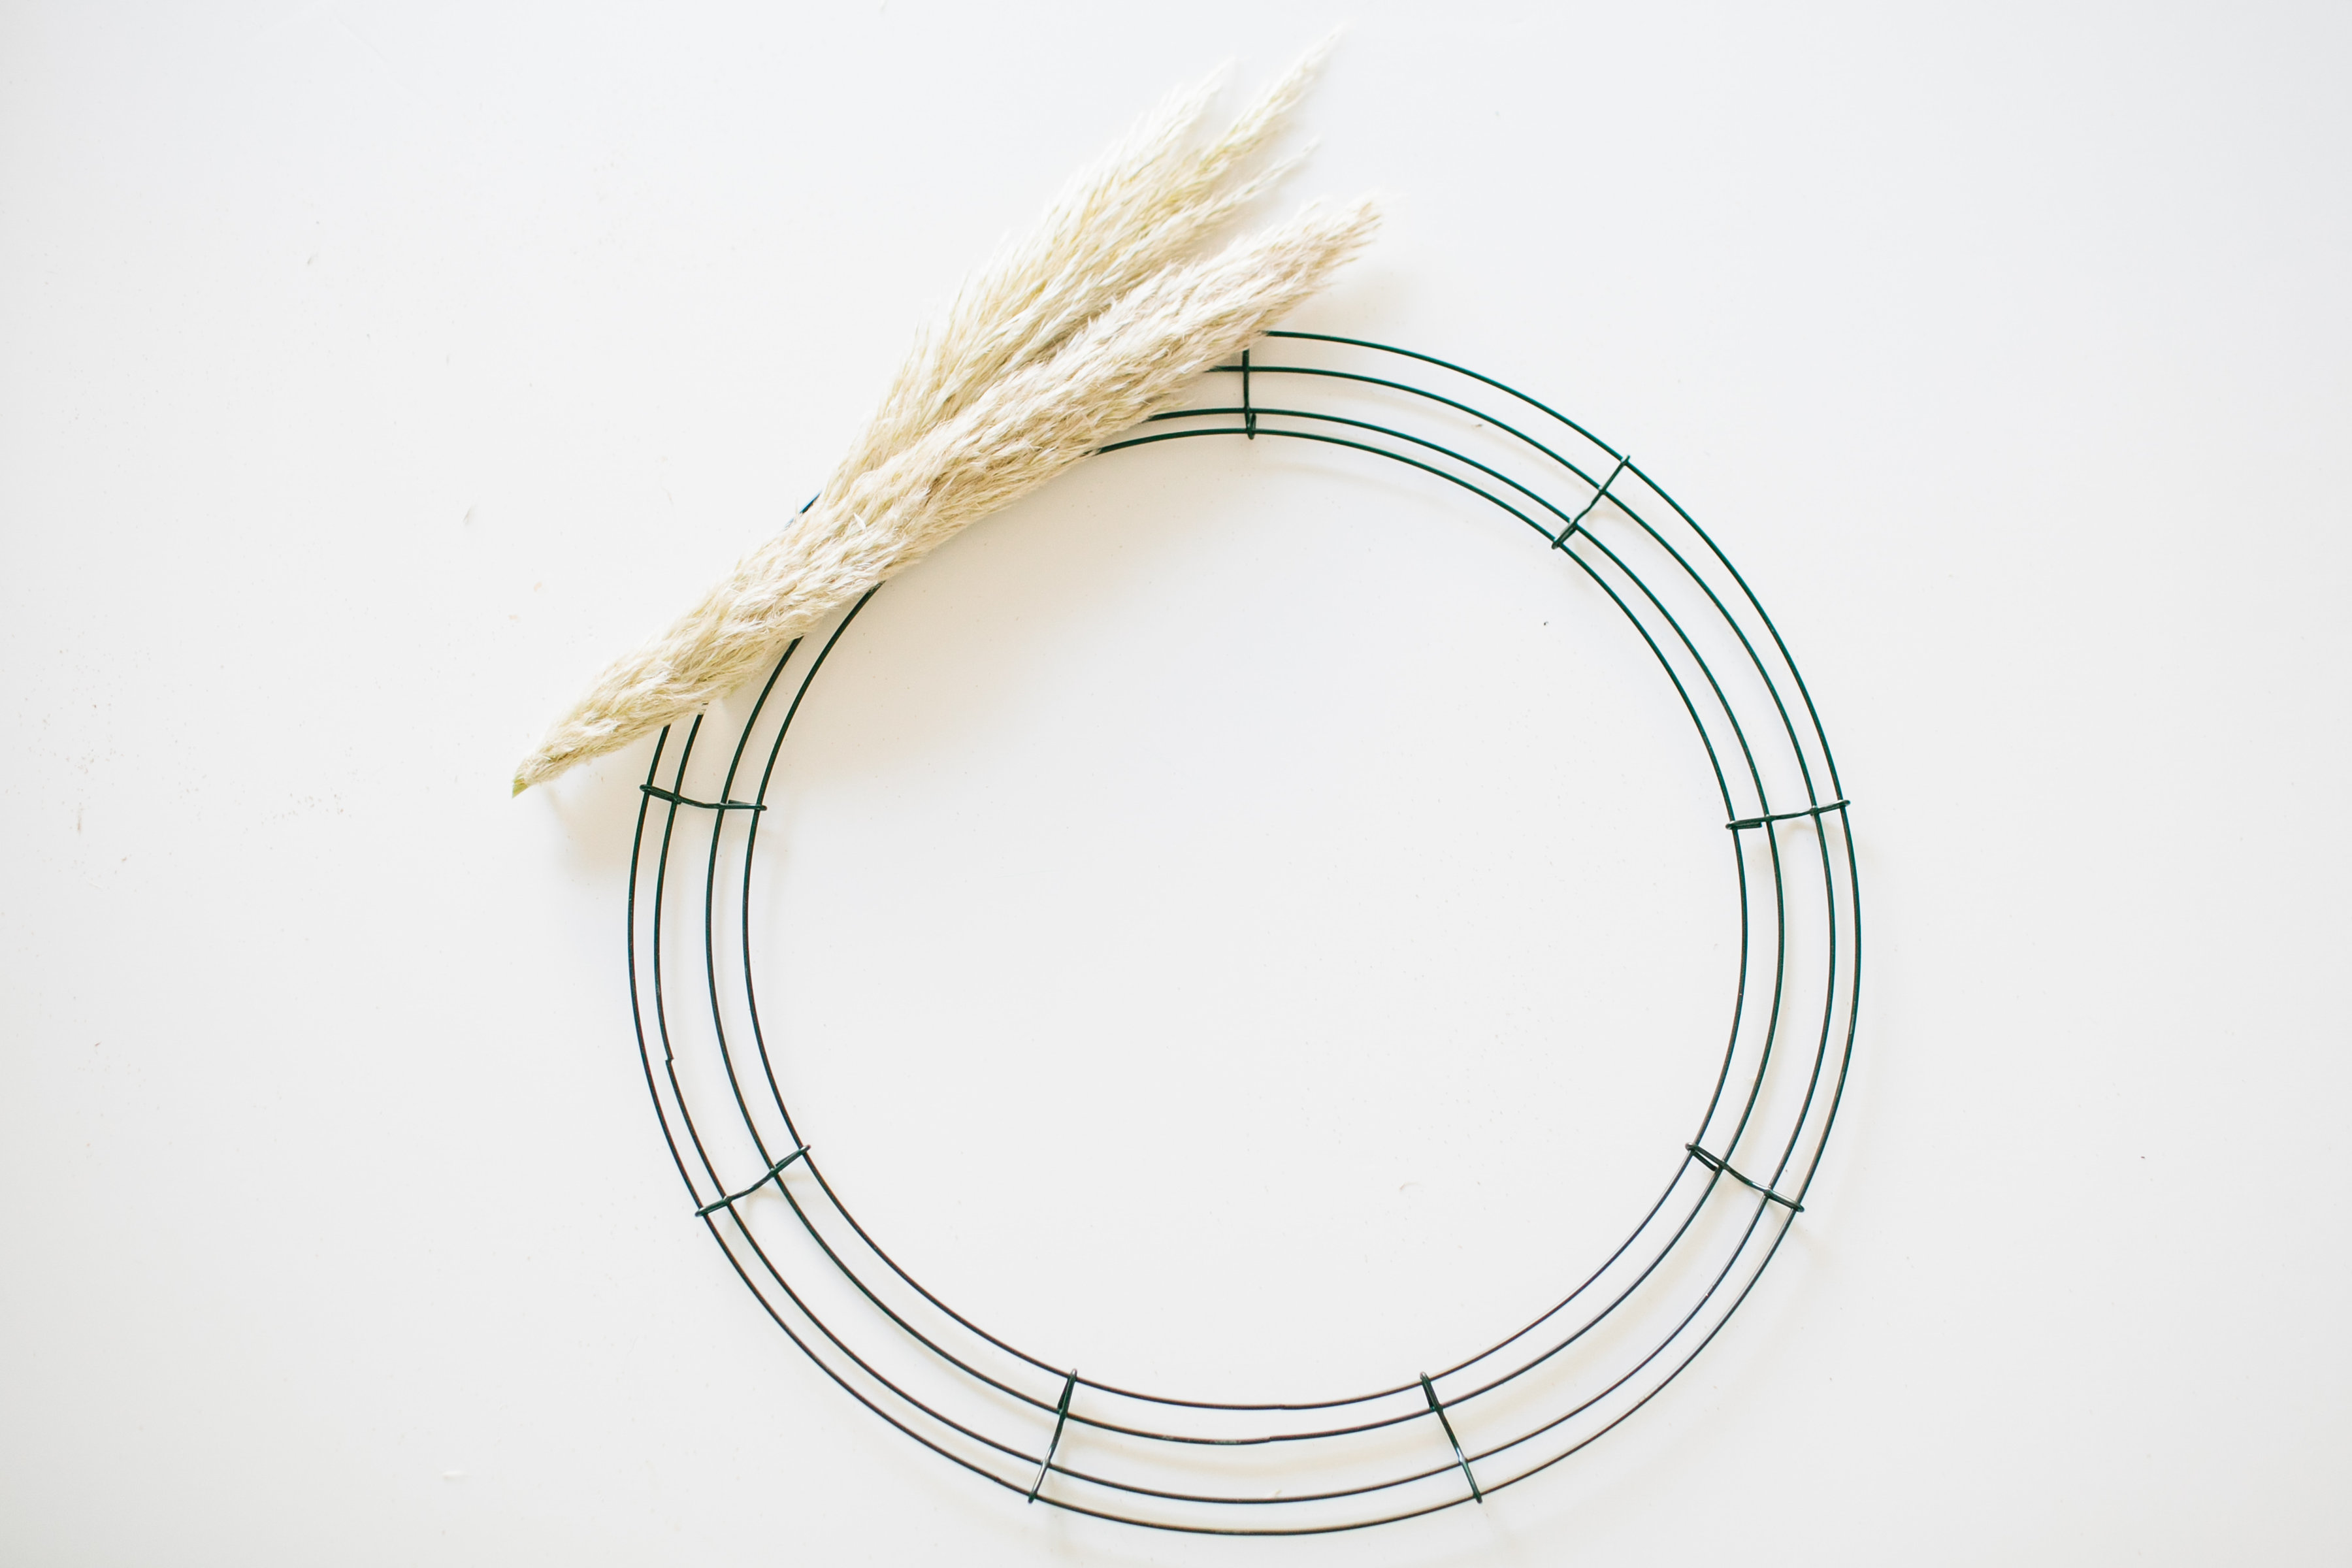 4. Place another cluster of pampas grass over the first piece, making sure there is no frame showing. You don’t need to cut the wire; by keeping it attached to the paddle it will create a stronger and tighter hold.

5. Continue this pattern until you work your way to the first piece. You may need to adjust the pampas grass on the last cluster to hide any stems. Cut the wire and secure to the back.
 6. Hang up on your door!

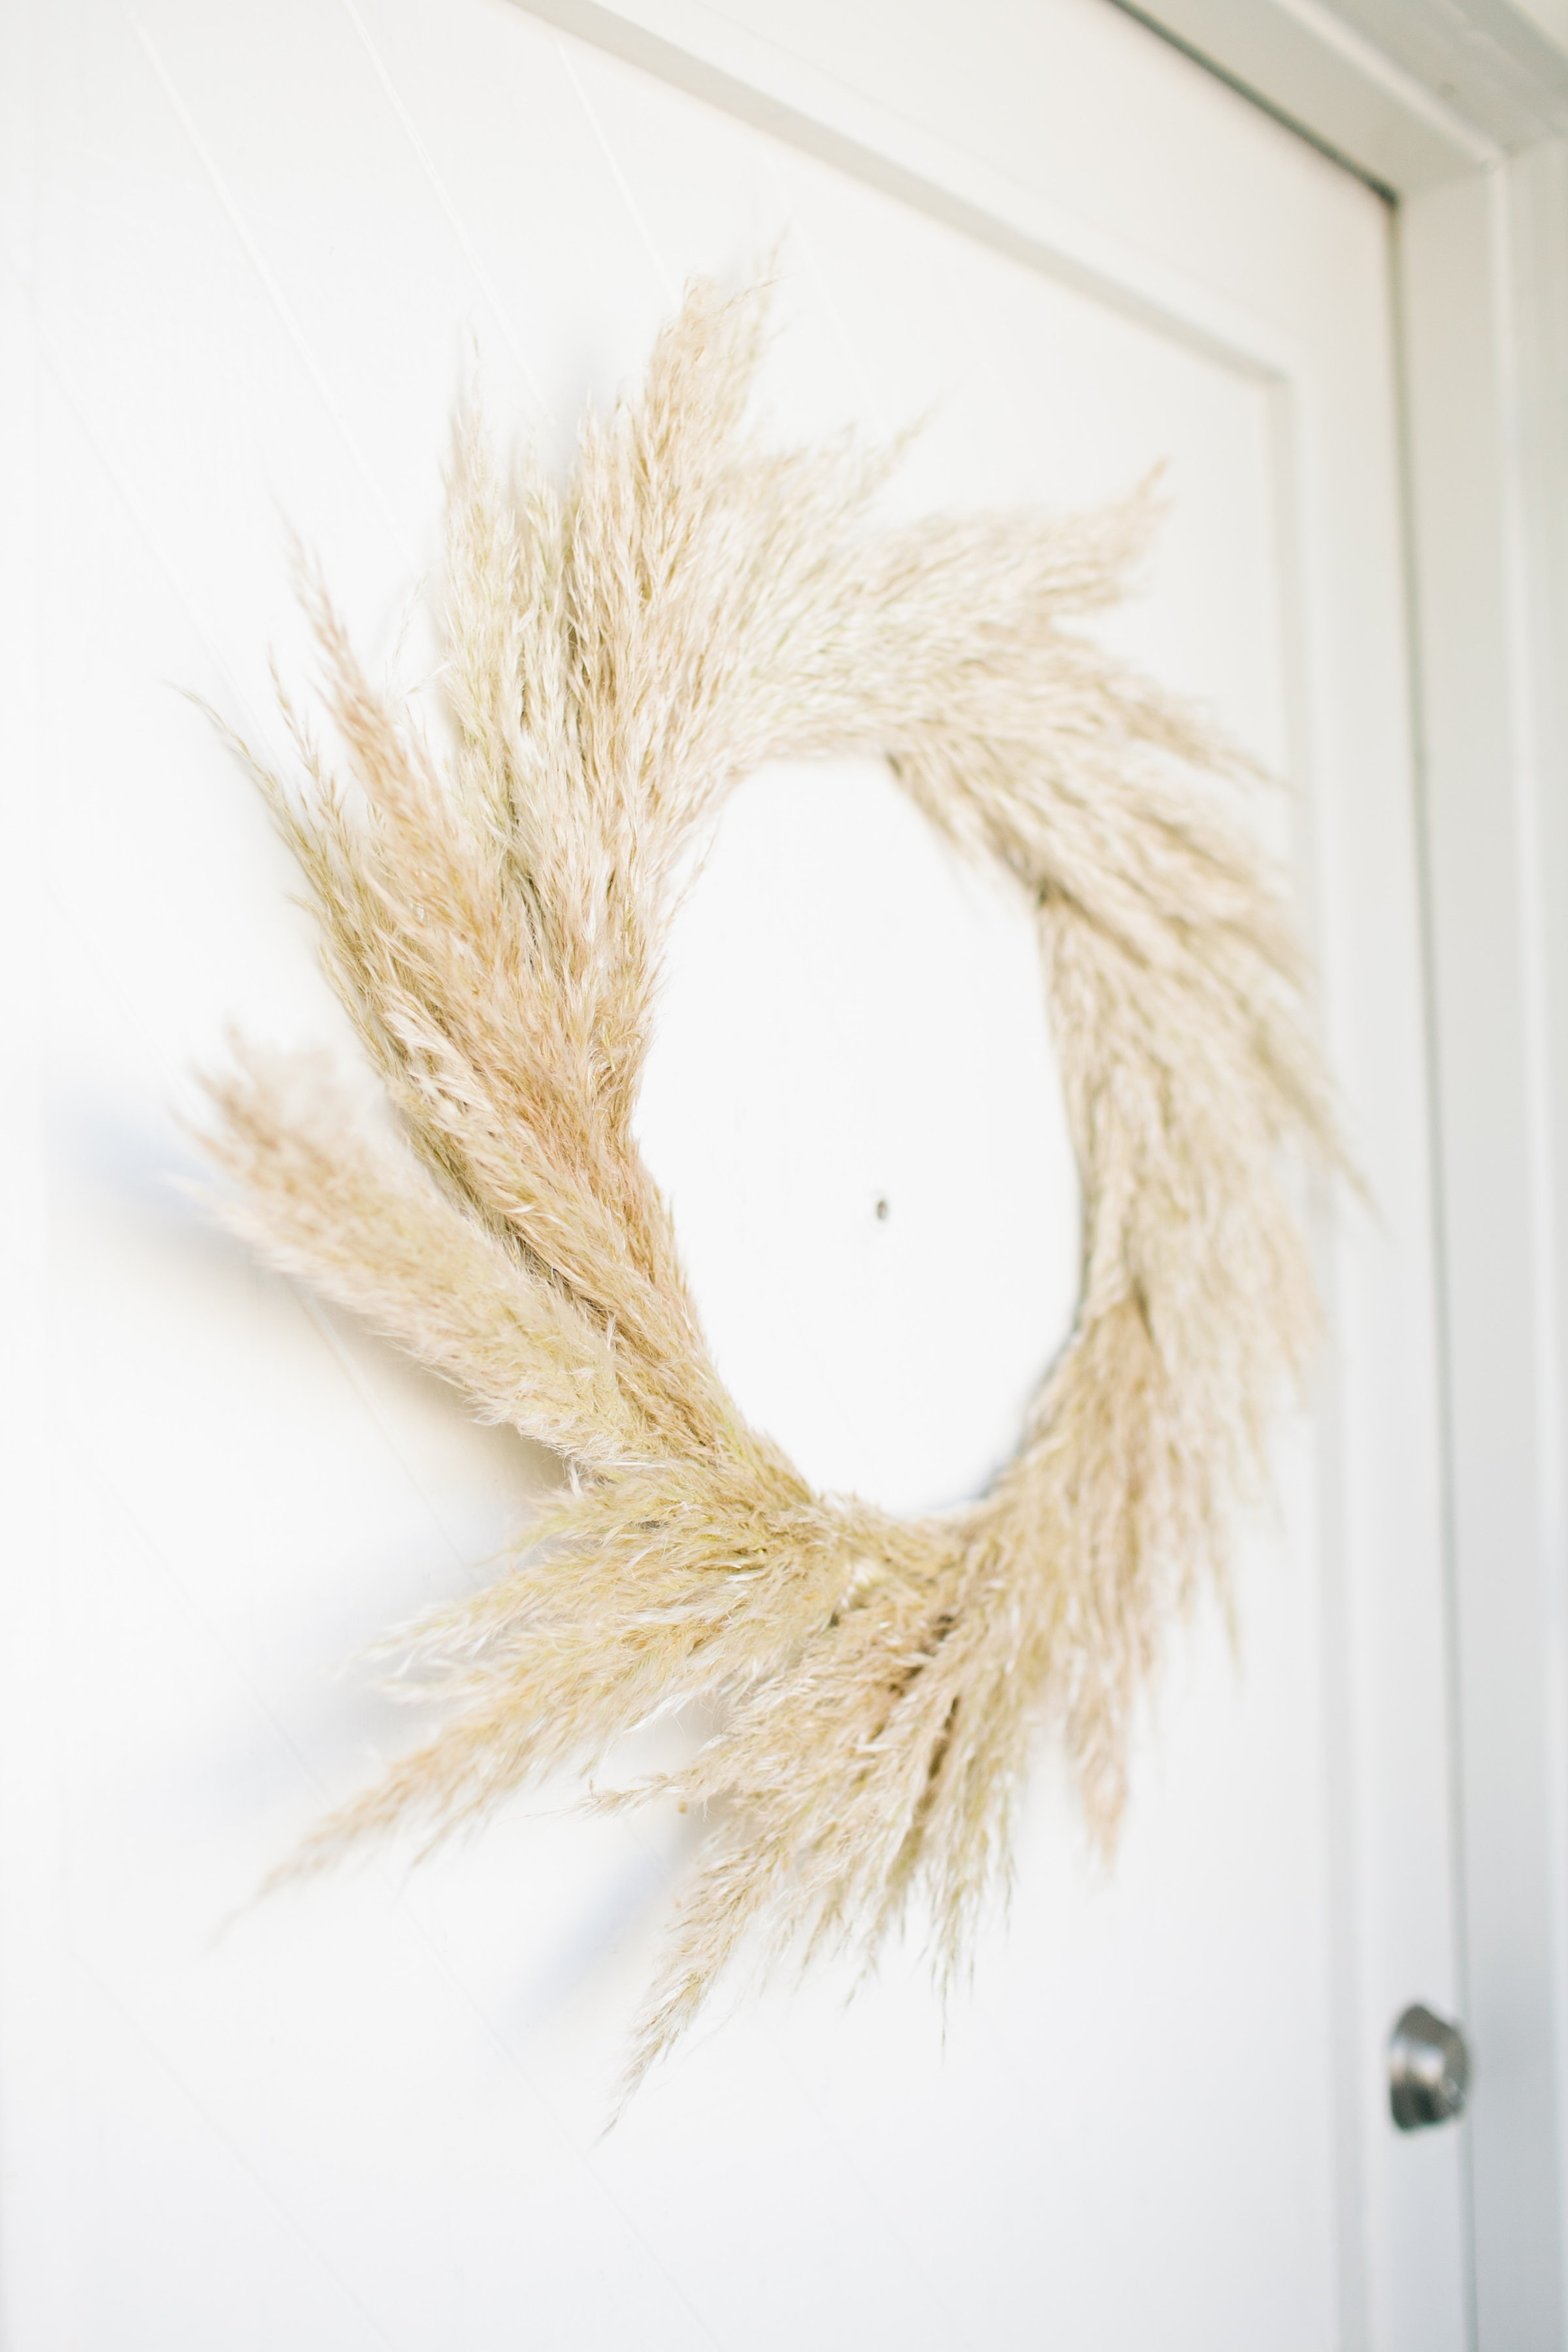
*Tip- to get your pampas grass to dry and not shed as much, spray it with hair spray*
Thanks Meagan for sharing all of your tricks!
We love these wreaths so much and how festive they are for Fall!
Stay tuned for more fun Fall ideas and activities we will be sharing from our list!
xx
Jacquelyn

[…] wreath lets you show off your creativity to the world — and this do-it-yourself project from Beijos Events is super simple, requiring only a metal frame and plenty of pampas grass. Hung on a plain white […]
[…] Source […]