When it comes to finding the perfect gift for Dad for Father’s Day, the only way is to aim straight for the heart. My hubby has the biggest heart in the world. Add patient, understanding, loving, and we got ourselves one big softie! And of course a hunka hunka, duh. Truly, the best Dad I could ask for! The kids and I try each year to aim higher in the tear scale. Last year, we went less teary and more practical with a fun leather catch-all for all his crap, to put it blunt. See it here, I highly recommend this DIY as its super cute, practical and makes any amount of coins or receipts look cool. The year before, had the bar set high. You might remember the wooden signs each of Beijos ladies did in which we had the kids tell us why they love daddy so much… see that here.
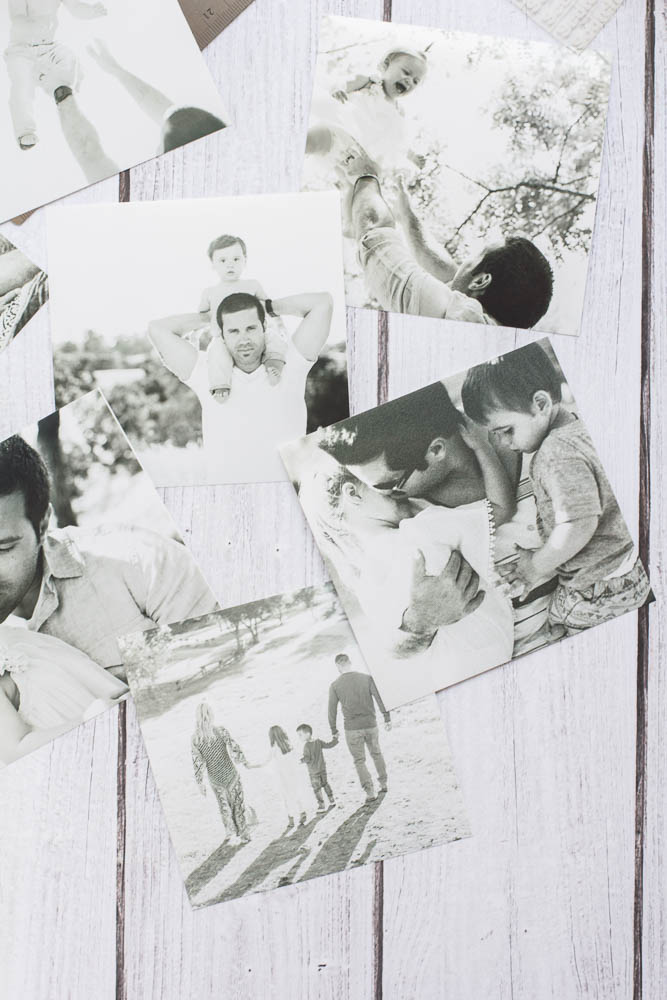
This year, since my husband has been living in a different city from us since January, the kids and I were certain that we wanted to incorporate pictures for him to look at. I picked out pictures starting from when they were babies to current. He has no idea what is about to come to him. That tear scale will be weighing heavy this year.
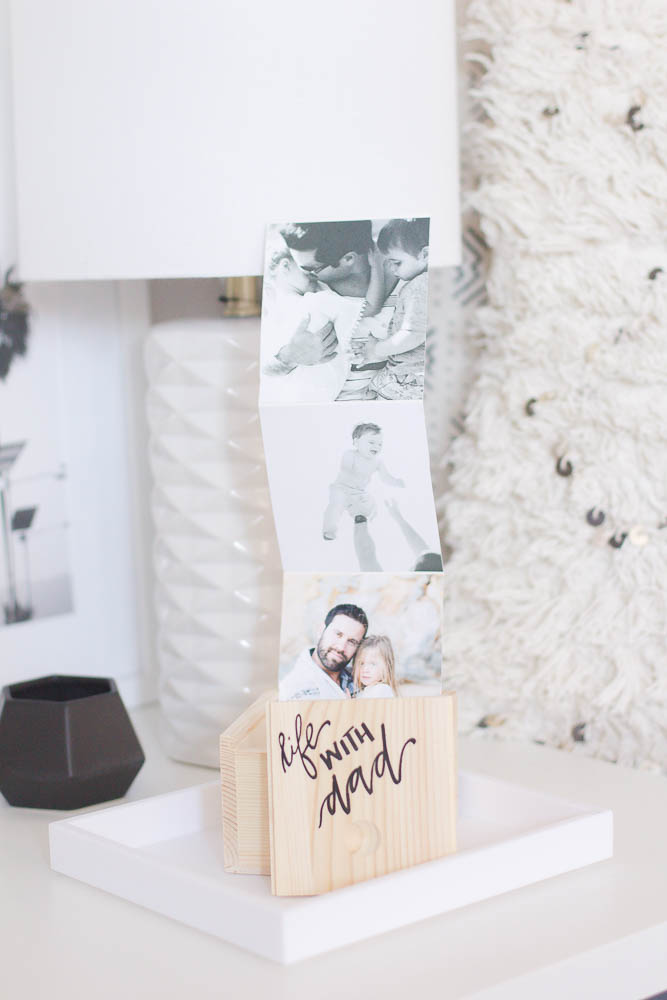
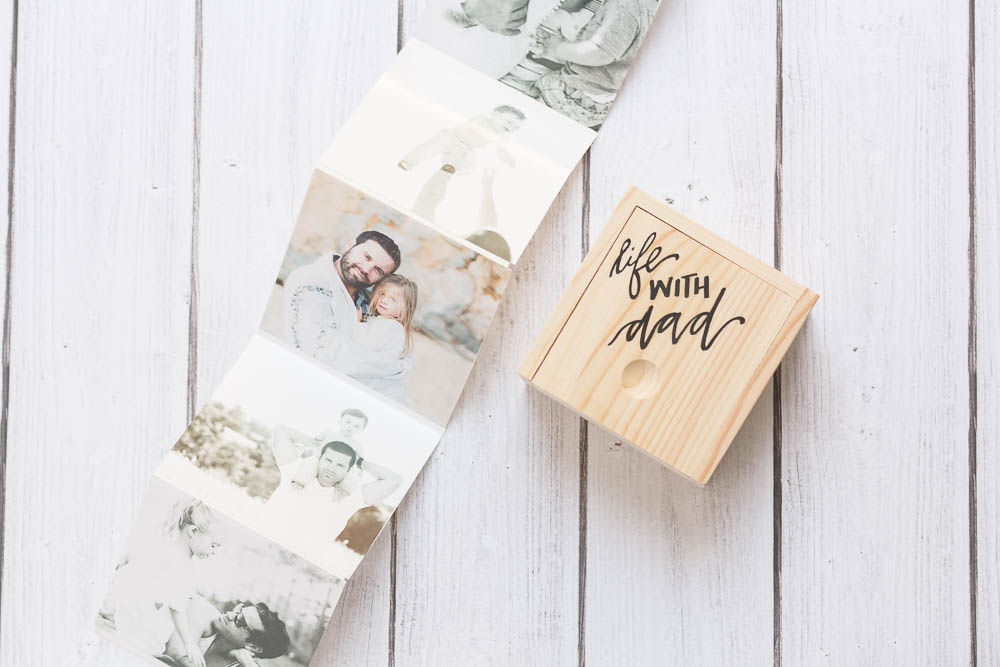
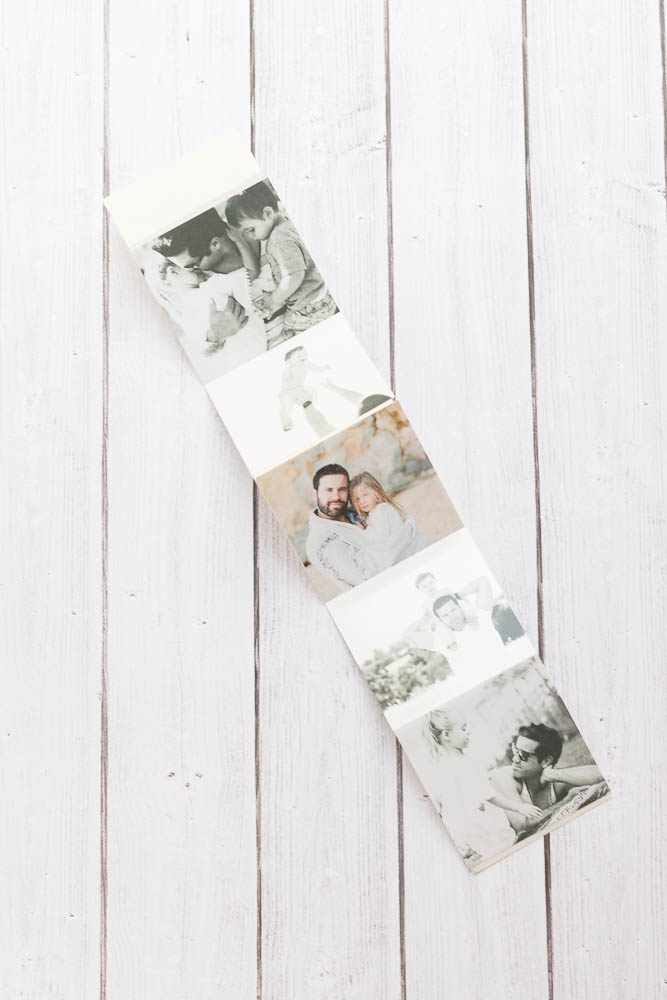
This simple wooden photo album is a great DIY that you can make with your kids! And also any important man in your life!
I do have to say the only thing to look out is that spray adhesive! I had a total Clark Griswold afternoon after using that stuff!

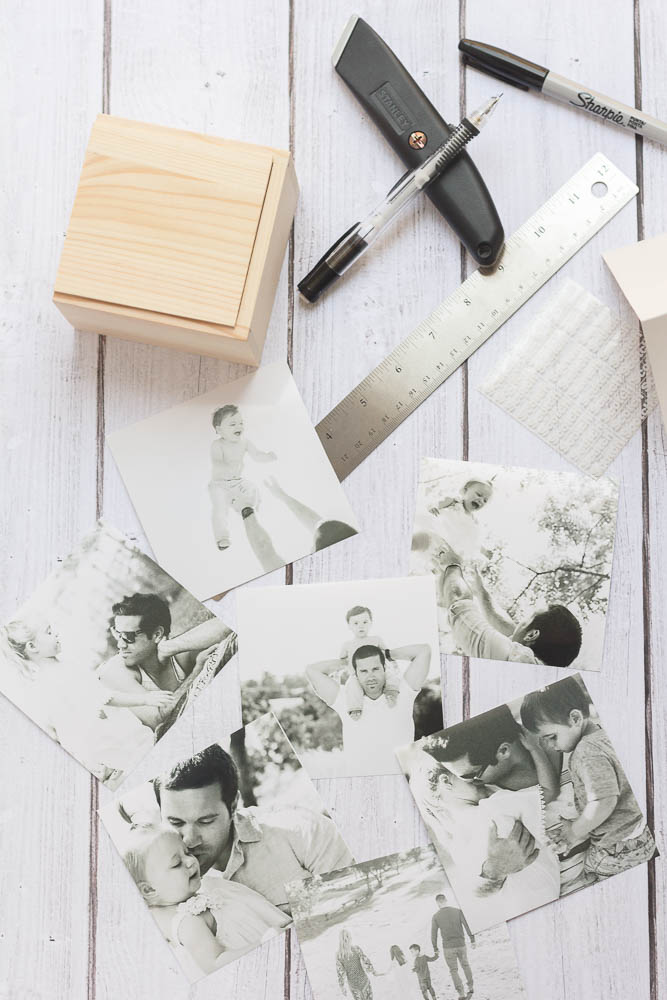
M A T E R I A L S
1 Wooden Box
1 sheet of White Poster Board
1 Package of Full Sheet Label Paper or Printed Photos (cut to 3 inchs)
Pencil
Metal Ruler
Double Stick Tape
Spray Adhesive
Washi Tape
X-Acto Knife
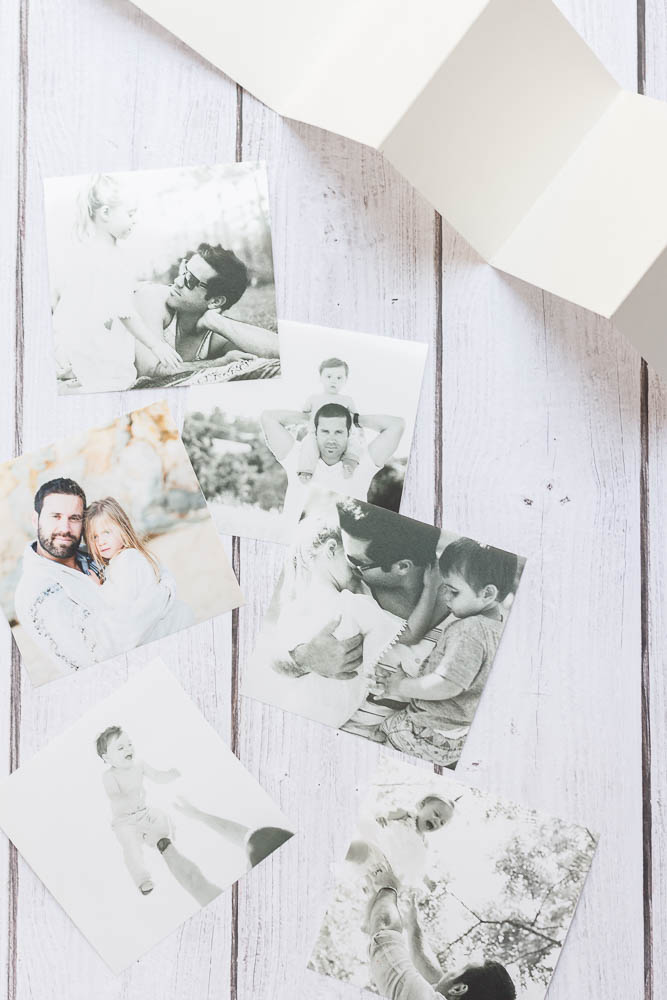
Walgreens is having a sale on all prints and ends today! If you enter code: PICSWITHDAD you get 40% off, how could you NOT take this up! Just remember you will have to cut your pictures down to 3X3.
I N S T R U C T I O N S
S T E P 1
Using the ruler, mark off 3.5″ wide strips on the paper. You can cut as many as you like- you’ll connect them later to make the final accordion strip. Each photo square will be 3.5″ long so you can multiply that by the number of photos you want to put in your album to calculate the total length you need.
S T E P 2
Cut out each strip and mark 3.5″ squares down the length of each strip. Fold accordion-style, at each 3.5″ mark. You will have to press firmly since the poster board is heavy.
S T E P 3
Connect the strips to each other using a glue stick or double stick tape. Add a strip of tape (your choice of color) down the center of the strip, leaving a little folded tab of tape at either end to make it easy to grab. This will give a seamless look if you are doing more then one strip.
S T E P 4
Put your choice of photos into a word doc and size them to be 3″ square. You should be able to fit 6 to a page. Or have them printed out at Walgreens in a 4X4 and cut down to 3″.
S T E P 5
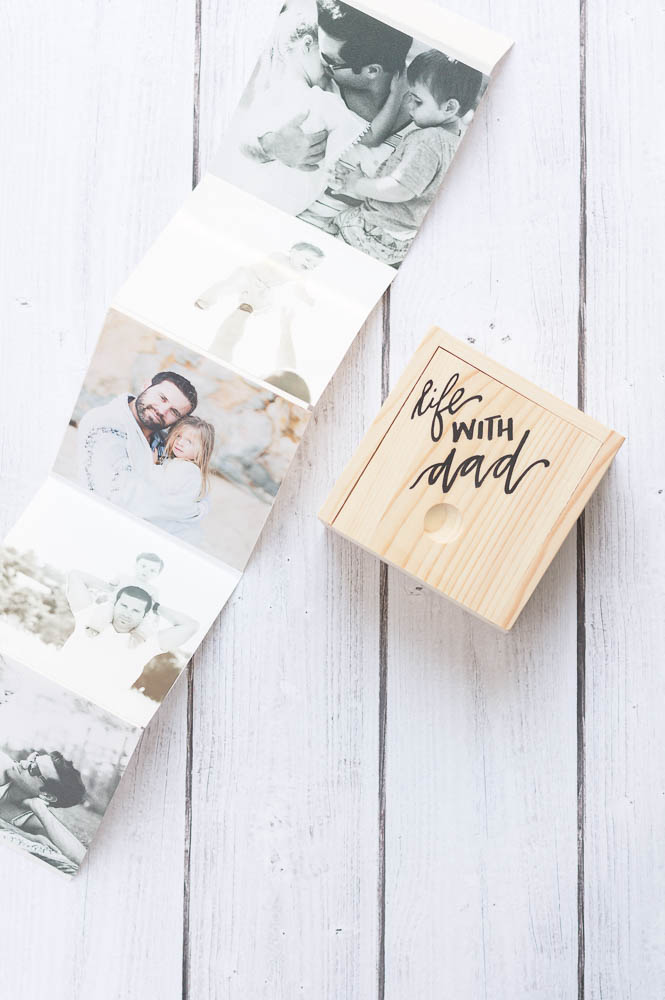
Print out each page onto the label paper and cut out photo. Press the photos onto each square of your accordion strip. Place the strip in the box. Or you can print out at your local photo store and cut to measure 3″ and simply adhere with spray adhesive. Be careful, it is SUPER sticky! No one wants a Clark Griswold moment like me! Place all together in box. Meghann Miniello used her handy work and we labled this little box, “Life with Dad”.
Shop the post here and get it all in time for Father’s Day!

xx
Abby