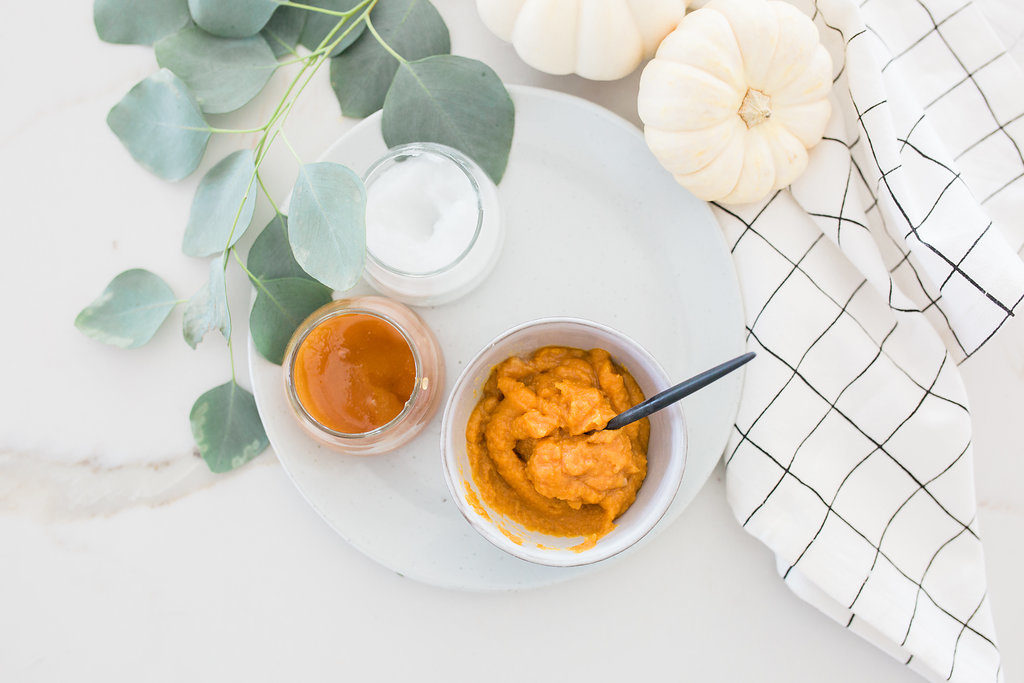
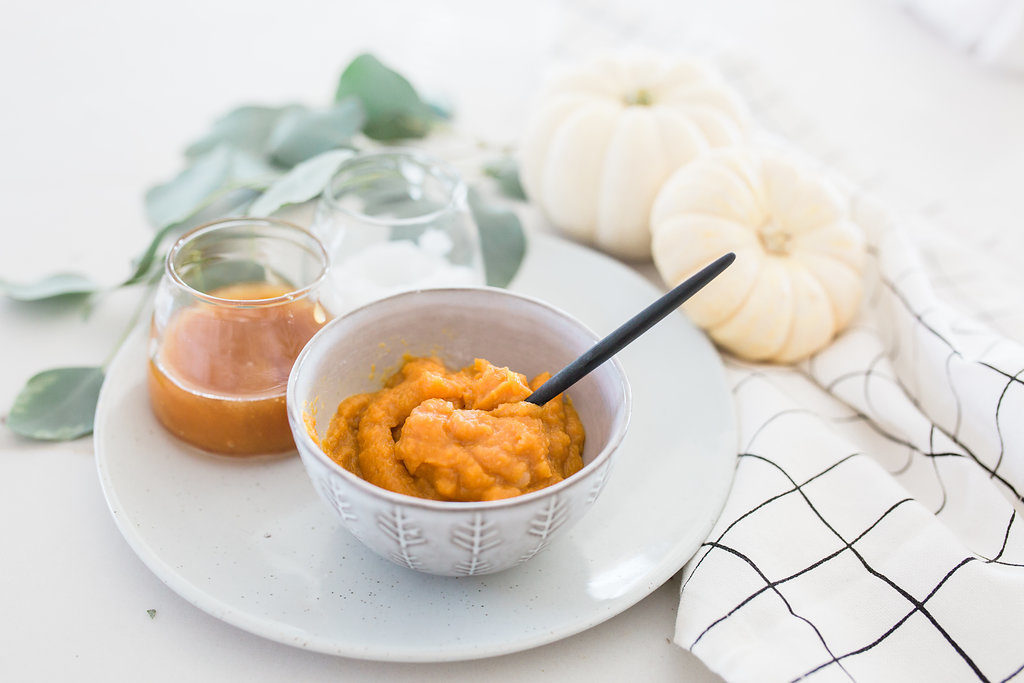
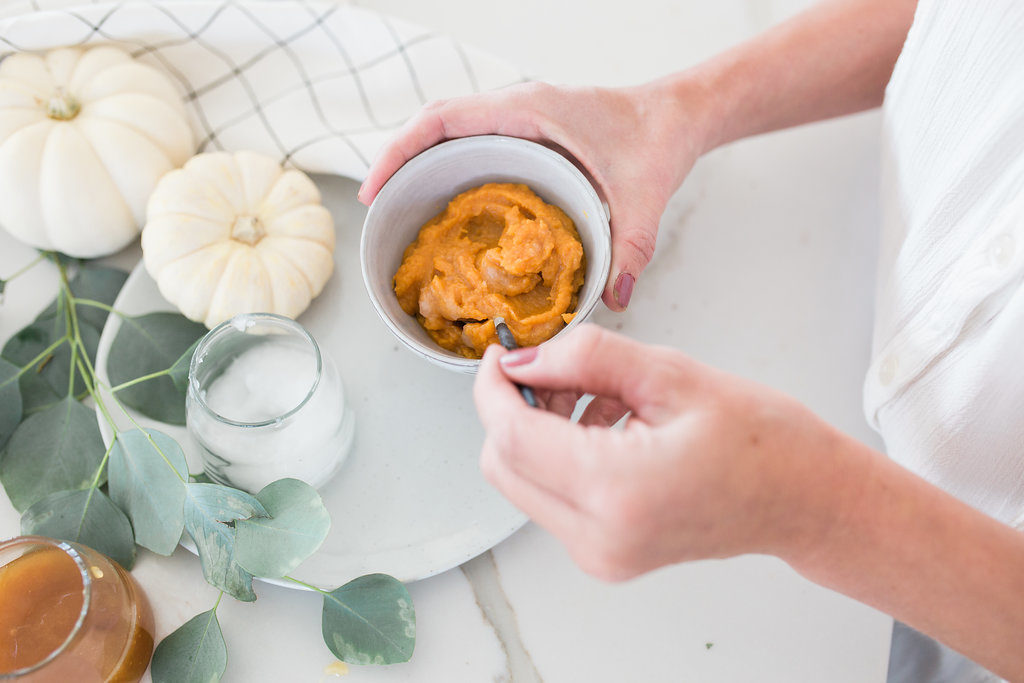
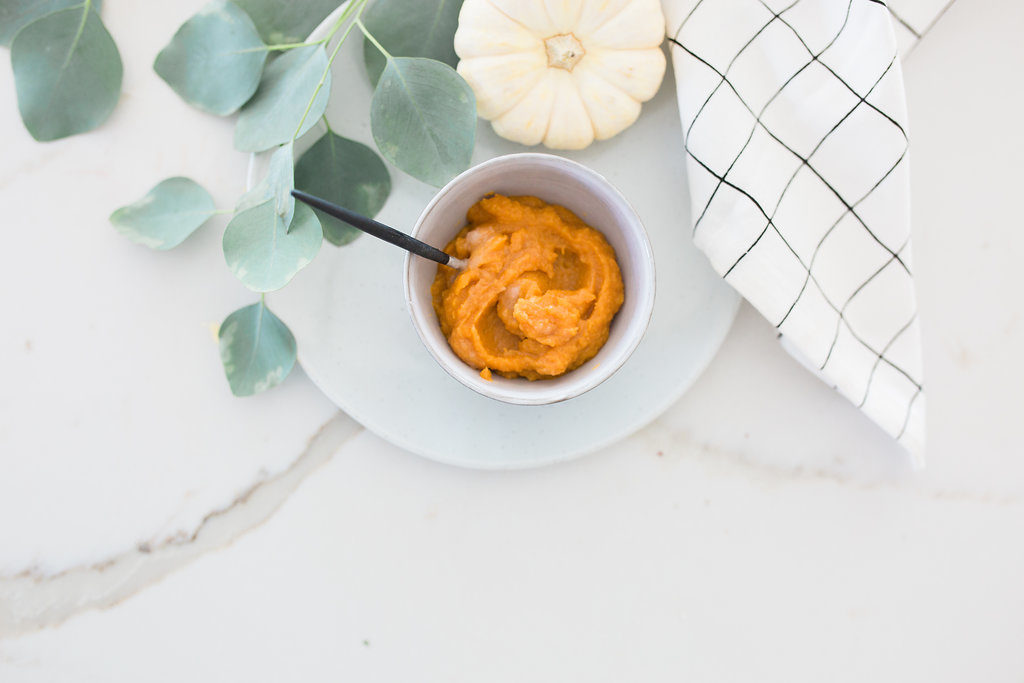
With Halloween season creeping up around the corner, pumpkins are everywhere you look. Even after Halloween is over there are still pumpkins that pop up everywhere during fall. Pumpkins have so many uses… decor, tons of seasons treats, those yummy pumpkin seeds, and so much more. But my favorite use of pumpkins is all over my face! This squash is awesome for your skin! Pumpkin contains enzymes that help to dissolve dry skin cells. It contains vitamin A, alpha and beta-carotene, vitamins C, K, and E for those wrinkles, and minerals, including magnesium, potassium, and iron, which helps eliminate redness. This mask only contains three ingredients, and I’m pretty sure you have all three ingredients already in your kitchen. Plus what are you gonna do with Halloween’s leftover pumpkins!
An easy homemade pumpkin mask full of vitamins to nourish the skin and enzymes to dissolve away dead skin cells leaving you with radiant, glowing skin!
Photos by Alyssa Onaka Photography
P U M P K I N M A S K
I N G R E D I E N T S
2 Tbsp organic canned pumpkin puree or 1 small pumpkin (but make sure its organic)
1/2 tsp organic Manuka honey
1/2 tsp coconut milk or coconut oil
*extra bonus add 1 tsp vitamin E

D I R E C T I O N S
1st wash that face! You can’t waste all this time with layering on all this goodness on a dirty face. Wash with your regular cleanser and gently pat dry.
Combine pumpkin puree, honey, and coconut milk/oil in a small bowl and mix well.
Apply the mask using your fingers and avoid getting the mixture too close to the eyes. You might feel a slight tingle, which is totally normal!
Allow the mask to set for about 20 minutes.
Gently wash off the mask with a warm, and follow up with a moisturizer.
During the fall season, I apply this mask once a week along with my normal skin care regimen.
You can also make a BIG batch of this amazing mask and freeze into ice cubes and store away for later use. Simply, just take out a cube each time and allow to thaw.
xx
Abby